Propagating Your Yellow Nutsedge: Step-by-Step Guide
Cyperus esculentus
By the Greg Editorial Team
Mar 22, 2024•6 min read
This article was created with the help of AI so we can cover more plants for you. May contain errors. See one? Report it here.
Multiply your garden's charm 🌾 by mastering Yellow Nutsedge propagation with our step-by-step guide!
- 🌱 Harvest tubers in late June/July, gently unearth with a garden fork.
- 💧 Soak seeds before planting for improved germination; keep seedlings moist.
- 🌡️ Monitor climate; manage pests/diseases for successful Yellow Nutsedge propagation.
Getting Started with Tubers
🥔 Digging up the Gold: How to Harvest Yellow Nutsedge Tubers
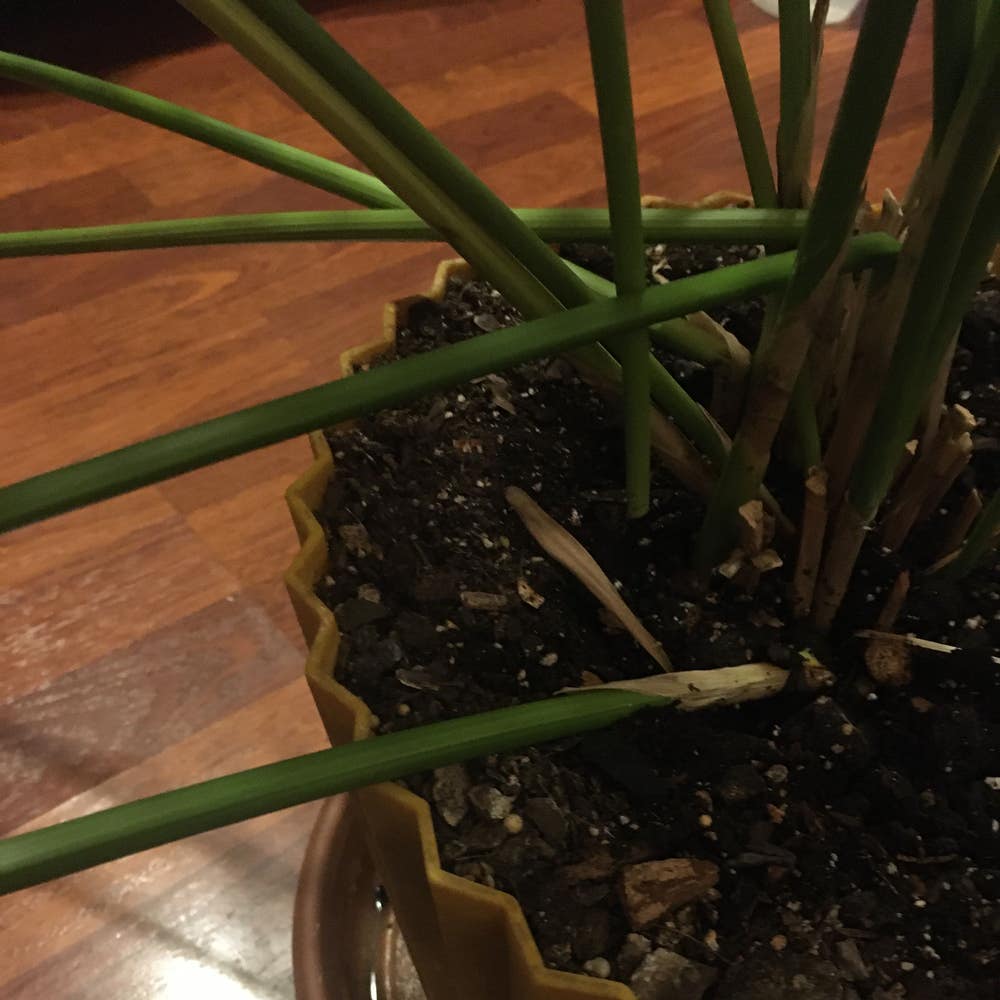
Yellow Nutsedge tubers are underground treasures that ensure the plant's survival and spread. To harvest, wait until late June or early July when tubers form at rhizome tips. Use a garden fork to gently unearth the soil around the nutsedge, aiming to retrieve tubers without damage. Avoid breaking them apart, as each tuber can potentially become a new plant.
🌱 Planting the Promise: Prepping and Planting Tubers for a New Generation
Once harvested, prepare tubers for planting by inspecting for eyes, the growth points for next season's plants. Select healthy tubers and consider dusting them with a fungicide to prevent rot. Plant them in a well-draining, sandy soil mix, ensuring they're not waterlogged. Position tubers horizontally, just below the soil surface, and space them to allow room for growth. Keep the soil moist but not soggy, and wait for the magic of germination to occur.
Sowing the Future: Seed Propagation
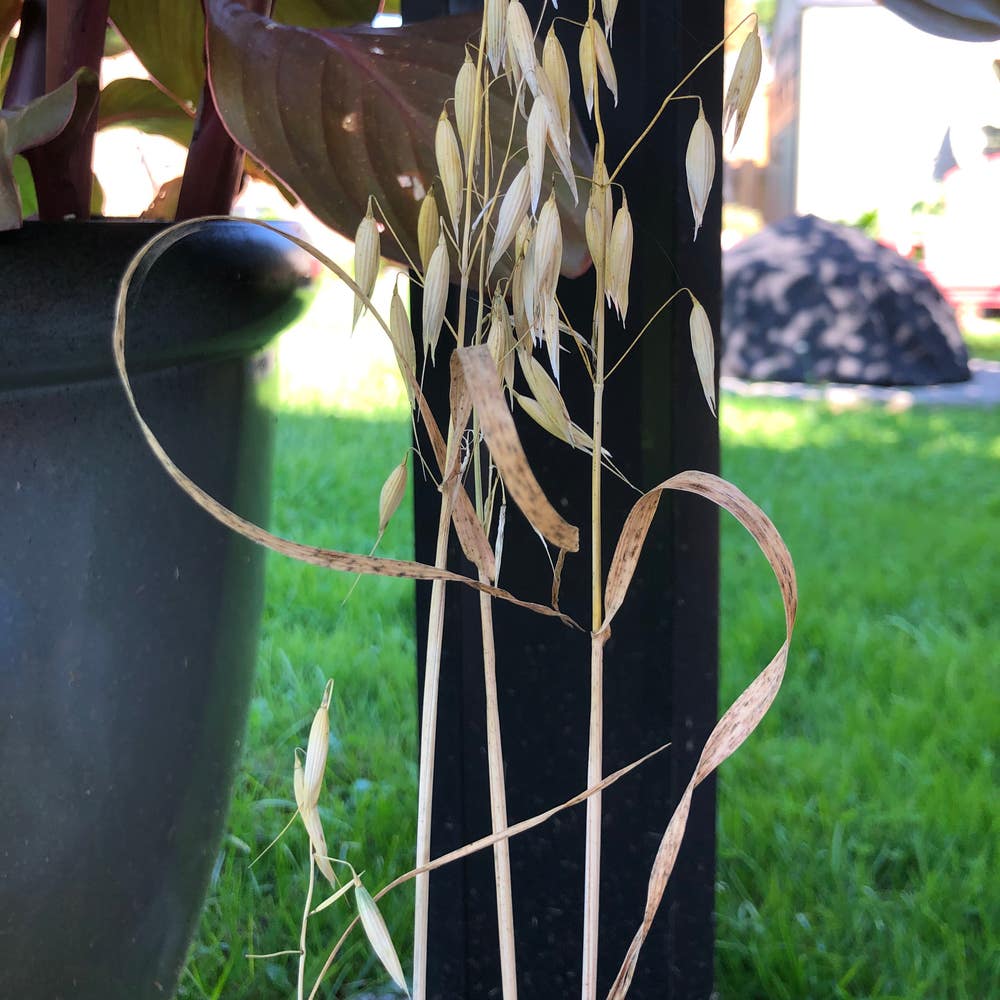
🌾 Harvesting Hints: Collecting Yellow Nutsedge Seeds the Right Way
Timing is your ally when harvesting Yellow Nutsedge seeds. Snatch them up just as they ripen, but before they're lost to the whims of wind and wildlife. Remember, these seeds are notorious for their shyness, often preferring the company of tubers. But when you do find them, treat them like the rare treasures they are.
🌱 Seed to Seedling: Sowing Techniques and Care for Sprouting Success
Once you've secured your seeds, it's time for a spa treatment. A short soak in nearly boiling water, followed by a warm bath for 12-24 hours, should do the trick. If they're still playing hard to get, a delicate nick in the seedcoat might be in order. Think precision, not force.
Planting is next. Mix a well-draining soil medium—potting soil, coarse sand, and perlite are like the three musketeers for your seeds. Sow them on the surface, and then dust them with a whisper of soil. They need light to kickstart their journey, so don't bury them in darkness.
Early care is critical. Keep the soil moist but not waterlogged. Shield the seeds from direct sun, but don't plunge them into shadow. A gentle balance of light and shade will coax them from their shells.
As your seedlings emerge, sporting their shiny cotyledons, be ready to fend off the usual suspects—birds, mice, and the dreaded damping-off disease. A sprinkle of repellent and a dash of fungicide can be the difference between growth and grief.
Remember, these early days are like the first chapters of their life stories. Write them well, and you'll be rewarded with a saga of lush, green success.
Multiplying through Rhizome Division
🌱 The Art of Division: Identifying and Separating Rhizomes
Inspect the rhizomes carefully; you're looking for the plump and vigorous ones. These are the powerhouses that will ensure your propagation efforts aren't in vain. A few days before you plan to divide, give the plant a good watering. This preps the roots, making them more pliable and less likely to snap like a dry twig when you're working with them.
Sterilize your tools—this isn't a suggestion, it's a commandment. A clean, sharp cut is what you're aiming for, not a jagged tear. Each rhizome section must have at least one growth point, or you're just creating plant confetti.
🌿 Planting Parted Pieces: Best Practices for Planting Rhizome Divisions
When you plant your rhizome pieces, think of it as tucking them in for a good night's sleep. They should be planted at the same depth they were previously, to avoid the horticultural equivalent of a blanket that's too short. Consistent moisture is key, but don't drown them—root rot is the silent killer in the propagation game.
Place them in a spot with bright, indirect sunlight and play the waiting game. Signs of new growth are like the first laugh of a baby—proof that life is bubbling up from within. Remember, you're not just planting plants; you're planting potential.
Creating the Perfect Propagation Environment
⚖️ Balancing Act: Light, Temperature, and Moisture
Light is like the energy drink for Yellow Nutsedge propagates—too much, and they crash; too little, and they lack vigor. Aim for a bright spot without the harsh midday sun. Temperature should be the Goldilocks zone—not too hot, not too cold. Keep it consistent to avoid shocking your plant babies. Moisture is a high-wire act; aim for soil that's damp, like a well-wrung sponge, but never waterlogged.
👶 Early Days Care: Nutrient Management and Weed Control
In the early days, think of your Yellow Nutsedge as delicate as a house of cards. Nutrient management is simple—hold off on the fertilizer; these youngsters are still on a light diet. As for weed control, vigilance is key. Keep the area around your new plants as clean as a whistle to prevent competition and disease. Remember, consistency is your co-pilot here, steering your young plants towards a thriving future.
Overcoming Propagation Pitfalls
🐛 Troubleshooting Tips: Dealing with pests and diseases in new plants
Pests: They're the uninvited guests at your plant's dinner party. Regular inspections are your best defense. Spot an aphid or mealybug? Isolate the affected plant and show them the door with insecticidal soap or neem oil.
Diseases: Like a bad cold, they spread fast and can ruin the party. Yellowing leaves or slimy stems? Act fast. Remove any infected plants and consider a fungicide. Remember, prevention is key—keep your tools and environment clean.
💨 Airflow: The Unsung Hero
Poor airflow invites fungal diseases like gray mold. Keep the air moving to avoid a fungal fiesta. Think of it as your plant's personal space—everyone needs it.
🚫 Quarantine Newbies
New plants can be like trojan horses for pests and diseases. Isolate them before introducing them to your plant family. It's like a background check for your plants.
💧 Water Wisely
Overwatering can lead to root rot, the silent killer. Water the soil, not the leaves, and make sure it's well-draining. It's a drink, not a bath.
🌡️ Keep an Eye on the Climate
Temperature and humidity should be just right. Too much moisture and you're in a swamp, too little and you're in a desert. Aim for the sweet spot.
🧼 Cleanliness is Next to Plantliness
Sterilize your tools and pots regularly. It's like hygiene for horticulture—non-negotiable.
🌱 Embrace the Learning Curve
Every challenge is a chance to grow—both your plants and your skills. Keep a sharp eye, and don't be afraid to ask for help from the community. Forums and local gardening clubs can be a goldmine for advice.
⚠️ Safety First
This content is for general information and may contain errors, omissions, or outdated details. It is not medical, veterinary advice, or an endorsement of therapeutic claims.
Always consult a qualified healthcare professional before using any plant as food, medicine, or supplement.
Never eat any plant (or feed one to pets) without confirming its identity with at least two trusted sources.
If you suspect poisoning, call Poison Control (800) 222-1222, the Pet Poison Helpline (800) 213-6680, or your local emergency service immediately.
Spotted an error? Please report it here.
Turn your propagation prowess 🌱 into a success story with Greg's custom care reminders and community advice, ensuring your Yellow Nutsedge thrives from tuber to triumph.