Propagating Straw-colored Flatsedge: The Ultimate Guide
Cyperus strigosus
By the Greg Editorial Team
Mar 12, 2024•4 min read
This article was created with the help of AI so we can cover more plants for you. May contain errors. See one? Report it here.
- Spring/fall best for division: Look for overcrowding signs.
- Seed propagation: Harvest when dry, germinate in warm, humid conditions.
- Rhizome cuttings: Use growth point, rooting hormone, and moist soil.
Splitting It Up: Division Propagation
⏰ When to Divide
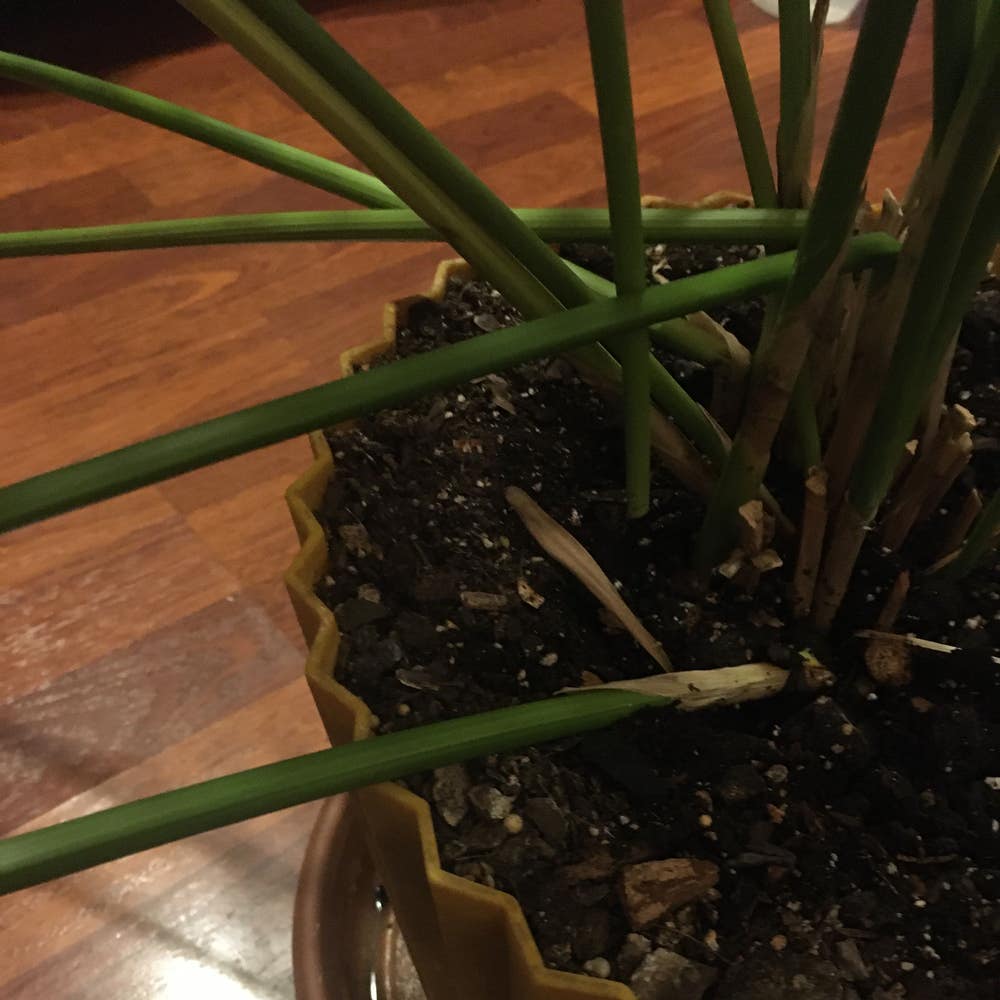
Spring or early fall is your sweet spot for division. This timing allows Straw-colored Flatsedge to recover during mild weather. Look for signs of overcrowding or a decrease in the center's vigor as indicators it's time to divide.
🌱 The Division Process
- Water your plant a couple of days before to minimize root shock.
- Gently remove the plant from its pot, being mindful of the roots.
- Identify sections with healthy roots, stems, and leaves.
- Use a sterile, sharp tool to separate the clumps.
- Ensure each new section has at least one growth point.
🌿 Post-Division Care
Immediately after division, plant the sections in a well-draining medium. Maintain high humidity and consistent moisture to help the new plants establish. Avoid flowering to redirect energy to root and leaf development.
From Tiny Seeds to Lush Greens: Seed Propagation
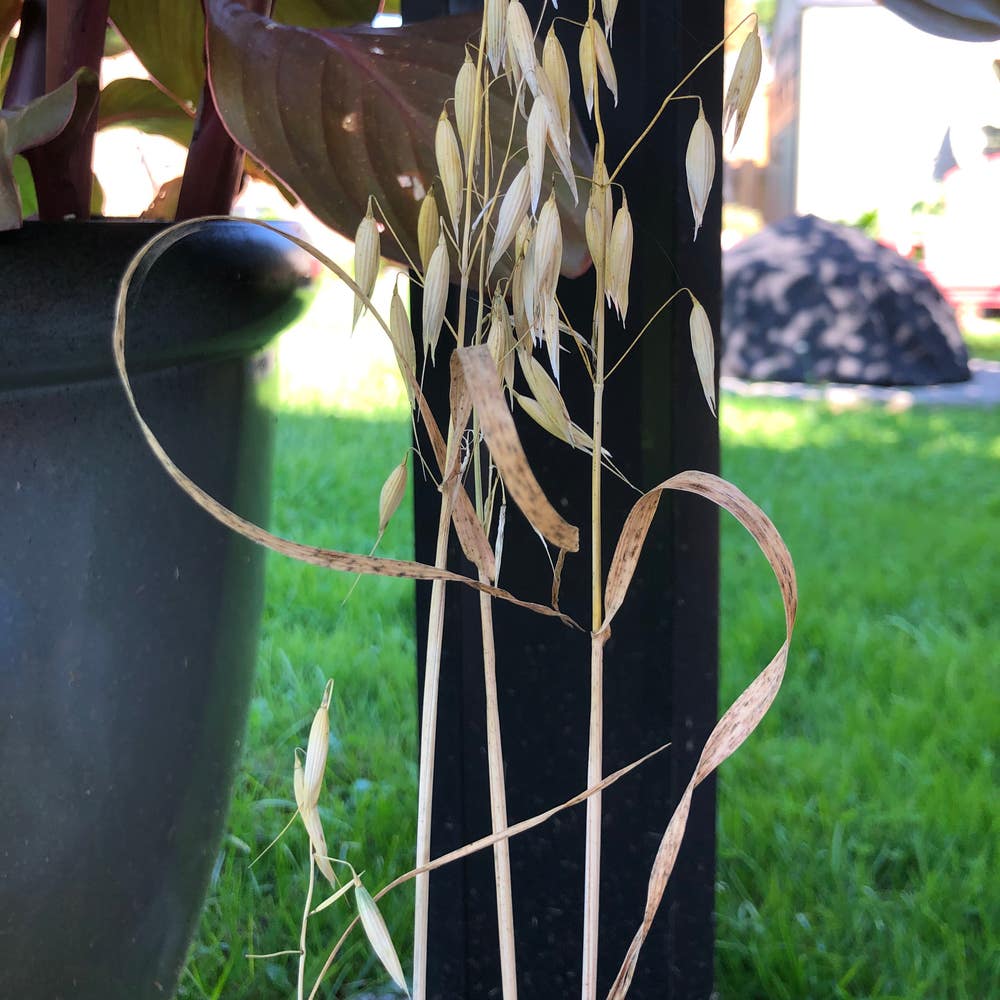
🌱 Collecting Seeds with Care
Harvesting seeds from Straw-colored Flatsedge should be timed precisely. The seeds are ripe when the fruit dries on the plant. To collect, gently pluck the fruit and extract the seeds, ensuring they are clean and free from any plant residue. Dry seed heads can be stored in paper bags, labeled with details like date and species, to avoid mix-ups.
🌱 Sowing the Seeds of Tomorrow
Soil preparation is crucial for seed propagation. Use a sterile, nutrient-rich medium to create an ideal bed for the seeds. Sow them in flats or containers with drainage, covering lightly with soil. The germination stage demands a warm, humid environment; think of it as a cozy incubator for your future greens. Consistency in temperature and moisture levels is key.
🌱 Seedling Care
Once germination kicks in, and the seedlings show their first true leaves, it's time for some tough love. Thin out the seedlings, leaving the strongest contenders. Transplant them into individual pots with a moistened planting mix to encourage robust root development. Handle the seedlings by the leaves, not the stem, to avoid damage. This stage sets the foundation for a thriving Straw-colored Flatsedge plant.
Rooting for Success: Rhizome Cuttings
🌱 Cutting to the Chase
Selecting a healthy rhizome is your first step towards propagation triumph. Look for sections with at least one growth point and use a sterile knife for the cut. Post-snipping, let the rhizome callus over to prevent rot—think of it as a natural band-aid.
🌿 Planting Rhizome Cuttings
Planting is more art than science. Rooting hormone? Optional, but it's like a pep talk for your cuttings. Stick the callused end into well-draining soil; too much moisture is the enemy. Keep it moist but not soggy—like that perfectly wrung-out sponge from your kitchen.
🌱 Ensuring Rhizome Recovery
Patience is key. Roots are shy and need time to peek out. Keep the soil consistently moist and provide indirect light. If you're the type to check on your plants more than your social media, you'll need to dial it back. Roots need privacy to get their groove on.
Overcoming Propagation Pitfalls
🌱 Common Hurdles in Propagation
Poor germination and rooting failures can make propagation feel like a test of endurance. Bacterial infections can turn stems slimy and leaves spotty, demanding swift action. Cleanliness is paramount; sterilize your tools to keep those microscopic party crashers at bay. Overwatering is a frequent misstep, leading to a fungal free-for-all—keep the soil moist, not a swamp. Temperature is also crucial; seeds need warmth like they need air, so don't leave them out in the cold.
🛠️ Pro Tips for Troubleshooting
When your plants are more limp than lively, it's time to play plant detective. Yellowing leaves? Too much sun or poor soil nutrition could be the culprits. Stunted growth? Shine a light on your lighting—bright, indirect sunlight is key. Root rot is the arch-nemesis of propagation, often a sign of overzealous watering. Dial back the H2O and ensure your pots have drainage holes. If pests make an appearance, show them the door with insecticidal soap. And remember, a vigilant eye can catch issues before they escalate into full-blown disasters.
⚠️ Safety First
This content is for general information and may contain errors, omissions, or outdated details. It is not medical, veterinary advice, or an endorsement of therapeutic claims.
Always consult a qualified healthcare professional before using any plant as food, medicine, or supplement.
Never eat any plant (or feed one to pets) without confirming its identity with at least two trusted sources.
If you suspect poisoning, call Poison Control (800) 222-1222, the Pet Poison Helpline (800) 213-6680, or your local emergency service immediately.
Spotted an error? Please report it here.
Ensure your Straw-colored Flatsedge divisions thrive 🌾 with Greg's personalized watering schedules and timely care reminders based on your plant's needs!