Propagating Physic Nut: Step-by-Step Guide
Jatropha curcas
By the Greg Editorial Team
Apr 28, 2024•6 min read
This article was created with the help of AI so we can cover more plants for you. May contain errors. See one? Report it here.
Propagate your Physic Nut plants 🌿 effortlessly with this comprehensive step-by-step guide!
- Scarification boosts germination: Dip seeds in hot water, then soak.
- Stem cuttings need a 45-degree cut: Use healthy stems, dry before planting.
- Air layering for robust roots: Girdle branch, wrap with moist medium, wait for roots.
Getting Started with Seed Propagation
🌱 Choosing the Right Seeds
To kick off your Physic Nut propagation, selecting ripe seeds is crucial. Look for seeds that are plump, unblemished, and have a mature color—these are the MVPs for your propagation team. Avoid any that show signs of damage or disease; they won't make the cut.
🔥 Prepping Your Seeds for Success
Scarification is your next move. This isn't about being rough; it's about being smart. Briefly dip the seeds in hot water, then let them soak in warmth for 12-24 hours. If they're still playing hard to get, gently nick the seed coat. Think finesse, not force.
🌱 Planting Your Seeds
Now for the main event: planting. Choose a well-draining soil mix that's like a cozy bed for your seeds—not too deep, just snug enough. Cover them lightly with soil or fine gravel, and maintain a warm, moist environment. It's a waiting game, so patience is your new best friend. Keep the soil moist with a spray bottle to avoid a flood disaster.
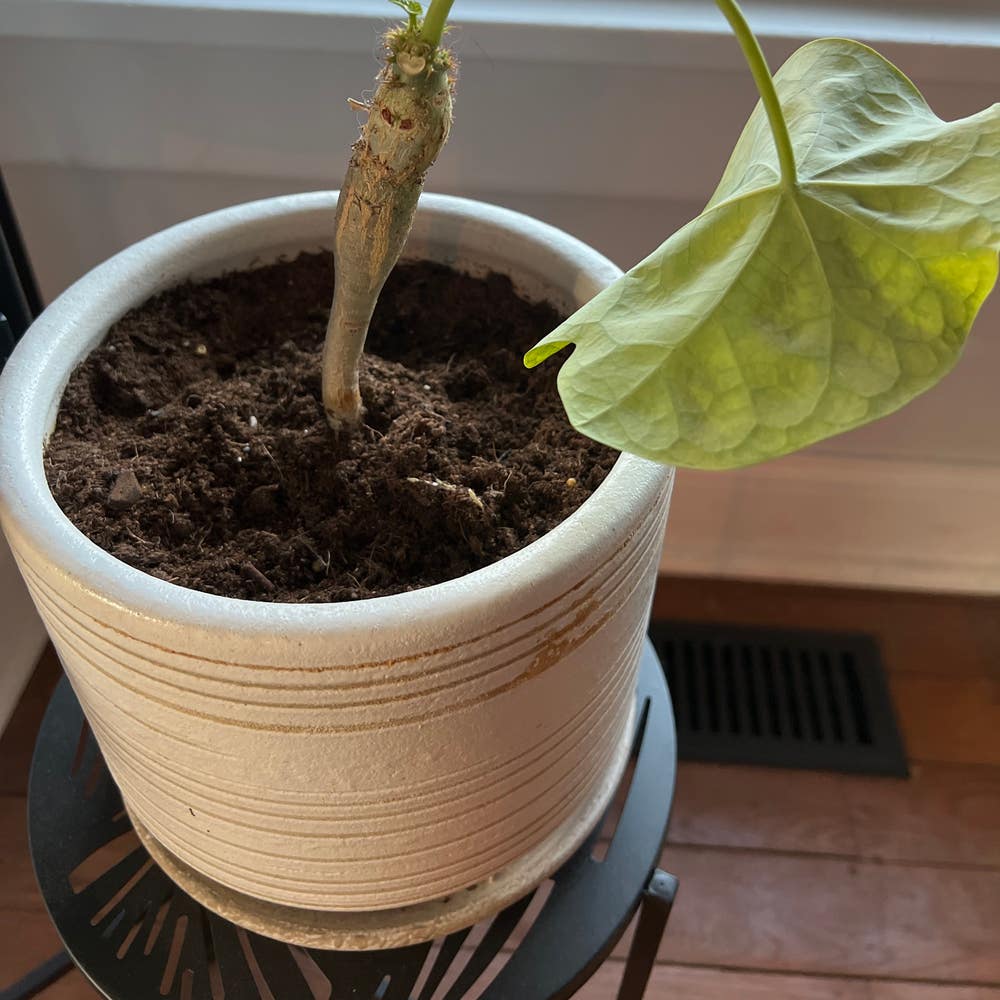
Stem Cutting Propagation: A Cut Above
🌱 Selecting Your Champion Cuttings
In the green world of propagation, choosing the right stem is like picking the MVP for your team. Go for stems that scream health: vibrant, sturdy, and no signs of the pest party. Aerial roots? Jackpot. They're like little green flags waving "Pick me!" Make sure your tools are sterilized—think surgeon-clean.
🔪 The Perfect Cut
Now, get your shears ready for action. Angle them at 45 degrees just below a node, where the plant's energy is buzzing. It's not just a cut; it's a strategic move. A sharp, clean snip here can mean the difference between rooting triumph and withering defeat.
🌱 Rooting Your Cuttings
Before these cuttings hit the soil, let them dry out a bit. Call it a tough love period to avoid rot. When it's time, plant them in a mix that drains like a dream. Rooting hormone? It's like a secret growth elixir, not necessary but definitely helpful. Stick the node in the soil, and let nature do its thing. Keep an eye out for growth, but remember, patience is the name of the game.
Air Layering: The High-Flying Propagation Method
🌱 Choosing Your Branch
Selecting the right branch is crucial for air layering success. Aim for a healthy branch, about the thickness of a pencil, and ensure it has a good number of leaves. This will provide the necessary energy through photosynthesis to support root growth.
🌳 The Air Layering Process
🪓 Preparing the Branch
Girdle the branch by removing a ring of bark and cambium layer to expose the inner wood. Be precise; this step is about finesse, not force.
💧 Applying Rooting Medium
Wrap the exposed area with a moist rooting medium. This could be sphagnum moss or a similar material that retains water well. Secure it with plastic wrap to maintain humidity.
🌿 Encouraging Root Growth
Keep the wrapped area humid but not soggy. This balance is the sweet spot for roots to develop without rot setting in.
⏳ Monitoring and Waiting
Patience is key. Roots may take several weeks to form. Look for white, firm roots before considering separation from the parent plant.
✂️ Separating the New Plant
Once roots are established, cut below the new root ball. Plant your new Physic Nut in a pot with suitable soil and continue to provide care as it establishes itself.
Remember, air layering is not a race. It's a marathon that rewards those who wait with robust, ready-to-thrive plants.
Grafting: The Optional Challenge
🌱 Grafting Basics
Grafting is like a botanical partnership, where two plants become one. Physic Nut (Jatropha curcas) can be grafted to enhance vigor or to introduce different characteristics. It's not for the faint of heart, but for those ready to experiment, the rewards can be substantial. Grafting is ideal when you want to combine the best traits of two plants or repair a damaged specimen.
🛠️ The Grafting Procedure
🌱 Selecting Rootstock and Scion
Choose a healthy rootstock and a scion with the desired traits. Compatibility is key; closely related species work best.
⏰ Timing and Tools
Graft when the plant is actively growing. Use a sharp knife to ensure clean cuts.
📐 Making the Cut
Cut the rootstock and scion at matching angles to maximize the cambium contact – that's where the magic happens.
🤝 Joining the Pieces
Fit them together snugly and secure with grafting tape. It's a delicate dance, so be gentle.
🌿 Aftercare
Keep the grafted plant in a humid environment to encourage union. Watch for signs of distress, like wilting or discoloration.
⏳ Patience is a Virtue
It takes time for the graft to take. Protect it from the elements and pests. With care and a bit of luck, you'll have a thriving Physic Nut with the best of both worlds.
Aftercare and Troubleshooting
🌱 Ensuring Propagation Success
Consistency is key when it comes to the aftercare of your newly propagated Physic Nut plants. Maintain a steady environment—no drastic changes in temperature or humidity. Think of pests as party crashers; fend them off with insecticidal soap or neem oil. Sterilize your tools regularly; they're as crucial as a surgeon's scalpel in preventing disease.
First Steps After Propagation
Handle your Physic Nut plants with care, as if they're fragile treasures. Water them with a gentle touch, enough to settle the soil without causing a flood. Provide bright, indirect light to ease them into their new surroundings, avoiding the shock of a sudden spotlight.
🚧 Overcoming Propagation Pitfalls
Keep a propagation log; it's like a detective's diary for your plant care. Track what works and what doesn't—patterns will emerge, guiding you to avoid repeating mistakes. If you notice a brown leaf or a wilted stem, investigate; these are clues to potential issues.
Common Issues and Solutions
Temperature fluctuations can stress out your plants like a fish out of water. Avoid sudden changes that can shock the new growth. If you spot signs of distress, such as wilting or discoloration, act quickly to adjust care. Remember, plants won't text you when they're in trouble, so keep a vigilant eye.
⚠️ Safety First
This content is for general information and may contain errors, omissions, or outdated details. It is not medical, veterinary advice, or an endorsement of therapeutic claims.
Always consult a qualified healthcare professional before using any plant as food, medicine, or supplement.
Never eat any plant (or feed one to pets) without confirming its identity with at least two trusted sources.
If you suspect poisoning, call Poison Control (800) 222-1222, the Pet Poison Helpline (800) 213-6680, or your local emergency service immediately.
Spotted an error? Please report it here.
Track your Physic Nut propagation triumphs 🌿 with Greg's custom reminders for watering and environment monitoring, ensuring your new plants flourish!