Propagating Lindheimer's Beeblossom: Step-by-Step Guide
Oenothera lindheimeri
By the Greg Editorial Team
Jan 20, 2024•5 min read
This article was created with the help of AI so we can cover more plants for you. May contain errors. See one? Report it here.
- Harvest seeds post-bloom, store in a cool, dry place for future sowing.
- Stem cuttings thrive with a 45-degree cut, rooting hormone, and warm soil.
- Divide in spring or when crowded, ensuring thorough watering and indirect light post-division.
Sowing the Future: Seed Propagation
🌱 Collecting Seeds Like a Pro
Harvesting viable seeds from Lindheimer's Beeblossom is all about timing. Wait until the flowers have faded and the seed pods are dry; that's your cue to collect. Snip the pods and let them dry further indoors to avoid any moldy surprises.
Once you've got your seeds, store them cool and dry. Think of it as putting them in hibernation. A paper envelope in a sealed jar in the fridge? Perfect. Just label it, so you don't mistake it for a peculiar spice.
🌱 From Seed to Seedling
Prep your soil like a Michelin-star chef does their mise en place. It should be light, fluffy, and just begging for seeds. Sow them shallowly; they're not treasure, so no deep burying.
Creating the perfect germination environment is like setting up a nursery. Warmth is your best friend here, but not too hot, or you'll cook the future blooms. Keep the soil moist, like a wrung-out sponge, and wait for the magic to happen. Patience is key; germination is a waiting game, but the payoff is a garden full of Beeblossom babies.
Cloning Beauties: Stem Cutting Propagation
🌱 Choosing and Prepping Your Cuttings
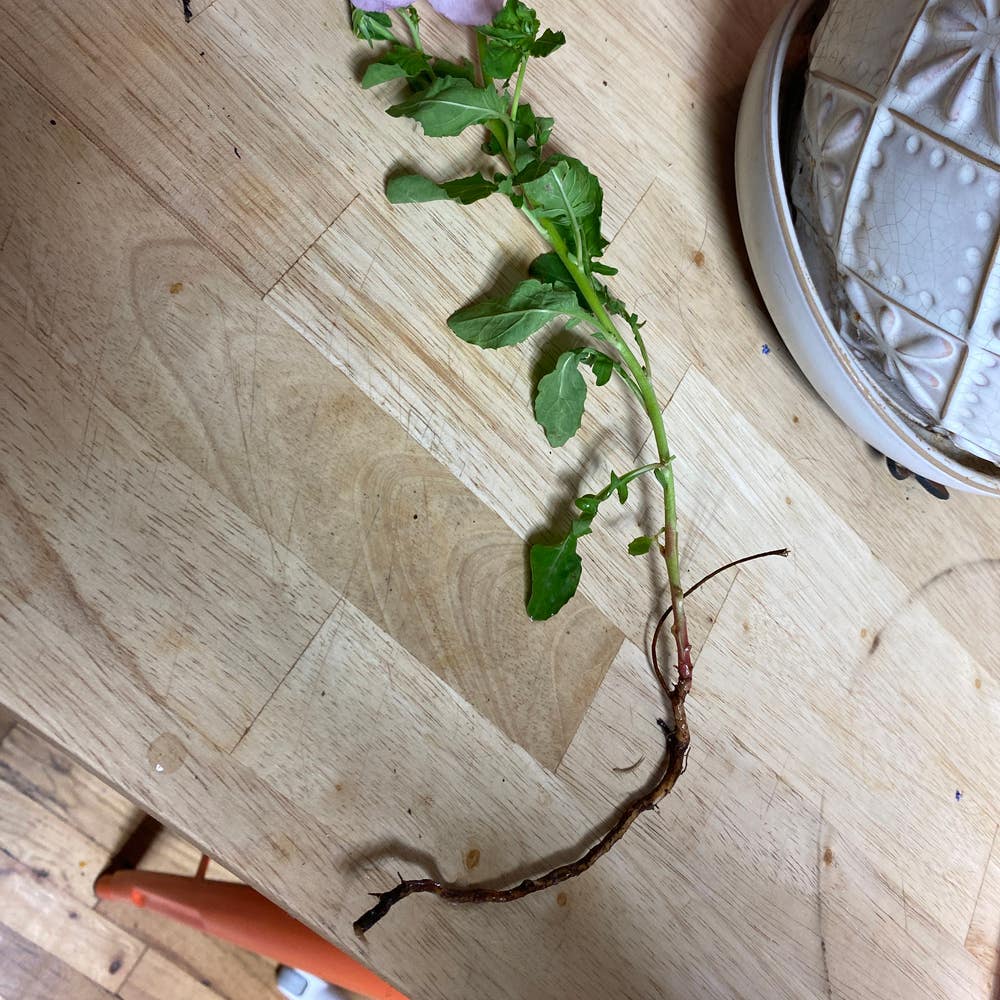
To kickstart your stem cutting propagation, eye those Lindheimer's Beeblossom stems that scream health—lush, green, and blemish-free. Snag your sharpest shears, sterilized as if prepping for surgery, and slice below a node at a 45-degree angle. This isn't just a trim; it's a strategic incision for maximum rooting potential.
🌿 Pre-treatment Steps Before Planting
Strip the lower leaves to prevent any fungal soirées, leaving a few at the top to keep photosynthesis on the guest list. Dip the cut end in rooting hormone—think of it as a motivational speech for roots. Now, your cuttings are dressed and ready for the soil ball.
🌱 Rooting Your Future Blooms
Rooting hormones are your cuttings' backstage pass to a successful rooting gig. After the hormone hype, tuck them into a cozy soil bed, ensuring the environment is more spa retreat than swamp. Humidity and temperature are the bouncers here; keep them in check for a root rave that ends with robust growth.
Patience is your virtue now. Play the waiting game with a watchful eye, ensuring your plant babies stay hydrated but not drowning. When those roots start peeking out, it's time for the next big step—preparing for their solo debut in the garden.
Multiplying Magic: Division Propagation
🌱 When and How to Divide
Spring is the optimal time for division, as plants are entering a period of active growth. However, if your Lindheimer's Beeblossom looks more like a crowded elevator than a serene meadow, feel free to divide at will.
Signs that your plant is ready for division include noticeable overcrowding or a decline in the center of the plant.
📋 Step-by-Step Division Process
- Water the plant thoroughly a day before to make roots more pliable.
- Gently remove the plant from its pot or dig around the plant if it's in the ground.
- Examine the root system and identify natural divisions.
- Separate the plant by hand or use a clean, sharp knife for tough roots.
- Ensure each new section has roots and shoots.
- Replant the divisions in fresh potting mix, water lightly, and whisper sweet nothings for good luck.
🌿 Post-Division Care
After division, your plant babies need a little extra TLC. Consistent moisture is key, but avoid waterlogging your hopefuls.
Bright, indirect light will help them adjust without the harshness of direct sun.
To foster strong root development, resist the urge to let them flower in the first season. This lets them focus all their energy on establishing a robust root system.
Remember, patience is not just a virtue; it's a requirement in the plant world. Give your new divisions time to settle in and establish themselves before expecting any showy displays.
Aftercare: Ensuring Propagation Success
💡 The Right Start for Seedlings and Cuttings
Light is crucial. Seedlings and cuttings thrive in bright, indirect sunlight. Direct sun? That's a hard no—like a vampire at a beach party. Water them right after potting, and keep the soil moist, but not wet. Think of it as the Goldilocks zone for moisture.
Nutrients are next. Begin with a half-strength fertilizer solution. It's like a gentle nudge rather than a full-on shove for your young plants. Watch for new growth—it's a high-five from your plant saying, "I'm doing great!"
🌱 Transitioning to the Garden
Acclimating plants to outdoor life is like prepping a kid for their first day at school. Start with short outdoor sessions and gradually increase their time in the sun. It's a slow dance, not a mosh pit.
Transplanting happens when your plants are ready to leave the nest. Ensure they've got a strong root system—it's their lifeline. Move them to their permanent spot when they're robust enough to handle the real world, typically after a few weeks of acclimation. Keep an eye on them like a hawk during this period; they're still finding their footing.
⚠️ Safety First
This content is for general information and may contain errors, omissions, or outdated details. It is not medical, veterinary advice, or an endorsement of therapeutic claims.
Always consult a qualified healthcare professional before using any plant as food, medicine, or supplement.
Never eat any plant (or feed one to pets) without confirming its identity with at least two trusted sources.
If you suspect poisoning, call Poison Control (800) 222-1222, the Pet Poison Helpline (800) 213-6680, or your local emergency service immediately.
Spotted an error? Please report it here.
Propagate Lindheimer's Beeblossom like a pro with Greg's step-by-step reminders 🌟, guiding you from seed sowing to outdoor acclimation with ease.