🐝 What to Do About Black Spots on Your Beeblossom
Oenothera lindheimeri
By the Greg Editorial Team
Oct 15, 2024•6 min read
This article was created with the help of AI so we can cover more plants for you. May contain errors. See one? Report it here.
- 🌱 Black spots on Beeblossom can stem from fungal infections or environmental stress.
- 🐛 Pests like aphids and spider mites contribute to black spots and distorted leaves.
- 💧 Overwatering and nutrient deficiencies lead to black spots; maintain proper care for health.
Diagnosis of Black Spots
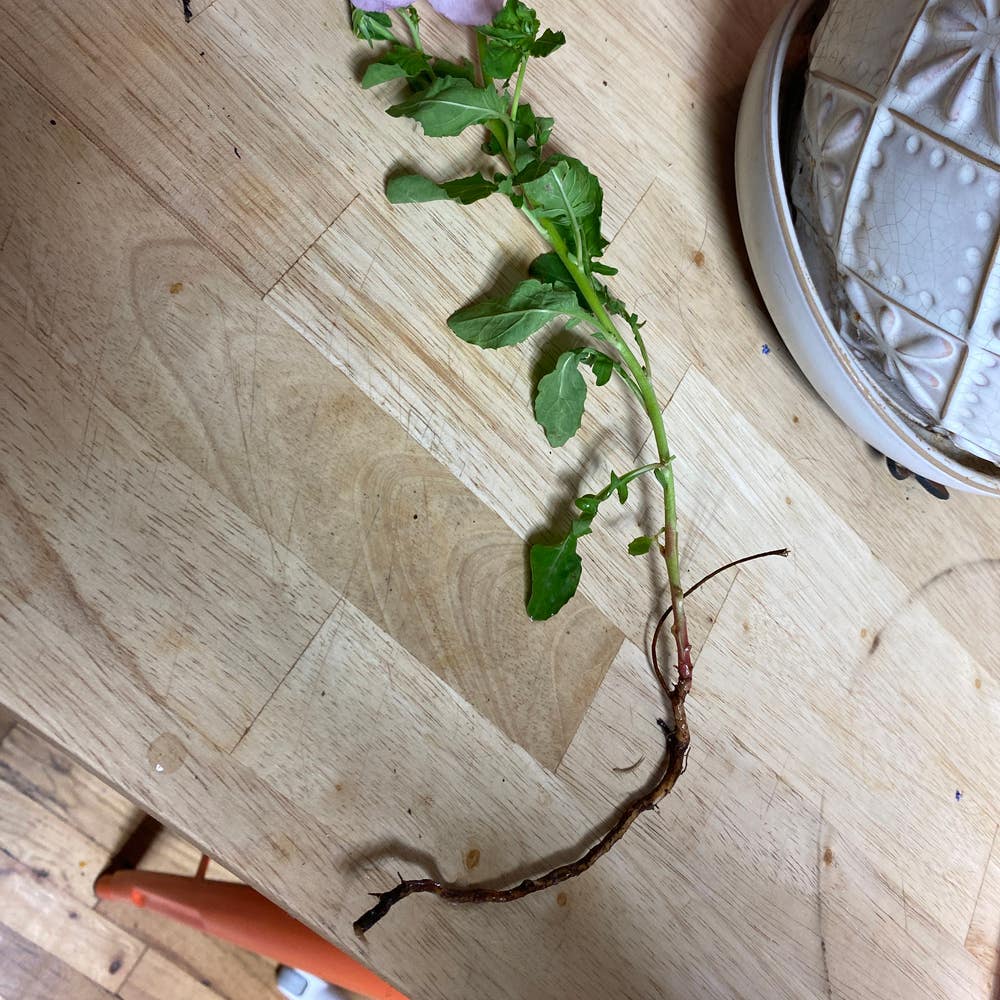
Identifying Black Spots on Leaves 🌑
Black spots on Beeblossom leaves can vary in size, color, and texture. Typically, they appear as small, dark patches that may feel rough or smooth, depending on the underlying issue.
These spots often show up in specific areas, such as the leaf tips or along the edges. Their presence can significantly impact the plant's overall health, leading to reduced vigor and fewer flowers.
Differentiating Between Fungal and Environmental Causes 🦠
Fungal infections often present with distinct characteristics. Look for spots with fuzzy edges or those that seem to spread rapidly across the leaf surface.
On the other hand, environmental stress manifests through signs like wilting or yellowing leaves, indicating issues such as overwatering or poor drainage. Observing the patterns and conditions that lead to black spots can help you diagnose the problem effectively.
Signs of Pest Infestation Related to Black Spots 🐜
Pests like aphids and spider mites can contribute to the appearance of black spots. These pests often leave behind distorted leaves and sticky residue, making them easier to identify.
Recognizing these symptoms is crucial for effective pest control. Addressing infestations promptly can prevent further damage to your Beeblossom and keep it thriving.
Causes of Black Spots
🦠 Fungal Infections and Their Impact
Fungal diseases are a primary culprit behind black spots on Beeblossom leaves. Common offenders include leaf spot fungi and powdery mildew, which thrive in high humidity and poor air circulation.
These conditions create an ideal environment for fungi to flourish, leading to reduced photosynthesis and making your plant more vulnerable to other diseases. Keeping an eye on humidity levels and airflow can help mitigate these risks.
🌧️ Environmental Stress Factors
Overwatering is a significant stressor that can lead to black spots. Symptoms include wilting and yellowing leaves, indicating that your Beeblossom is struggling.
Poor drainage exacerbates this issue, making well-drained soil essential for healthy growth. Additionally, extreme temperatures can compromise leaf integrity, further contributing to the appearance of black spots.
🥦 Nutrient Deficiencies Leading to Leaf Spots
Nutrient deficiencies can also manifest as black spots on your Beeblossom. Key nutrients like nitrogen and potassium play crucial roles in maintaining leaf health.
When these nutrients are lacking, you may notice yellowing leaves and stunted growth. Regular soil testing is vital to assess nutrient levels and ensure your plant receives optimal care.
Understanding these causes is the first step toward effective treatment and prevention, setting the stage for healthier, more vibrant Beeblossoms.
Treatment Options
🌱 Organic Fungicides for Beeblossom
When it comes to treating black spots, organic fungicides are a great choice. Neem oil and sulfur-based products are highly recommended for their effectiveness and safety.
For best results, apply these fungicides during the early morning or late evening. This timing helps maximize absorption while minimizing the risk of harming beneficial insects.
🏠 Home Remedies for Treating Black Spots
If you prefer a DIY approach, several home remedies can effectively combat black spots. A baking soda solution and diluted vinegar are popular options.
Here’s a simple step-by-step guide to using baking soda:
- Prepare the solution: Mix 1 tablespoon of baking soda with 1 gallon of water.
- Spray on affected leaves: Apply in the early morning or late evening for optimal results.
- Frequency: Repeat every 7-14 days until you see improvement.
✂️ Proper Pruning Techniques to Remove Affected Leaves
Pruning is essential for maintaining your Beeblossom's health. Start with clean, sharp pruning shears to avoid introducing further issues.
Follow these steps for effective pruning:
- Identify affected leaves: Look for black spots and any signs of decay.
- Cut leaves: Remove the leaves at the base, being careful not to damage healthy tissue.
- Dispose of cuttings: Seal them in a bag to prevent the spread of spores.
By implementing these treatment options, you can help your Beeblossom thrive and reduce the risk of future black spots. Next, let’s explore some prevention strategies to keep your plant healthy year-round.
Prevention Strategies
Best Watering Practices for Beeblossom 🌊
Maintaining the right watering frequency is crucial for Beeblossom health. Aim to keep the soil consistently moist but not soggy, watering when the top inch feels dry.
Deep watering is more effective than surface watering. This method encourages roots to grow deeper, enhancing drought resistance.
Timing is also essential. Watering in the morning helps reduce humidity levels, minimizing the risk of fungal infections.
Soil Preparation and Drainage Solutions 🏞️
The ideal soil for Beeblossom is well-draining loamy soil enriched with organic matter. This composition promotes healthy root development and prevents waterlogging.
To improve drainage, consider using raised beds or adding materials like perlite or sand. These techniques help ensure excess water flows away from the roots.
Soil testing is vital for optimal growth. Regularly assess pH and nutrient levels to tailor your care routine effectively.
Regular Monitoring for Pests and Diseases 🔍
Weekly inspections can catch early signs of pests or diseases. Look for any unusual spots or distortions on leaves.
Keep a record of your observations. Documenting patterns helps you identify recurring issues and adjust your care strategies accordingly.
Adopt an integrated pest management approach. This combines cultural, mechanical, and biological controls to maintain a healthy Beeblossom.
By implementing these prevention strategies, you can significantly reduce the risk of black spots and ensure your Beeblossom thrives. Next, let’s explore seasonal considerations that can further enhance your plant care routine.
Seasonal Considerations
🌧️ Seasonal Changes Affecting Black Spots
Spring brings increased humidity, creating a perfect environment for fungal growth on your Beeblossom. As temperatures rise, be vigilant; the combination of moisture and warmth can lead to an outbreak of black spots.
In summer, heat stress becomes a concern. Your plant may require more frequent watering to combat the effects of high temperatures, which can also influence the appearance of black spots.
As fall approaches, it's time to prepare your Beeblossom for winter. This includes reducing disease risk by ensuring proper care and addressing any existing black spots before dormancy sets in.
🛡️ Timing for Preventive Treatments Throughout the Year
In spring, initiate your preventive measures with fungicide applications and keep an eye out for pests. This proactive approach can help mitigate potential issues before they escalate.
During summer, focus on regular watering and adjusting nutrient levels. This will support your plant's health and resilience against stressors.
As fall arrives, conduct final pruning and prepare your Beeblossom for the colder months. This step is crucial for maintaining plant vitality and minimizing disease risks as the seasons change.
⚠️ Safety First
This content is for general information and may contain errors, omissions, or outdated details. It is not medical, veterinary advice, or an endorsement of therapeutic claims.
Always consult a qualified healthcare professional before using any plant as food, medicine, or supplement.
Never eat any plant (or feed one to pets) without confirming its identity with at least two trusted sources.
If you suspect poisoning, call Poison Control (800) 222-1222, the Pet Poison Helpline (800) 213-6680, or your local emergency service immediately.
Spotted an error? Please report it here.
Combat those black spots on your Beeblossom with Greg's tailored care reminders and expert tips, ensuring your plant stays healthy and vibrant! 🌿