Best Practices for Repotting Beeblossom 🐝
Oenothera lindheimeri
By the Greg Editorial Team
Oct 15, 2024•8 min read
This article was created with the help of AI so we can cover more plants for you. May contain errors. See one? Report it here.
- 🌱 Signs of root bound include roots out of drainage holes; repot when noticed.
- 🏺 Repot in spring or fall during active growth for best results.
- 💧 Monitor plant health - yellowing leaves or wilting indicate it's time to repot.
Signs That Beeblossom Needs Repotting
🌱 Root Bound Indicators
Recognizing when your Beeblossom needs repotting is crucial for its health. One clear sign is roots growing out of the drainage holes; this indicates they’ve run out of space.
Another indicator is roots circling the pot's interior. If you notice this, it’s time to give your plant a new home. Stunted growth, despite your best care, is also a red flag that repotting is necessary.
🏺 Soil Condition Signs
Pay attention to the soil condition as well. If the soil dries out too quickly, it may not be retaining enough moisture, signaling a need for a larger pot.
Soil compaction or crusting on the surface can also indicate that the soil is no longer suitable for your Beeblossom. These conditions can hinder root health and overall plant vitality.
🌿 Plant Health Indicators
Lastly, monitor your plant's health. Yellowing leaves or wilting can be signs of stress, often linked to inadequate space or nutrients.
Reduced flowering or poor overall vigor are additional indicators that your Beeblossom may be ready for a repot. Addressing these signs promptly will help ensure your plant thrives.
Recognizing these signs early can make a significant difference in your Beeblossom's health. Next, let’s explore the best time of year to repot your plant for optimal results.
Best Time of Year to Repot Beeblossom
🌱 Seasonal Considerations
Timing is everything when it comes to repotting Beeblossom. The ideal seasons are early spring or fall, as these periods align with the plant's natural growth cycles.
Avoid repotting during extreme temperatures, whether it’s the scorching heat of summer or the chill of winter. These conditions can stress your plant and hinder its recovery.
🌼 Growth Cycle Awareness
Repotting during active growth is key to a smooth transition. This approach helps your Beeblossom bounce back quickly and thrive in its new environment.
Additionally, consider timing your repotting with the flowering cycles. This minimizes disruption and allows your plant to focus on blooming rather than adjusting to a new pot.
By paying attention to these seasonal cues, you can ensure your Beeblossom remains healthy and vibrant. Next, let’s dive into the step-by-step guide for repotting your plant effectively.
Step-by-Step Guide to Repotting Beeblossom
Repotting your Beeblossom can seem daunting, but with the right approach, it can be a rewarding experience. Follow these steps to ensure your plant thrives in its new home.
1. Gather Necessary Materials 🛠️
Start by collecting your supplies: a new pot, quality potting soil, and essential tools like a trowel and gloves. Having everything on hand will make the process smoother.
2. Choose the Right Pot Size 📏
Select a pot that is 1-2 inches larger in diameter than the current one. This extra space allows for healthy root growth without overwhelming the plant.
3. Prepare the New Pot 🧱
Before planting, prepare the new pot.
- Add a layer of drainage material, such as gravel or broken pottery, at the bottom.
- Fill the pot with the recommended potting soil for Beeblossom, ensuring it’s well-draining.
4. Remove Beeblossom from Its Current Pot 🌱
Gently remove your Beeblossom from its existing pot.
- Loosen the soil around the edges carefully.
- Lift the plant, taking care to avoid damaging the taproot.
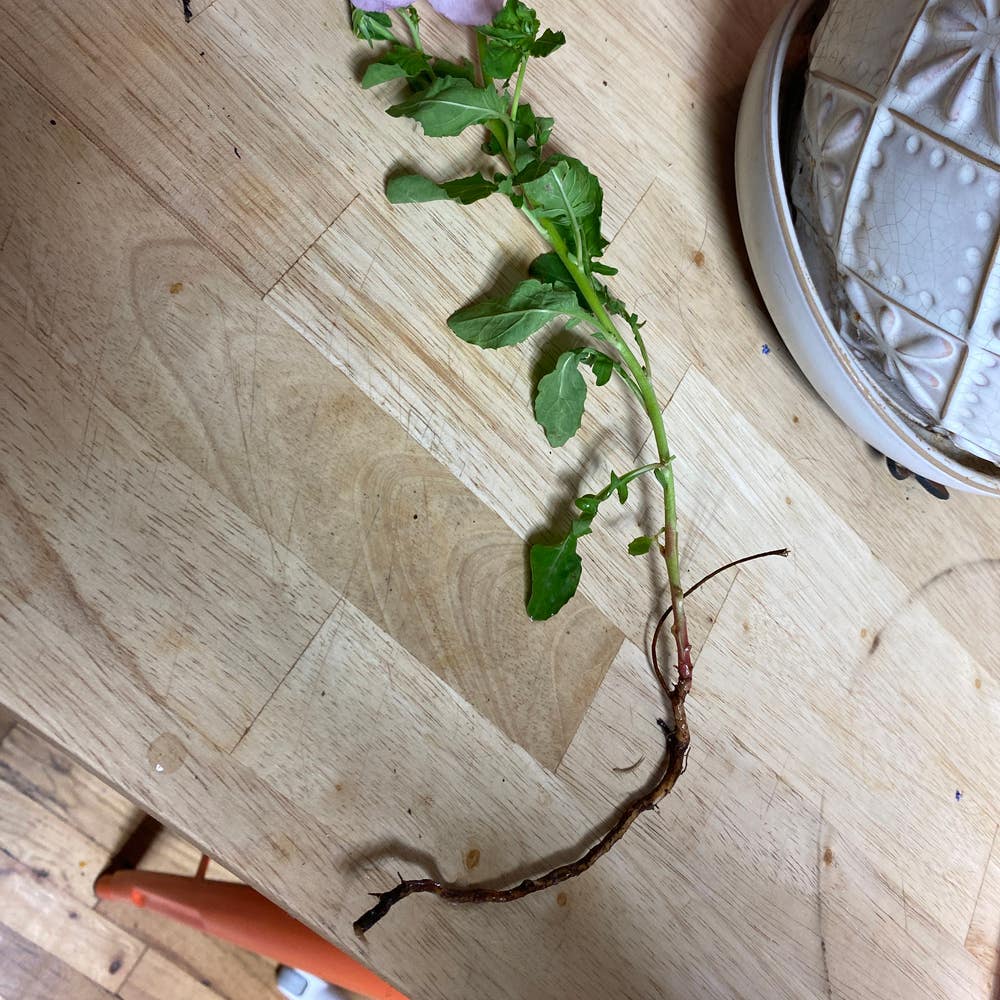
5. Inspect and Prune Roots ✂️
Once out, inspect the roots for any signs of rot or damage. Trim any unhealthy roots to promote better growth in the new pot.
6. Place Beeblossom in the New Pot 🌼
Position your Beeblossom in the new pot at the same soil level as before.
- Fill in with soil, ensuring there are no air pockets that could hinder root development.
7. Water Thoroughly 💧
After planting, water the Beeblossom thoroughly to settle the soil. This helps eliminate air pockets and ensures good contact between the roots and soil.
8. Find the Right Location 🌞
Finally, place your repotted Beeblossom in a suitable location with appropriate light conditions. This will help it acclimate and thrive in its new environment.
Following these steps will set your Beeblossom up for success. Now that you know how to repot, let’s explore the best pot material options to enhance your plant's growth further.
Pot Material Options
Choosing the right pot material for your Beeblossom is crucial for its health and growth. Each option has its own set of advantages and disadvantages.
🏺 Terracotta Pots
Pros
Terracotta pots are known for their excellent breathability and drainage. They also add a rustic aesthetic that enhances outdoor settings.
Cons
However, they can dry out quickly, necessitating more frequent watering. Additionally, they are prone to cracking in extreme temperatures, which can be a concern.
🧴 Plastic Pots
Suitability
Plastic pots are lightweight and easy to handle, making them a popular choice for many gardeners. They retain moisture better than terracotta, which can be beneficial in warmer climates.
Considerations
Just ensure that your plastic pots have adequate drainage holes. Without them, you risk waterlogging the roots, which can lead to root rot.
🎨 Ceramic Pots
Benefits
Ceramic pots come in a variety of attractive designs and colors, adding visual interest to your plant display. They also provide good insulation for the roots, helping to maintain a stable temperature.
Drawbacks
On the downside, ceramic pots are heavier and can be more difficult to move. They may also retain too much moisture if not properly drained, which can be detrimental to your Beeblossom.
🌱 Biodegradable Pots
When to Use
Biodegradable pots are suitable for seedlings or temporary housing. They break down over time, promoting root growth into the surrounding soil.
Limitations
However, they may not provide adequate support for mature plants. If you're planning to keep your Beeblossom long-term, consider transitioning to a sturdier option.
Choosing the right pot material can significantly impact your Beeblossom's health. Next, let’s explore the soil and drainage needs essential for optimal growth.
Soil and Drainage Needs
Recommended Potting Soil 🌱
For Beeblossom, a well-draining soil mix is crucial. Aim for a blend rich in organic matter with a pH range of 6.0 to 7.0 to ensure optimal growth.
Importance of Drainage 🚰
Proper drainage is vital to prevent root rot and encourage healthy root development. Beeblossom's taproot system thrives in conditions where excess water can escape easily.
How to Create a Well-Draining Mix 🧪
Creating a well-draining soil mix is straightforward:
- Combine equal parts potting soil, perlite, and coarse sand.
- Adjust the ratios based on how much moisture retention your Beeblossom needs.
This mix will provide the right balance of moisture and aeration, promoting a thriving plant.
With the right soil and drainage in place, your Beeblossom will be set for success. Next, let’s explore the best pot material options to enhance your repotting experience.
Post-Repotting Care
💧 Watering After Repotting
After repotting your Beeblossom, the first step is to thoroughly soak the soil. This initial watering helps settle the soil around the roots.
For follow-up watering, allow the top inch of soil to dry out before re-watering. This prevents over-saturation and encourages healthy root growth.
☀️ Light Requirements Post-Repotting
Beeblossom thrives in full sun, so aim for 6-8 hours of sunlight daily. If you’ve moved it indoors, gradually acclimate the plant to direct sunlight to avoid shock.
👀 Monitoring Root Health
Keep an eye on your Beeblossom for signs of stress, such as wilting or yellowing leaves. These indicators can signal that the roots are struggling.
Ensure proper drainage to maintain root health. Good drainage is essential for preventing root rot and promoting vigorous growth.
By following these post-repotting care tips, you’ll set your Beeblossom up for success. Next, let’s explore common repotting mistakes to avoid for a smoother experience.
Common Repotting Mistakes
🚫 Overpotting: What to Avoid
One of the most common mistakes when repotting Beeblossom is choosing a pot that's too large. A bigger pot can lead to excess moisture retention, which may cause root rot and other issues.
🔍 Not Checking Root Health Before Repotting
Another pitfall is neglecting to inspect the roots before moving the plant. Transferring damaged or unhealthy roots into a new pot can hinder growth and overall plant health.
🌦️ Ignoring Seasonal Changes
Timing is everything in plant care. Repotting during extreme weather, whether it's scorching summer heat or frigid winter cold, can stress your Beeblossom and impede its recovery.
By avoiding these common mistakes, you can ensure a smoother repotting process and a healthier plant. Now that you know what to steer clear of, let’s explore how to effectively care for your Beeblossom after repotting.
Troubleshooting Post-Repotting Issues
🌱 What to Do If Beeblossom Wilts
If your Beeblossom starts to wilt, the first step is to assess your watering levels. Check if the soil is too dry or overly saturated, and adjust accordingly.
Next, inspect the roots for any signs of damage or disease. Healthy roots are crucial for recovery, so take your time with this step.
🚨 Signs of Stress Post-Repotting
Keep an eye out for yellowing leaves, drooping stems, or reduced flowering. These are clear indicators that your plant is not adjusting well to its new environment.
Recognizing these signs early can help you take action before the situation worsens.
🛠️ Solutions for Common Issues
To address these stress signs, start by adjusting your watering schedule based on environmental conditions. Overwatering or underwatering can both lead to stress.
Ensure your Beeblossom receives proper light exposure. Avoid sudden temperature changes, as these can shock the plant and hinder its recovery.
With a little attention and care, your Beeblossom can bounce back beautifully. Transitioning to the next section will help you understand how to prevent these issues in the first place.
⚠️ Safety First
This content is for general information and may contain errors, omissions, or outdated details. It is not medical, veterinary advice, or an endorsement of therapeutic claims.
Always consult a qualified healthcare professional before using any plant as food, medicine, or supplement.
Never eat any plant (or feed one to pets) without confirming its identity with at least two trusted sources.
If you suspect poisoning, call Poison Control (800) 222-1222, the Pet Poison Helpline (800) 213-6680, or your local emergency service immediately.
Spotted an error? Please report it here.
Transform your Beeblossom's health with expert repotting tips 🌱 from Greg, ensuring it flourishes in its new home with tailored reminders and care guidance!