🌼 Propagating Evening Primrose: Step-by-Step Guide
Oenothera pilosella
By the Greg Editorial Team
Nov 08, 2024•6 min read
This article was created with the help of AI so we can cover more plants for you. May contain errors. See one? Report it here.
Cultivate a thriving garden of evening primrose 🌱 with these expert propagation tips for vibrant blooms! 🌼
- 🌱 Propagate evening primrose via seeds, cuttings, or division—each method varies in difficulty.
- 🌼 Optimal sowing times: early spring after frost or late fall for winter sowing.
- 🌿 Ensure well-draining soil and consistent moisture for successful germination and rooting.
Propagation Methods
🌱 Seed Propagation (difficulty: easy)
Step-by-step instructions for collecting seeds
Collecting seeds from evening primrose is straightforward. Aim to gather them in late summer to early fall when the seed pods are dry.
Gently twist or cut the seed pods from the plant and place them in a paper bag to dry further. This method ensures that the seeds remain viable for future planting.
Best time for sowing seeds
Timing is crucial for successful germination. The ideal time for sowing seeds is early spring after the last frost or late fall for winter sowing.
This allows the seeds to establish themselves in optimal conditions, leading to healthier plants.
Soil requirements for seed propagation
The right soil can make all the difference. Use well-draining, sandy loam with a pH of 6.0 to 7.0 for seed propagation.
To enhance fertility, mix in compost before planting. This will provide essential nutrients for your seedlings.
Germination process and conditions
Germination typically takes 2-3 weeks under the right conditions. Maintain temperatures between 65°F to 70°F (18°C to 21°C) for best results.
Lightly cover the seeds with soil, as they require light for germination. This simple step can significantly improve your success rate.
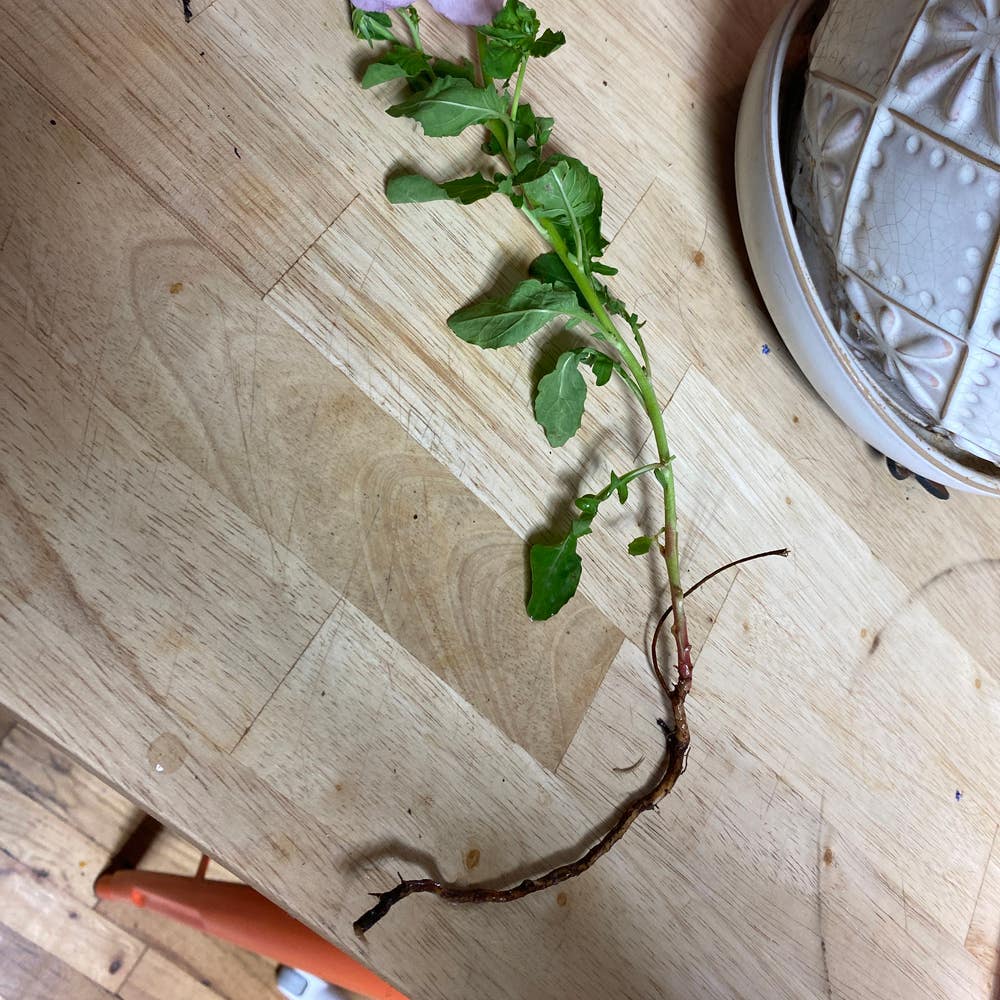
✂️ Cutting Propagation (difficulty: moderate)
Selecting the right stems for cuttings
Choosing the right stems is key to successful cutting propagation. Look for healthy, non-flowering stems that are 4-6 inches long.
The best time to take cuttings is in late spring or early summer, ensuring optimal growth conditions.
Preparing cuttings for rooting
Preparation is essential for rooting success. Remove the lower leaves from the cuttings and dip the cut ends in rooting hormone.
Using a sterile knife or scissors is optional but recommended to prevent disease. This small step can save you from future headaches.
Ideal conditions for rooting cuttings
Creating the right environment is crucial. Maintain high humidity (around 70%) and temperatures of 70°F to 75°F (21°C to 24°C) for optimal rooting.
Use a propagation tray filled with a well-draining medium, such as perlite or vermiculite. This setup encourages healthy root development.
Transplanting rooted cuttings
Timing your transplant is vital. Transplant rooted cuttings when their roots are 1-2 inches long, typically 4-6 weeks after cutting.
Space the rooted cuttings 12-18 inches apart in the garden to allow for proper growth. This spacing helps prevent overcrowding and promotes healthy plants.
🌿 Division Propagation (difficulty: moderate)
Identifying the right time for division
Knowing when to divide your plants is essential. The best timing for division is early spring or fall when the plant is not actively blooming.
This ensures minimal stress on the plant and promotes successful re-establishment.
Tools needed for division
Having the right tools makes the process easier. Essential tools include a sharp spade, garden fork, and pruning shears.
Gloves are optional but can provide protection during the division process. Being prepared will make your task smoother.
Step-by-step division process
Follow these steps for successful division:
- Water the plant thoroughly a day before division.
- Carefully dig around the plant to expose the root system.
- Use a spade to cut the root ball into sections, ensuring each section has roots and foliage.
- Replant divisions immediately in prepared soil.
This method ensures that each new plant has the necessary resources to thrive.
Post-division care and maintenance
After division, proper care is crucial. Keep the soil consistently moist for the first few weeks to help the plants establish.
Once new growth appears, apply a balanced fertilizer to support their recovery. This attention will lead to a flourishing garden.
With these propagation methods, you're well-equipped to cultivate beautiful evening primrose plants. Next, let's explore common challenges you might face during propagation.
Common Challenges in Propagation
🌱 Seed Germination Issues
Troubleshooting poor germination rates
Germination can be tricky, and several factors might be at play. Start by checking seed viability, ensuring your seeds are fresh and healthy, and then assess soil moisture and temperature.
To improve your chances, avoid burying seeds too deep; they need light to germinate. Consistent moisture is key, so keep the soil damp but not soggy.
Common pests affecting seedlings
Seedlings are vulnerable to pests like aphids and slugs, which can wreak havoc on your hard work. Keep an eye out for these pests and act quickly to protect your plants.
Using organic insecticidal soap can help manage aphids, while hand-picking slugs is an effective control method. Staying vigilant will ensure your seedlings thrive.
✂️ Cutting Failure
Identifying signs of unsuccessful rooting
Not all cuttings take root successfully, and it’s essential to recognize the signs early. Look for wilting, yellowing leaves, or a complete lack of root development after six weeks.
These symptoms indicate that your cuttings may need a change in care or environment to succeed.
Solutions for common cutting problems
If your cuttings are struggling, consider adjusting humidity levels and ensuring they receive adequate light. Sometimes, a simple tweak can make a big difference.
If problems persist, recut the stems and try rooting them in fresh medium. A fresh start might be just what they need.
🌿 Division Setbacks
Signs of stress after division
Dividing plants can be stressful for them, and you might notice signs like wilting leaves, stunted growth, or yellowing foliage. These symptoms indicate that your plants are struggling to adjust.
Understanding these signs helps you take action before the situation worsens.
Recovery tips for divided plants
To help your divided plants recover, provide some shade for a few days to reduce stress. Consistent watering is crucial during this period to keep the soil moist and support new growth.
With a little care, your plants will bounce back and thrive in their new spaces.
As you navigate these challenges, remember that patience and observation are your best tools. Each propagation method has its quirks, but with practice, you'll become adept at overcoming these hurdles. Next, let’s explore the seasonal considerations that can enhance your propagation success.
Seasonal Considerations for Propagation
Best Seasons for Each Method 🌱
Timing for Seed Sowing
The best time to sow seeds is early spring, right after the last frost. Alternatively, you can opt for late fall if you prefer winter sowing.
Optimal Times for Taking Cuttings
For taking cuttings, late spring to early summer is ideal. This timing enhances your chances of successful rooting.
When to Divide Plants
Dividing plants works best in early spring or fall when the plants are dormant. This minimizes stress and promotes healthy regrowth.
Climate Impact on Propagation Success ☀️
How Temperature Affects Germination and Rooting
Temperature plays a crucial role in the success of your propagation efforts. Seeds germinate best at 65°F to 70°F (18°C to 21°C), while cuttings thrive at 70°F to 75°F (21°C to 24°C).
Adjusting Methods Based on Local Climate
Always consider your local climate when planning propagation activities. Pay attention to frost dates and humidity levels to optimize your methods for the best results.
Understanding these seasonal considerations will set you up for success in propagating evening primrose. With the right timing and awareness of climate factors, you can ensure a thriving garden. Next, let’s explore common challenges you might face during propagation.
⚠️ Safety First
This content is for general information and may contain errors, omissions, or outdated details. It is not medical, veterinary advice, or an endorsement of therapeutic claims.
Always consult a qualified healthcare professional before using any plant as food, medicine, or supplement.
Never eat any plant (or feed one to pets) without confirming its identity with at least two trusted sources.
If you suspect poisoning, call Poison Control (800) 222-1222, the Pet Poison Helpline (800) 213-6680, or your local emergency service immediately.
Spotted an error? Please report it here.
Propagate your evening primrose like a pro 🌱 with Greg's tailored reminders and care tips that ensure your seeds and cuttings flourish in your garden!