Propagating Chinese Crown Orchid: The Ultimate Guide
Eulophia graminea
By the Greg Editorial Team
Jun 18, 2024•5 min read
This article was created with the help of AI so we can cover more plants for you. May contain errors. See one? Report it here.
- Divide when not blooming and roots show signs of overcrowding.
- 🌱 Keikis need 2-3 inch roots before potting in a clear container.
- Tissue culture and seeds require sterile conditions and patience.
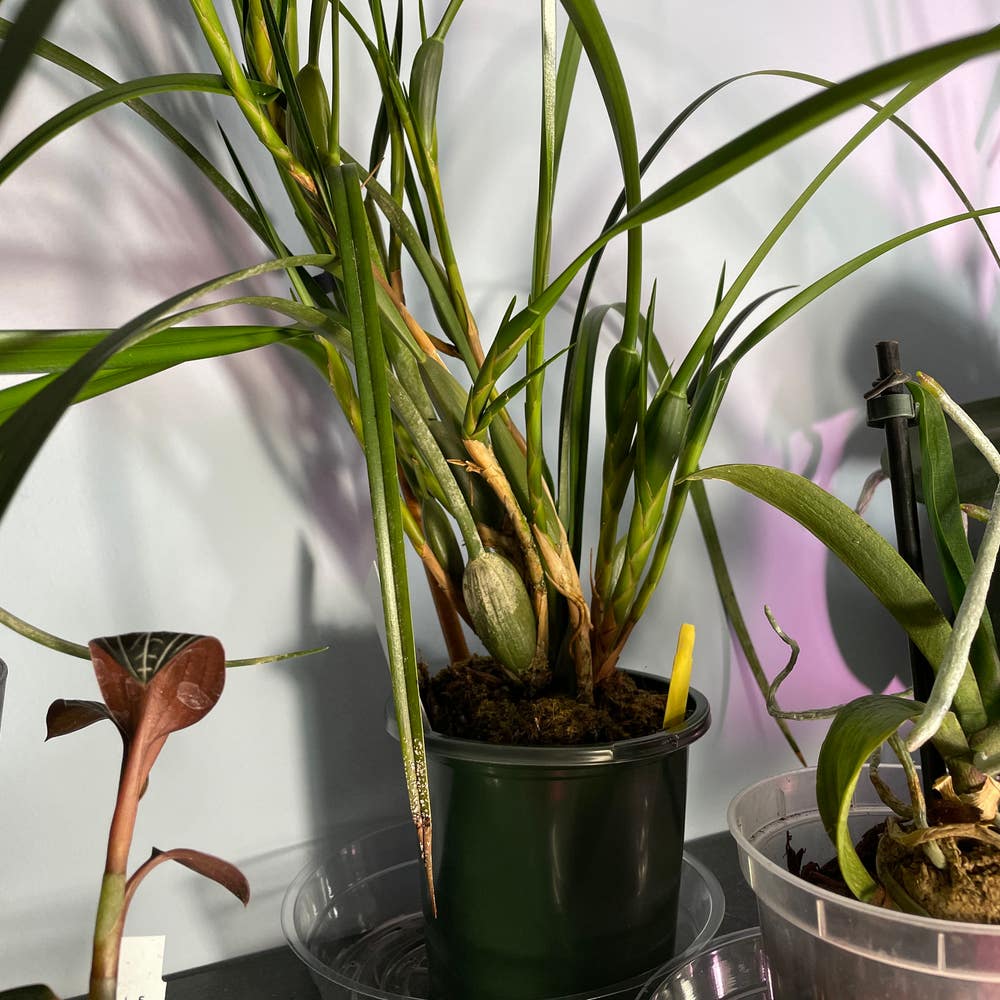
Splitting Up: Propagation through Division
🌱 When and How to Divide
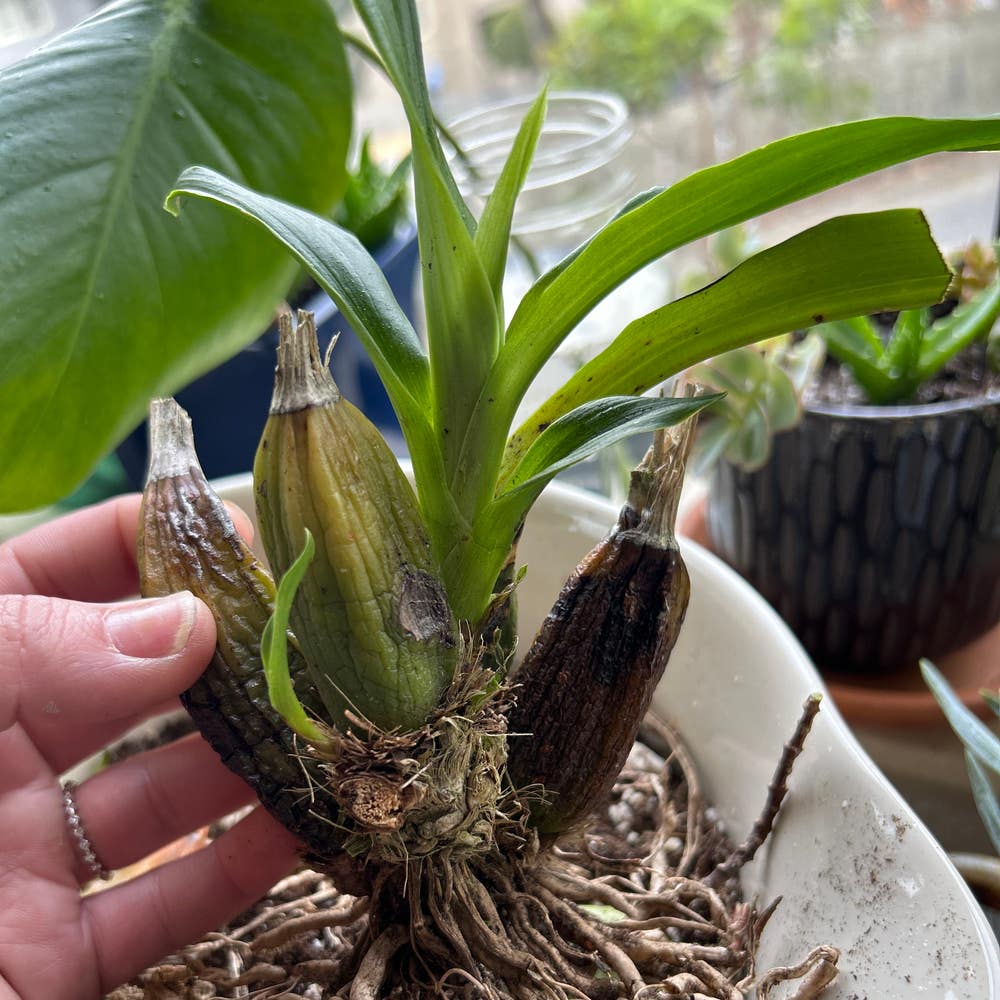
Dividing your Chinese Crown Orchid is like giving it a new lease on life. It's best done when the plant is not blooming and shows signs of overcrowding, such as roots escaping the pot or a dense, tangled root ball.
🕰 Identifying the Right Time
Roots Run Wild or a pot that's cracking are your cues. If the orchid has multiple pseudobulbs, it's time to think division.
🛠 The Division Process
- Sanitize your shears with rubbing alcohol to prevent disease spread.
- Gently remove the orchid from its pot and clear excess soil from the roots.
- Find a natural separation point where there are at least 3-4 pseudobulbs per section.
- Cut through the rhizome cleanly to create new plants, each with its own root system.
🌿 After the Split: Post-Division Care
Post-division, your orchids need TLC to thrive.
🌱 Caring for the Parent Plant
Re-pot the parent plant in fresh medium, ensuring it's snug but not cramped.
🌱 Caring for New Divisions
Pot up the new divisions similarly and water them in. Place them in bright, indirect light and skip the fertilizer until they've settled in.
Monitor the moisture and look out for new growth as signs of a successful propagation. Remember, patience is key; the new orchids will take a few weeks to establish themselves as independent plants.

Little Clones: Propagation through Keiki Production
🌱 Encouraging Keiki Growth
Keikis, Hawaiian for "baby," are orchid clones that grow directly on the mother plant. To promote keiki growth, keiki paste is your go-to. This concoction, rich in cytokinin, a plant hormone, nudges dormant nodes into action.
Apply a dab of this paste to a node, and with some patience, you'll witness the birth of either a keiki or a flower spike. Leaves sprouting? Congrats, you've got a clone in the making. Flower stalk? That's a bonus bloom.
🌿 Keiki to Independence
Once the keiki flaunts roots around 2-3 inches long, it's ready for a solo adventure. Sterilize your cutting tool to prevent any disease transfer. Then, gently sever the umbilical cord connecting it to the mother plant.
Pot the keiki in a snug, clear container using an orchid-friendly medium. The transparency lets you play voyeur to the root growth. Keep the humidity up; think tropical rainforest, not desert.
Nurture the keiki as you would the original plant. If you're not ready to separate, no pressure. They can coexist, drawing strength from their shared bond. Just remember, independence is the endgame for these little clones.

Lab Coats On: Propagation through Tissue Culture
🧫 Getting Technical with Tissue Culture
Tissue culture is not a walk in the park. It's the realm where science and horticulture collide, requiring a sterile environment and a steady hand. To get started, you'll need a clean workspace, sterilized tools, and culture media—think of it as a nutrient-rich Jell-O for plants. You'll also need a way to keep everything uncontaminated, so if you're not working in a lab, prepare to get creative with your at-home setup.
The Step-by-Step Process
- Sanitize everything: your hands, tools, and surfaces. Contamination is your enemy.
- Take a small piece of the plant tissue—this could be a leaf, stem, or even a seed.
- Place the tissue into a culture medium that's been prepared with the right balance of hormones and nutrients. This medium will coax the tissue into growing new plant cells.
- Seal your cultures to prevent any microbial party crashers. A simple jar can work, but make sure it's airtight.
- Provide your cultures with consistent light and an ideal temperature, usually between 60-75°F.
- Patience is key. It can take weeks or even months, but eventually, you'll see growth.
- Once you have a decent amount of plant material, transfer it to a rooting medium.
- After roots develop, it's time to move your new plants to potting soil and begin the acclimatization process.
Remember, this is high-stakes gardening. But the payoff? You could end up with a veritable army of Chinese Crown Orchids, each a genetic photocopy of the original.

From Tiny Seeds: Propagation through Seed Germination
🌱 Seed Collection and Preparation
Harvesting Chinese Crown Orchid seeds is a delicate affair. Look for mature seed pods on your plant; they're ready when they look plump and start to yellow. Sterilize your tools and hands before cracking open the pod to avoid contaminating these tiny life packets. Once you've got your seeds, it's prep time. They need a sterile environment—think lab-like conditions. A glove box or a sanitized area will do the trick. You're not just planting seeds; you're setting the stage for a botanical breakthrough.
The Germination Journey
Now, onto the germination hustle. Orchid seeds are notorious for playing hard to get; they require a nutrient-rich medium to kickstart growth. Agar medium is your go-to here. Mix it up with some orchid fertilizer to give those seeds a fighting chance. Patience is your new best friend—germination is more of a marathon than a sprint. Once your protocorms (baby orchids) declare their independence with a few roots and leaves, it's time for the big move. Gently wash off the agar and pot them in a mix that's all about aeration and drainage. Keep an eye on them; these little troopers will need your constant vigilance to thrive.
⚠️ Safety First
This content is for general information and may contain errors, omissions, or outdated details. It is not medical, veterinary advice, or an endorsement of therapeutic claims.
Always consult a qualified healthcare professional before using any plant as food, medicine, or supplement.
Never eat any plant (or feed one to pets) without confirming its identity with at least two trusted sources.
If you suspect poisoning, call Poison Control (800) 222-1222, the Pet Poison Helpline (800) 213-6680, or your local emergency service immediately.
Spotted an error? Please report it here.
Divide and conquer your orchid propagation 🌸 with Greg's tailored reminders for each step from this ultimate guide, ensuring your Chinese Crown Orchids thrive.