How to Know When to Repot a Chinese Crown Orchid?
Eulophia graminea
By the Greg Editorial Team
Jun 18, 2024•5 min read
This article was created with the help of AI so we can cover more plants for you. May contain errors. See one? Report it here.
- Roots outgrowing the pot? Time to repot your Chinese Crown Orchid.
- 🌱 Repot every 1-2 years, or when growth and blooming slow down.
- Terracotta for moisture control, plastic for lightness, but always with drainage holes.
Spotting the Telltale Signs Your Orchid Needs a New Home
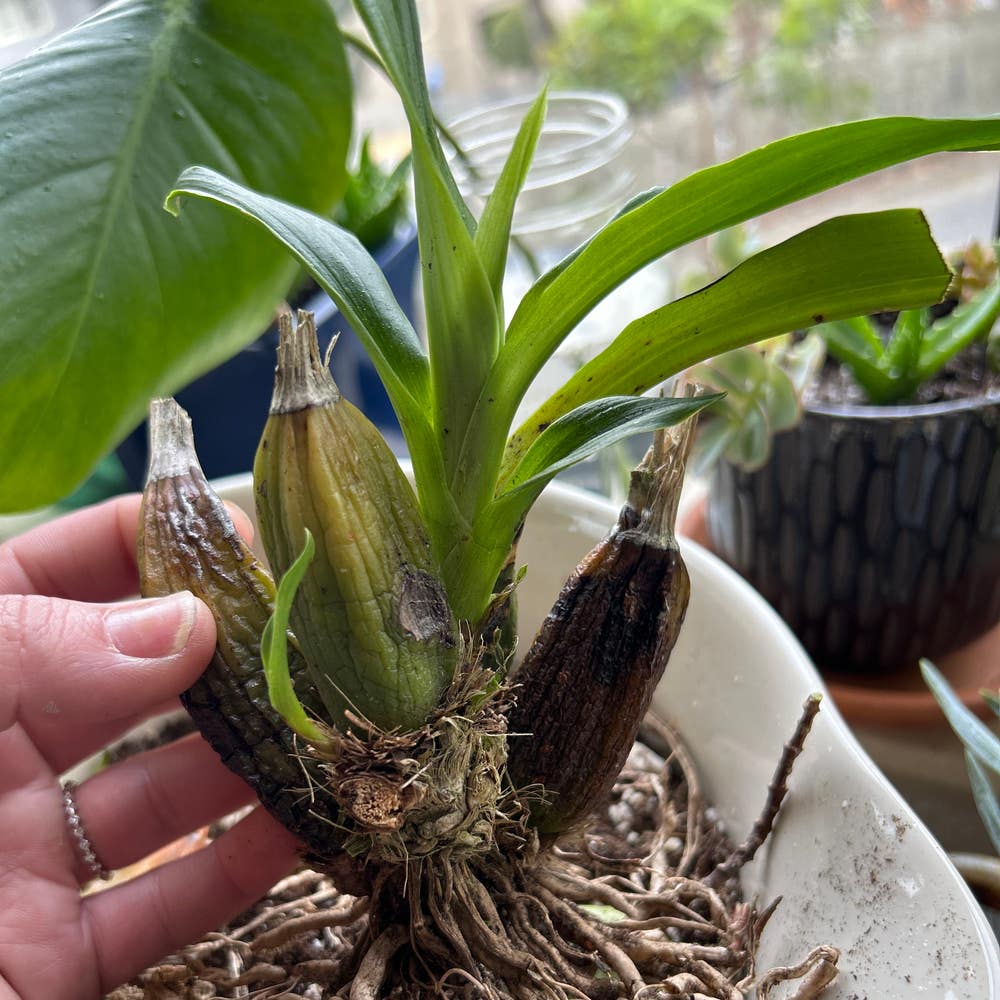
🌱 Root Tango: When Roots Outgrow Their Space
Escapee roots climbing over the pot's edge are a dead giveaway; your orchid is screaming for a bigger dance floor. If roots are circling the pot's interior like a constrictor snake or poking through drainage holes, it's time to repot.
💧 Water Woes: Drainage Issues That Spell Trouble
When watering your orchid feels like a drop in the ocean and the soil dries out quicker than a text message conversation, take note. These are signs of a root-bound plant gasping for space, not just quirky behavior.
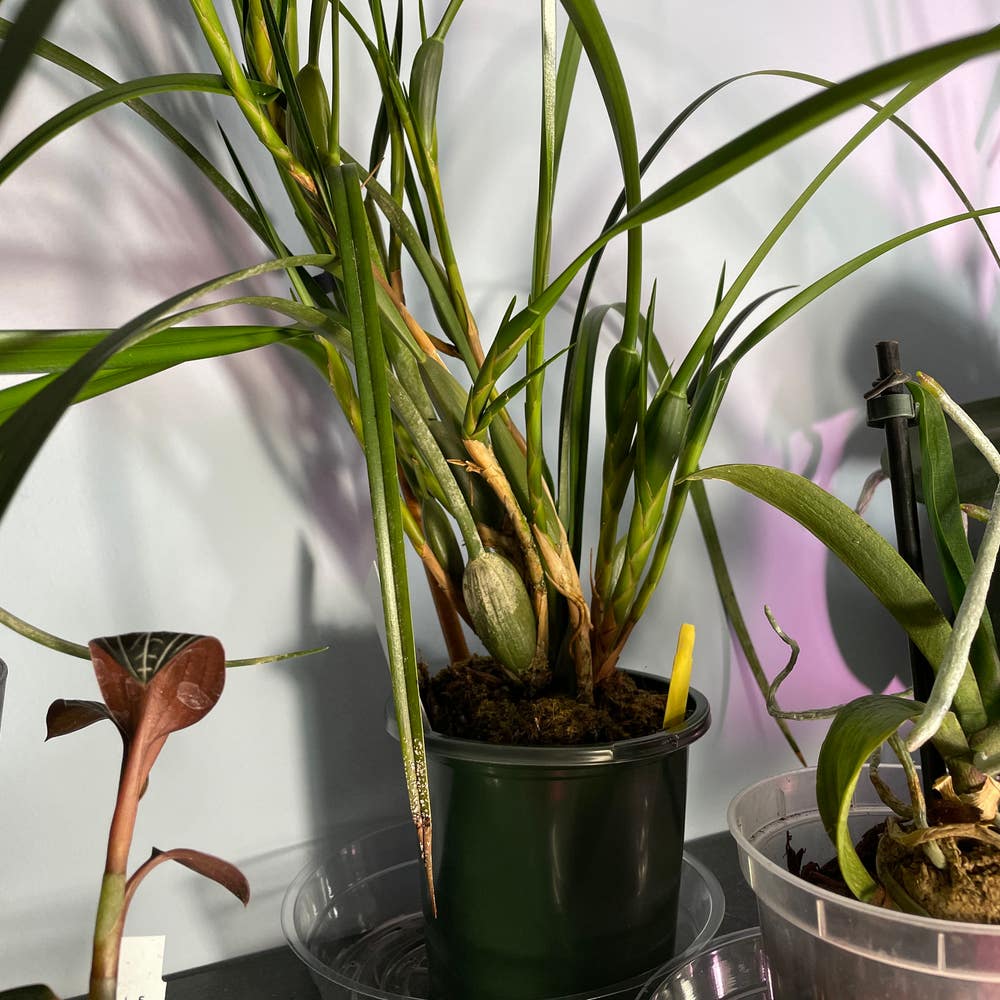
🕰 Timing Is Everything: How Often Should You Repot?
Every 1-2 years is a good rhythm to keep those roots grooving. But if you notice sluggish growth, leaves that seem perpetually under the weather, or a lack of blooming, don't wait for the calendar. Your orchid's subtle plea for a new home should not be ignored.

Choosing the Right Pot: A Material World
🏺 Terracotta vs. Plastic: The Great Debate
Terracotta pots are the old faithful of the plant world. Their porous nature means they're good at wicking away excess moisture, reducing the risk of your Chinese Crown Orchid's roots getting waterlogged. Plastic pots, meanwhile, are the lightweight champions. They're easy to shuffle around but hold onto water like a sponge, which can be a death sentence for orchids that despise soggy feet.
🚫 The Case Against Glass and Metal
Glass pots may look sleek, but without drainage holes, they're a one-way ticket to Root Rot City. Metal pots aren't much better; they can overheat and cook your orchid's roots on a sunny day. Plus, they're prone to rust, which is hardly the aesthetic you're going for.
📏 The Must-Haves: Drainage and Size Considerations
Drainage holes are non-negotiable. A pot without them is like a bathtub with no drain – pointless. And size? Aim for a pot that's 1-2 inches wider than the last. Any bigger and you're just inviting trouble; too small, and your orchid will feel cramped. It's all about giving your plant room to grow without drowning it in excess soil that stays wet for too long.

The Repotting Rundown: A Step-by-Step Guide
🌱 Pre-Repot Prep: Setting the Stage for Success
Before diving into the repotting process, ensure you have all necessary tools on hand. This includes a clean pot with adequate drainage, fresh orchid mix, and sterilized cutting tools. Pre-soak your orchid mix for 24 hours to ensure it's moist and ready for your plant's roots.
🌿 The Gentle Uproot: Safely Extracting Your Orchid
Time to evict your orchid from its current abode. Squeeze the pot gently to loosen the grip and coax the plant out. If it resists, tap the bottom of the pot or use a chopstick to help. Be as tender as if you're handling a carton of eggs.
🌱 Root Review: Inspecting and Pruning Before Repotting
With the orchid free, shake off old soil and scrutinize the roots. Snip off any dead or decaying roots; they're as beneficial as a screen door on a submarine. Healthy roots are firm and should be either green or white. Remember, cleanliness is next to godliness, so keep those scissors sterile.

Aftercare: Helping Your Orchid Settle In
💧 The First Few Days: Watering and Placement
Watering should be a careful affair post-repot. Initially, keep the potting media just damp, encouraging roots to seek moisture and settle into their new environment. Avoid the temptation to overwater; soggy conditions are a no-go.
Placement is next on the checklist. Your Chinese Crown Orchid should avoid direct sunlight but still bask in bright, indirect light. Think of it as the VIP section of your home where the conditions are just right – not too hot, not too cold, and just the right amount of light.
🌱 Long-Term Love: Monitoring Growth and Health Post-Repot
Vigilance is your new best friend. Keep an eye out for signs of distress like wilting or yellowing leaves. These could signal the need for a tweak in your care routine.
New growth is the green thumbs-up you're looking for. It's a clear indicator that your orchid is happy in its new pot. Remember, patience is key; orchids are more marathon runners than sprinters when it comes to growth.
Fertilizing should wait until you're sure the orchid has acclimated. Once it's settled, resume your regular feeding schedule, but always with a light hand. Over-enthusiastic fertilizing is like crashing the party – it can do more harm than good.
Keep the humidity in check. These plants love a bit of moisture in the air, but not to the point of creating a mini rainforest. Balance is everything.
Lastly, root health is the foundation of your orchid's well-being. Occasionally, a gentle tug on the stem can tell you if the roots are gripping their new soil. No movement is good movement here – it means they're getting cozy.
⚠️ Safety First
This content is for general information and may contain errors, omissions, or outdated details. It is not medical, veterinary advice, or an endorsement of therapeutic claims.
Always consult a qualified healthcare professional before using any plant as food, medicine, or supplement.
Never eat any plant (or feed one to pets) without confirming its identity with at least two trusted sources.
If you suspect poisoning, call Poison Control (800) 222-1222, the Pet Poison Helpline (800) 213-6680, or your local emergency service immediately.
Spotted an error? Please report it here.
Ensure your Chinese Crown Orchid thrives in its new home by spotting the right time to repot 🌿 with Greg's tailored reminders and care tips!