🌸 Chinese Crown Orchid Roots 101
Eulophia graminea
By the Greg Editorial Team
Sep 30, 2024•7 min read
This article was created with the help of AI so we can cover more plants for you. May contain errors. See one? Report it here.
- 🌱 Chinese Crown Orchids have unique rhizomatous roots that efficiently store nutrients.
- 💧 Proper watering prevents root rot; let soil dry between waterings for healthy roots.
- 🌿 Transplant when rootbound; look for circling roots and declining vigor to act.
Root System Characteristics
Type of Root System 🌱
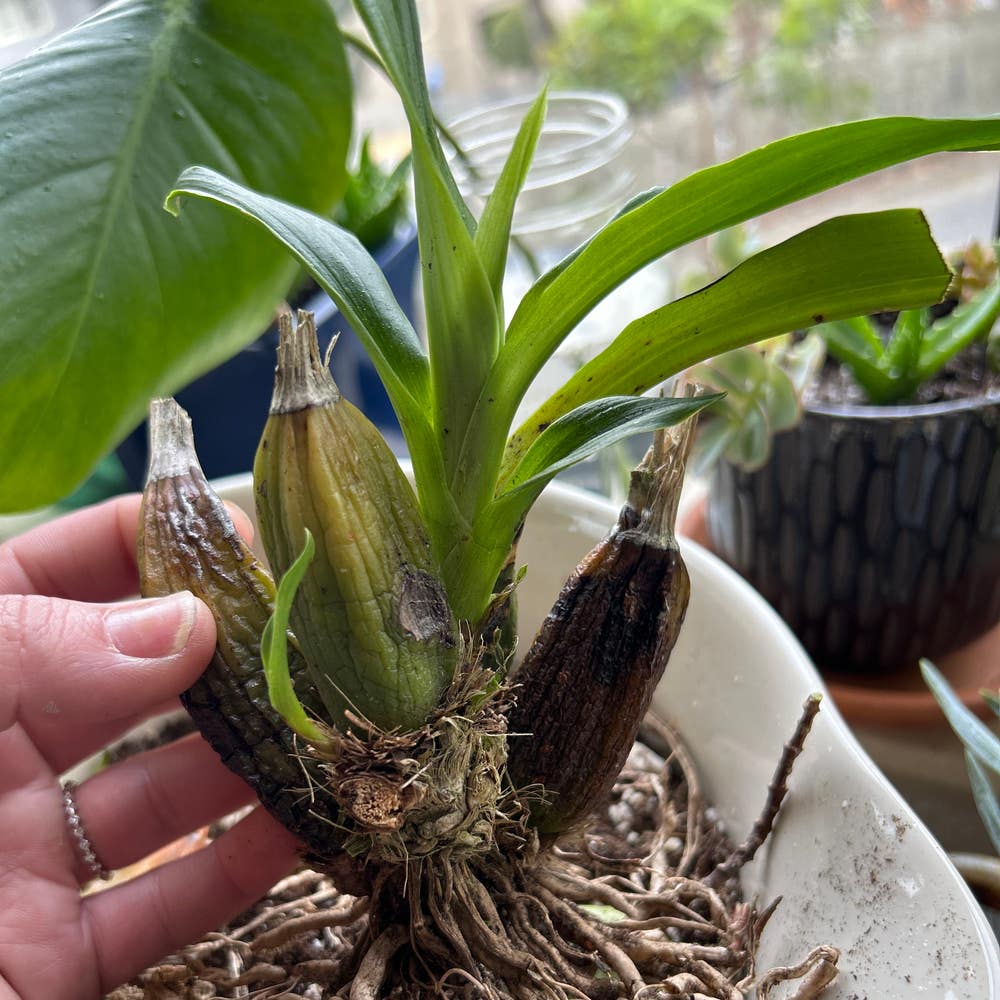
Chinese Crown Orchids feature a unique rhizomatous root system. These roots are thickened and fleshy, designed to store nutrients efficiently.
Their adaptability allows them to thrive in various growing conditions, making them resilient and versatile plants.
Specific Characteristics of Roots 🧐
The structure and appearance of these roots are crucial for plant health. Healthy roots typically exhibit a white or light tan color, indicating vitality.
In contrast, roots that are shriveled or mushy signal distress. Firm and plump roots are essential for effective nutrient uptake and stability, ensuring the plant remains anchored and nourished.
Understanding these characteristics helps you appreciate the vital role roots play in the overall health of your Chinese Crown Orchid. With this knowledge, you can better care for your plant and promote its growth.
Next, we’ll explore the depth and spread of these roots, revealing how they interact with their environment.
Root Depth and Spread
🌱 Growth Patterns of Roots
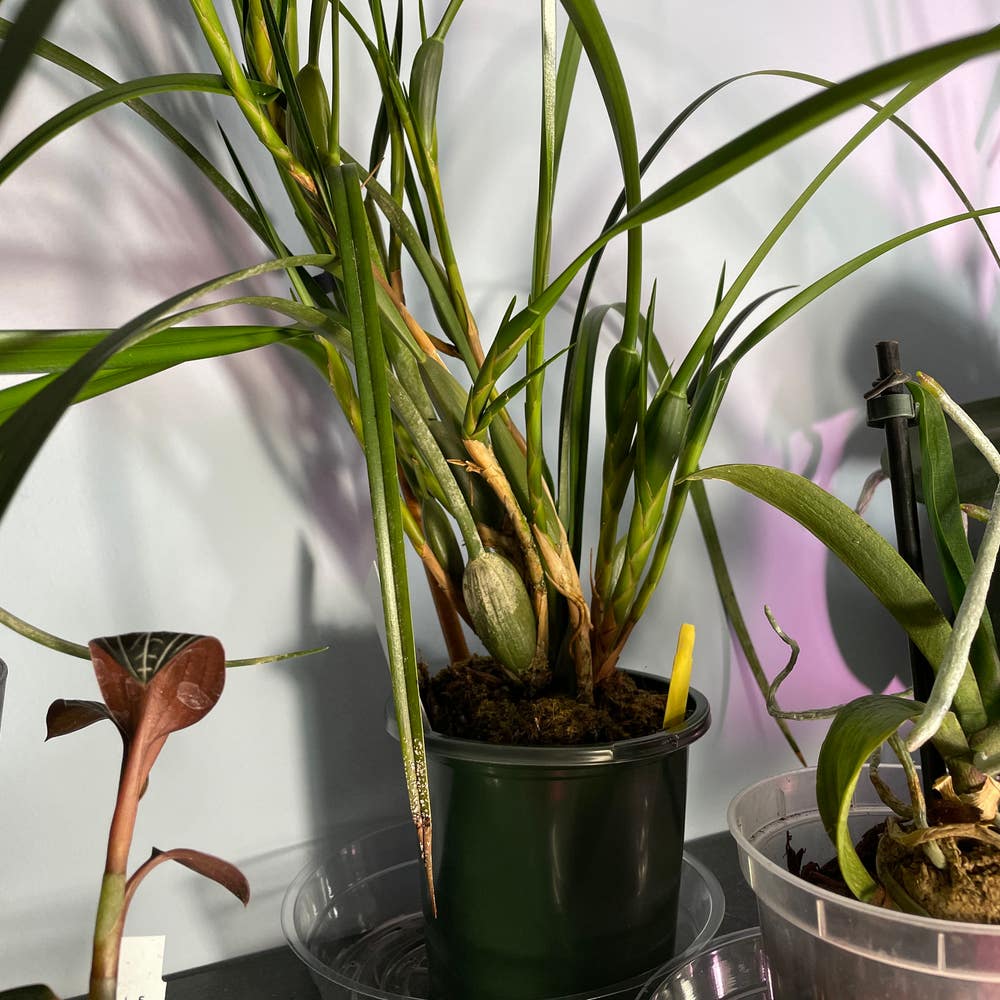
Understanding the growth patterns of Chinese Crown Orchid roots is essential for optimal care. Typically, these roots reach an average depth of 12-18 inches (30-45 cm), allowing them to access nutrients and moisture effectively.
The spread of the roots can be quite impressive, extending several feet depending on the pot size and growing conditions. This adaptability helps the plant thrive in various environments.
🌍 Factors Influencing Root Depth and Spread
Several environmental factors play a crucial role in determining root depth and spread. Soil type, moisture levels, and temperature all significantly influence how well the roots develop.
Additionally, the size and type of pot can impact root growth. A larger pot generally allows for more expansive root systems, while a smaller pot may restrict growth and lead to rootbound conditions.
Watering, Fertilizing, and Transplanting
🌱 How Root System Affects Watering Needs
The health of your orchid's root system directly influences its watering needs. It's crucial to allow the soil to dry out between waterings, as this helps prevent root rot.
Signs of overwatering include yellowing leaves and mushy roots, while underwatering may manifest as shriveled roots and wilting leaves. Monitoring these indicators can help maintain a healthy balance.
🌿 Fertilization Techniques Tailored to Root Health
Choosing the right fertilizer is essential for promoting robust root growth. Look for fertilizers with balanced NPK ratios, such as 30-10-10, and apply them during the active growth cycle for optimal nutrient absorption.
Fertilization frequency should align with the growth phases of your orchid. Typically, every 2-4 weeks during the growing season is ideal, while reducing frequency in dormancy.
🌍 Best Practices for Transplanting
Transplanting is necessary when your orchid becomes rootbound, which can stunt its growth. Signs include roots circling the pot and a noticeable decline in vigor.
To successfully transplant, follow these steps:
- Preparing the new pot: Choose a pot that is one size larger with good drainage.
- Gently removing the plant: Carefully take the orchid out of its current pot to avoid damaging the roots.
- Inspecting and trimming roots: Look for any dead or damaged roots and trim them as needed.
- Placing in new pot: Position the orchid in the new pot and secure it with fresh orchid mix, ensuring it’s stable.
By following these practices, you can ensure your orchid thrives in its new environment. This sets the stage for a healthy root system, which is vital for the plant's overall well-being.
Common Root-Related Issues
🦠 Identifying Root Rot and Other Diseases
Root rot is a common issue for orchid enthusiasts. Look for symptoms like mushy, brown roots and a foul odor, which indicate that your plant is in distress.
Other diseases can also affect orchid roots, such as fungal infections. These can manifest as discoloration or unusual growth patterns, so keep an eye out for any changes.
🛡️ Preventative Measures for Root Health
To maintain healthy roots, adopt best practices for watering and soil selection. Use a well-draining orchid mix to prevent excess moisture, which can lead to root rot.
Proper pot drainage and air circulation are crucial. Ensure your pots have adequate holes and consider using materials that promote airflow around the roots.
⚙️ Solutions for Common Root Problems
If you suspect root rot, act quickly to save your plant. Here’s a step-by-step guide to tackle the issue:
- Remove the plant from the pot: Gently take your orchid out to assess the roots.
- Trim away affected roots: Cut off any mushy or brown roots with sterilized scissors.
- Repot in fresh, dry medium: Choose a new pot with good drainage and fill it with fresh orchid mix.
- Adjust watering schedule: After repotting, allow the medium to dry out before watering again.
By following these steps, you can help your orchid recover and thrive. Understanding these common root-related issues is essential for maintaining a healthy plant.
Next, let’s explore how to distinguish between healthy and unhealthy roots.
Healthy vs Unhealthy Roots
🌱 Visual Cues for Healthy Roots
Healthy roots are a vital sign of your orchid's well-being. Look for roots that are white or light tan, firm to the touch, and plump, indicating they are well-hydrated and nutrient-rich.
Growth patterns also reveal a lot. Healthy roots tend to spread out evenly, showing that they are actively seeking nutrients and stability in the potting medium.
🚫 Indicators of Unhealthy Roots
On the flip side, unhealthy roots can be a red flag. Discoloration, especially browning or blackening, along with a mushy texture, signals potential root rot or other issues.
A lack of growth can also indicate distress. If your orchid isn't thriving, it's time to inspect those roots closely. Regular root inspections are crucial; catching problems early can save your plant from serious damage.
By understanding these visual cues, you can ensure your orchid remains vibrant and healthy. Next, let’s explore rootbound conditions and how to address them effectively.
Rootbound Plants
Definition and Signs of Rootbound Conditions 🌱
A plant is considered rootbound when its roots have filled the pot, circling around the edges and restricting growth. This often leads to stunted growth and can cause the plant to struggle for nutrients and water.
Visual Indicators of Rootbound Plants 👀
Look for roots visibly circling the pot or emerging from drainage holes. Stunted growth and yellowing leaves are also telltale signs that your orchid may be rootbound.
When and How to Address Rootbound Issues 🛠️
Intervention is necessary when you notice growth stalling or roots peeking out of the pot.
Steps to Remedy Rootbound Conditions ✂️
- Assessing the Root System: Gently remove the plant from its pot to inspect the roots.
- Repotting into a Larger Container: Choose a pot that’s one size larger to give the roots room to expand.
- Trimming Roots if Necessary: If roots are excessively tangled or damaged, trim them back to promote healthy growth.
Addressing rootbound conditions promptly can rejuvenate your plant, allowing it to thrive once again. Understanding these signs and solutions is crucial for maintaining a healthy orchid.
Propagation and Division
🌱 Importance of Root Health in Propagation
Healthy roots are crucial for successful propagation. They provide the necessary nutrients and stability for new plants, ensuring they thrive in their new environment.
Timing is also essential when dividing your orchid. The best practice is to wait until the plant is actively growing, typically in spring or early summer, to maximize the chances of successful propagation.
✂️ Techniques for Dividing and Propagating
Step 1: Preparing Tools and Workspace
Start by gathering your tools: sharp scissors or pruning shears, a clean pot, and fresh orchid mix. A tidy workspace helps prevent contamination and keeps the process smooth.
Step 2: Identifying Natural Divisions in the Root System
Look for natural divisions in the root system. Healthy orchids often develop multiple growths, making it easier to separate them without damaging the roots.
Step 3: Separating and Potting New Divisions
Carefully separate the divisions, ensuring each has a healthy root system. Pot them in fresh orchid mix, providing enough space for growth.
Step 4: Post-Propagation Care Tips for New Plants
After potting, place the new plants in a warm, humid environment. Water them lightly and avoid direct sunlight for a few weeks to help them acclimate.
By following these steps, you can successfully propagate your Chinese Crown Orchid, ensuring that each new plant has the best chance to thrive. This process not only expands your collection but also deepens your connection with these beautiful plants.
Next, let’s explore common root-related issues that can arise during your orchid care journey.
⚠️ Safety First
This content is for general information and may contain errors, omissions, or outdated details. It is not medical, veterinary advice, or an endorsement of therapeutic claims.
Always consult a qualified healthcare professional before using any plant as food, medicine, or supplement.
Never eat any plant (or feed one to pets) without confirming its identity with at least two trusted sources.
If you suspect poisoning, call Poison Control (800) 222-1222, the Pet Poison Helpline (800) 213-6680, or your local emergency service immediately.
Spotted an error? Please report it here.
Unlock the secret to thriving roots 🌿 for your Chinese Crown Orchids with Greg's tailored watering reminders and expert care tips that keep your plants flourishing!