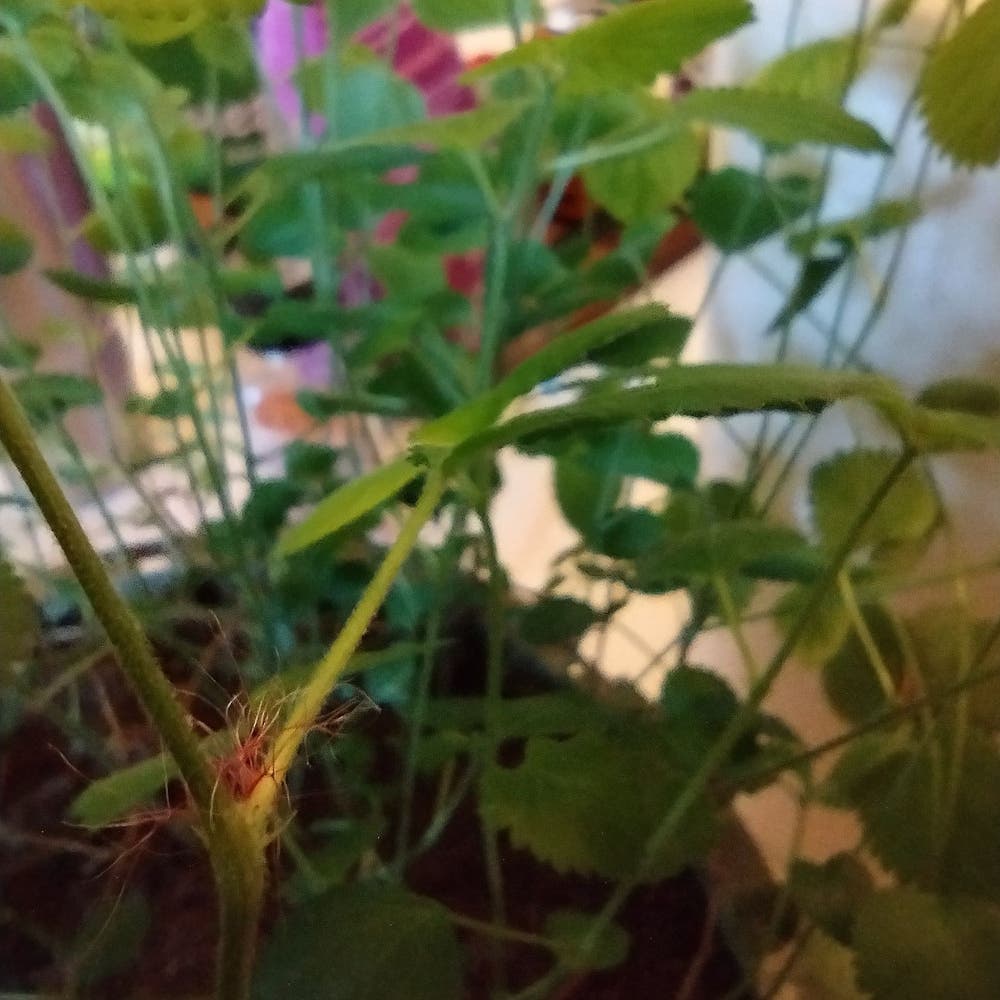
Propagating Copperleaf: The Ultimate Guide
Acalypha wilkesiana
By the Greg Editorial Team
Jun 18, 2024•4 min read
This article was created with the help of AI so we can cover more plants for you. May contain errors. See one? Report it here.
Propagate a Copperleaf oasis 🌿 from just one plant with our fail-proof guide!
- Spring/early summer best for healthy stem cuttings.
- 🌱 Air layering yields high success; patience required for rooting.
- Post-propagation care crucial for thriving Copperleaf plants.
Snip & Dip: Stem Cuttings Simplified
🌱 Choosing Your Champion
Selecting the healthiest parent plant is non-negotiable. Look for robust growth and no signs of distress. The best time to take cuttings? Spring or early summer when your Copperleaf is in its prime growth phase.
✂️ Cut to the Chase
It's time to get snippy. Use sterilized shears or a knife for a clean, angled cut just below a node. This spot is where the magic happens—roots will sprout here. While rooting hormone isn't mandatory, it's like a cheat code for root development.
🌿 Rooting for Success
Create a nurturing environment for your cuttings to thrive. A moist, well-draining soil mix and indirect light set the stage. Cover with a plastic bag for a makeshift greenhouse effect, but don't suffocate them—let the cuttings breathe every few days. Patience is key; roots take time to emerge.

High Hopes with Air Layering
🛠️ Gathering Your Gear
Before you can start air layering your Copperleaf, you'll need to assemble your toolkit. Ensure you have:
- A sharp knife or blade
- Sphagnum moss, pre-soaked and squeezed of excess water
- Rooting hormone powder or gel
- Clear plastic wrap to create a greenhouse effect
- Twist ties, string, or wire for securing the wrap
🌱 Layer Up!
Air layering is a bit like surgery; precision is key. Here's how to do it:
- Select a healthy branch on your Copperleaf that's about the thickness of a pencil.
- Make two parallel cuts around the stem, about an inch apart, and remove the bark between these cuts to expose the cambium layer.
- Dust the exposed area with rooting hormone to encourage root growth.
- Wrap the area with sphagnum moss, ensuring it's snug but not too tight.
- Encase the moss with clear plastic wrap and secure it with your ties. This mini greenhouse should be kept moist, so check periodically.
⏳ The Waiting Game
Patience isn't just a virtue; it's a requirement. Here's what to watch for:
- Keep the moss damp, but not waterlogged. Think of it as a perfectly wrung-out sponge.
- Roots will typically start to show within 3 months. You'll be able to see progress through the clear plastic.
- Once a healthy root system is visible, it's time to cut the new plant from the parent stem. Welcome to the world, little Copperleaf!

From Tiny Cuttings to Lush Plants
🌱 Potting Party
Transitioning your rooted cuttings and air layers to pots is like giving them their own apartments. It's time for them to live independently!
- Choose a pot with drainage holes to prevent waterlogged roots. This isn't a swimming pool party for your plants.
- Opt for a well-draining soil mix. Think of it as a comfy bed for your plant's roots.
- Place a coffee filter over the drainage hole to keep the soil from escaping during watering.
- When potting, find the Goldilocks zone—not too deep, not too shallow.
🌿 Growth Goals
Your newly potted Copperleaf babies need the right care to thrive.
- Bright, indirect light is your plant's best friend. It's like a gentle morning hug for your Copperleaf.
- Keep the soil consistently moist, but not soggy. Think of it as a steady diet of water, not a binge.
- Fertilize with a balanced, water-soluble fertilizer every 4-6 weeks during the growing season. It's like a regular snack to keep them going.
- Watch for drooping leaves or other distress signals. They're telling you something's up.
- Rotate your pots regularly to ensure even growth. No one likes a lopsided haircut, and neither does your plant.
Remember, these Copperleaf cuties are counting on you to set them up for success. Keep it light, keep it fun, and watch them grow!

Keeping It Green: Post-Propagation Care
🌱 The First Few Weeks
After the initial propagation phase, vigilance is your new mantra. Your Copperleaf cuttings are like newborns, needing constant monitoring. Light is crucial; provide bright, indirect sunlight to avoid the dreaded leaf burn. Keep the soil moist, but not waterlogged—root rot is the nemesis of new growth. A gentle tug on the stem can hint at root development, but be gentle—think of it as checking a cake with a toothpick, not yanking a door handle.
🛠 Troubleshooting Tips
Common issues will arise, but don't panic—adjust and move forward. Yellowing leaves? Could be a sign of overwatering or poor drainage. Stunted growth? Assess your light situation or consider if it's time for a nutrient boost. Remember, your plant's leaves are like mood rings, reflecting its health. If the leaves are drooping or discolored, reassess your watering schedule and light exposure. Keep the temperature between 60-80°F to maintain a cozy environment for your Copperleaf. And always, always avoid the temptation to over-fertilize—think of it as overfeeding a goldfish, not beneficial in the long run.
⚠️ Safety First
This content is for general information and may contain errors, omissions, or outdated details. It is not medical, veterinary advice, or an endorsement of therapeutic claims.
Always consult a qualified healthcare professional before using any plant as food, medicine, or supplement.
Never eat any plant (or feed one to pets) without confirming its identity with at least two trusted sources.
If you suspect poisoning, call Poison Control (800) 222-1222, the Pet Poison Helpline (800) 213-6680, or your local emergency service immediately.
Spotted an error? Please report it here.
Ensure your Copperleaf cuttings flourish 🌱 with Greg's personalized care reminders for watering, rotating, and fertilizing, straight from this ultimate propagation guide.