How to Cure Black Spots on Your Nutsedge 🥜
Cyperus spp.
By the Greg Editorial Team
Oct 31, 2024•5 min read
This article was created with the help of AI so we can cover more plants for you. May contain errors. See one? Report it here.
Revitalize your nutsedge with expert tips to diagnose and treat black spots for thriving plants! 🌱
- 🌱 Identify fungal vs. environmental stress to effectively diagnose black spots on nutsedge.
- 🧪 Soil tests reveal nutrient deficiencies; correct them to prevent black spots.
- 🌿 Use fungicides or organic solutions like neem oil for effective treatment.
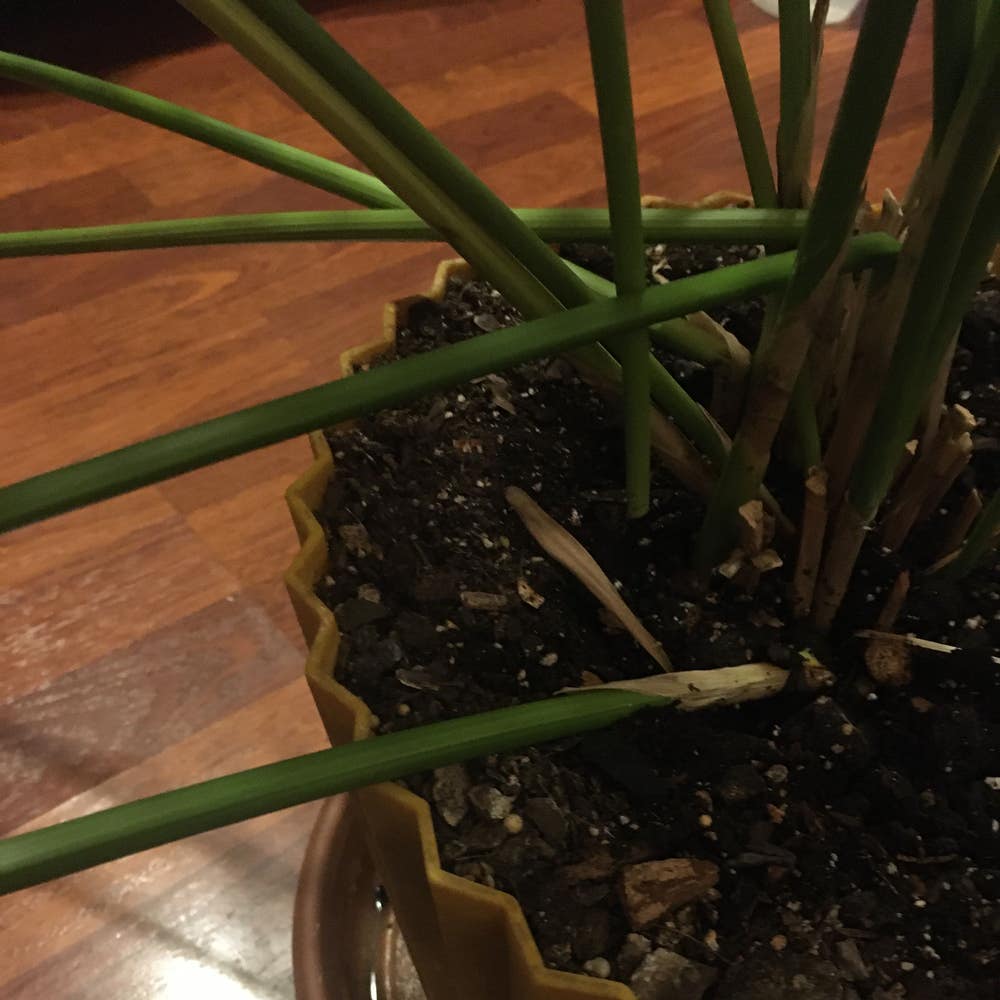
Diagnosing Black Spots
🌱 Differentiating Between Fungal and Non-Fungal Causes
When diagnosing black spots on your nutsedge, it's crucial to distinguish between fungal infections and environmental stress. Fungal infections often present with a velvety texture, dark color, and a spreading pattern, while environmental stress typically results in more irregular, dry patches.
Visual cues are your first line of defense. Look for differences in texture, color, and how the spots spread across the leaves. If you're unsure, laboratory testing can provide an accurate diagnosis, ensuring you treat the right issue.
🥦 Identifying Nutrient Deficiencies Leading to Black Spots
Nutrient deficiencies can also cause black spots on nutsedge. Common culprits include nitrogen, potassium, and magnesium, each leading to distinct symptoms.
For instance, nitrogen deficiency often results in yellowing leaves, while potassium deficiency may cause browning at the leaf edges. Conducting soil tests can help determine nutrient levels, allowing you to address any deficiencies effectively.
🌧️ Assessing Environmental Stressors Affecting Nutsedge
Environmental stressors play a significant role in the health of your nutsedge. Start by evaluating soil drainage and moisture retention, as poor drainage can lead to root rot and other issues.
Next, consider temperature and humidity fluctuations. Extreme conditions can stress your plants, making them more susceptible to disease. Additionally, nearby vegetation and competition can impact nutsedge health, so ensure your plants have enough space to thrive.
By diagnosing these factors, you can take targeted action to improve the health of your nutsedge and prevent black spots from reappearing.
Treating Black Spots on Nutsedge
💊 Recommended Fungicides and Treatments
When it comes to treating black spots on Nutsedge, several effective fungicides can help restore your plant's health. Look for products containing active ingredients like azoxystrobin or propiconazole, which are known to combat fungal infections effectively.
For optimal results, adhere to the recommended application rates specified on the product label. Timing is crucial; apply fungicides during the early stages of infection for the best chance of success.
Always prioritize safety when using chemical treatments. Wear gloves and a mask, and ensure proper ventilation to minimize exposure to potentially harmful substances.
🌱 Organic Solutions for Black Spots
If you prefer a more natural approach, several organic fungicides can effectively treat black spots. Neem oil, baking soda, and garlic spray are popular choices that can help combat fungal issues without harsh chemicals.
To apply these organic treatments, mix the ingredients according to specific recipes and spray them directly onto the affected areas. Regular application can enhance their effectiveness and promote long-term plant health.
Using organic solutions not only protects your garden but also contributes to a healthier ecosystem. They can improve soil quality and encourage beneficial microorganisms, making your garden thrive.
📝 Step-by-Step Treatment Application Process
To effectively treat black spots on your Nutsedge, follow these steps:
- Identify the type of black spots present on the leaves to determine the appropriate treatment.
- Choose the appropriate treatment method, whether chemical or organic, based on your preference and the severity of the infection.
- Prepare the treatment solution according to the instructions provided on the product label or recipe.
- Apply the treatment evenly across the affected areas, ensuring thorough coverage for maximum effectiveness.
- Monitor the treated area regularly for signs of improvement or any further issues that may arise.
By following these steps, you can effectively manage black spots on your Nutsedge and promote a healthier garden environment. With the right treatment, your plants can bounce back and flourish, setting the stage for ongoing care and prevention.
Preventing Black Spots
🌱 Best Practices for Nutsedge Care
Maintaining your Nutsedge is crucial for preventing black spots. Regular mowing and trimming can significantly reduce stress on the plants, promoting healthier growth.
Incorporating crop rotation and diversity into your gardening routine can disrupt pest cycles. This practice not only helps in managing pests but also enhances soil health.
🏞️ Soil Management Techniques
Well-draining soil is essential to prevent excess moisture, which can lead to black spots. Amending your soil with organic matter improves drainage and provides necessary nutrients.
Regular soil testing is vital to monitor nutrient levels. This proactive approach ensures that your Nutsedge receives the right balance of nutrients for optimal health.
🚿 Importance of Proper Watering and Drainage
Establishing a watering schedule based on soil moisture needs is key to preventing black spots. This tailored approach helps maintain the right moisture levels without over-saturating the soil.
Improving drainage in garden beds can be achieved through various techniques, such as adding gravel or creating raised beds. These methods help prevent waterlogging, which can harm your Nutsedge.
Avoiding overwatering is crucial for maintaining the health of your Nutsedge. Excess water can lead to root rot and other issues, making it essential to find the right balance in your watering routine.
By implementing these preventive measures, you can significantly reduce the risk of black spots on your Nutsedge. A little attention to care can go a long way in ensuring vibrant, healthy plants.
Next, we’ll explore effective treatments for existing black spots, ensuring your Nutsedge thrives despite any challenges.
Monitoring and Maintenance
🌿 Regular Inspection of Nutsedge Leaves
To keep your Nutsedge healthy, inspect the leaves weekly or bi-weekly. Look for changes in leaf color, texture, and growth patterns, as these can indicate underlying issues.
☔ Seasonal Care Adjustments to Prevent Black Spots
Adjust your care practices according to the seasons. Implementing preemptive measures before high-risk periods, like the rainy season, can significantly reduce the chances of black spots developing.
📊 Record-Keeping for Treatment Effectiveness
Maintaining detailed records of treatments applied and their outcomes is crucial. Analyzing this data helps refine your care strategies over time and allows you to document environmental conditions and changes effectively.
By staying vigilant and proactive, you can ensure your Nutsedge remains healthy and vibrant. This ongoing monitoring and maintenance will set the stage for successful treatment and prevention of black spots.
⚠️ Safety First
This content is for general information and may contain errors, omissions, or outdated details. It is not medical, veterinary advice, or an endorsement of therapeutic claims.
Always consult a qualified healthcare professional before using any plant as food, medicine, or supplement.
Never eat any plant (or feed one to pets) without confirming its identity with at least two trusted sources.
If you suspect poisoning, call Poison Control (800) 222-1222, the Pet Poison Helpline (800) 213-6680, or your local emergency service immediately.
Spotted an error? Please report it here.
Combat black spots on your nutsedge with tailored care plans 🌿 from Greg, ensuring your plants thrive through proactive monitoring and community support!