Propagating Your Anoectochilus lylei: Step-by-Step Guide
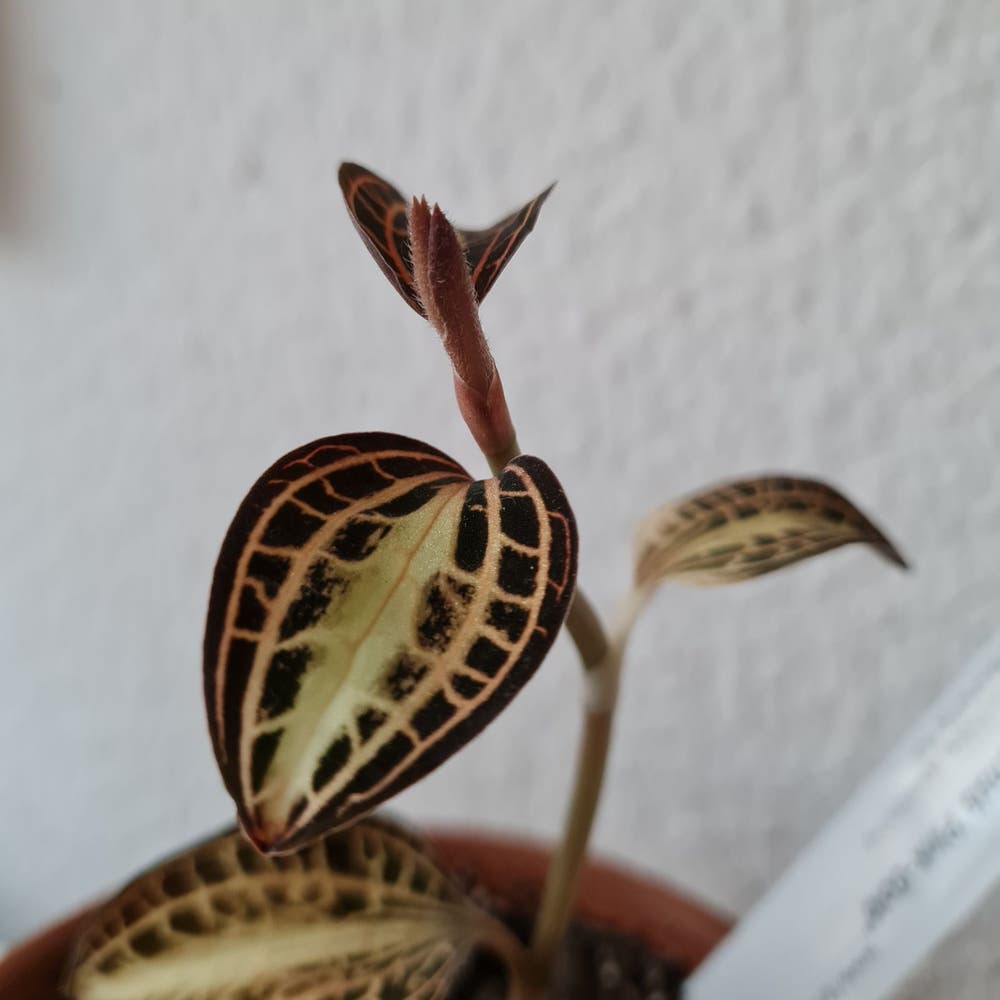
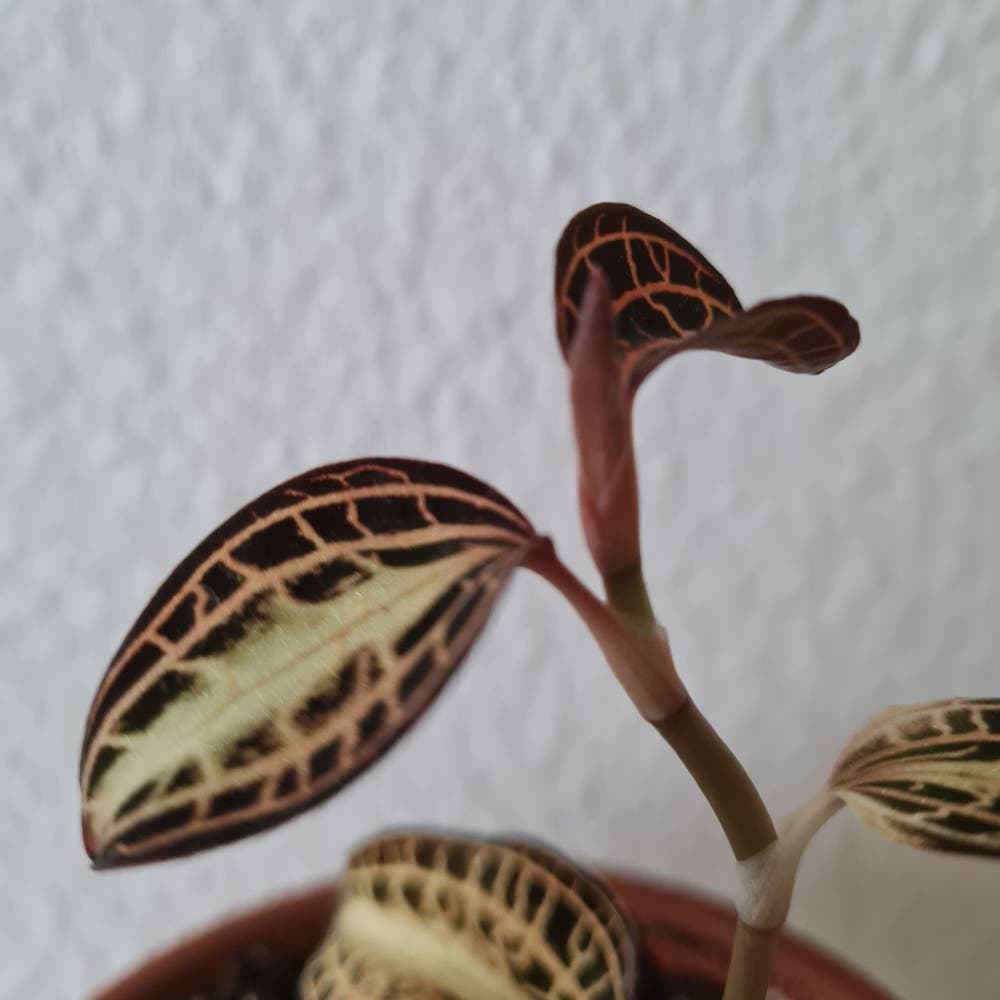
Anoectochilus lylei
By the Greg Editorial Team
Apr 17, 2024•4 min read
This article was created with the help of AI so we can cover more plants for you. May contain errors. See one? Report it here.
- Division, leaf cuttings, rhizome, or seeds—choose your propagation method.
- 🌡️🌿 Ideal conditions: 65-80°F, 70-80% humidity, bright indirect light.
- Patience and observation are essential for successful Anoectochilus lylei propagation.
Propagation Methods: Splitting and Sharing
🌱 Division
Dividing your Anoectochilus lylei is like giving it a new beginning. Here's how to do it:
- Choose the right time: The best period for division is during the plant's dormant phase, typically before a new growth cycle begins.
- Unpot the plant: Carefully remove your Anoectochilus lylei from its container, minimizing root disturbance.
- Identify division points: Look for natural separations in the root ball where the plant has begun to form its own sections.
- Separate with care: Use your hands or a sterilized knife to gently tease the sections apart, ensuring each new plant has a fair share of roots.
- Repot: Plant each division in fresh potting mix, suitable for Anoectochilus lylei, and water thoroughly.
🛠 Troubleshooting Division Woes
If you encounter a section with rotting roots, it's a sign of distress—possibly from overwatering. Address this by trimming away the affected parts and adjusting your watering habits post-division.
🍃 Leaf Cuttings
Propagating Anoectochilus lylei from leaf cuttings is straightforward:
- Select healthy leaves: Choose mature, disease-free leaves for the best chance of success.
- Prepare the cuttings: Cut the leaves into sections, each with a vein.
- Rooting: Place the cuttings on moist soil, covering the cut edge slightly, and maintain high humidity.
🌱 Overcoming Leaf Cutting Challenges
Patience is key. It may take time for cuttings to establish roots. Ensure the environment is consistently humid and warm to encourage growth.
🌿 Rhizome Division
Navigating the rhizome network requires a delicate touch:
- Expose the rhizomes: Gently unearth the plant to reveal the rhizome structure.
- Select your sections: Identify parts of the rhizome with growth points or 'eyes'.
- Separate: With a clean, sharp knife, cut the rhizome, ensuring each piece has at least one growth point.
- Plant: Position the divisions in new pots with appropriate potting mix and water them in.
🌱 Rhizome Division Issues
Avoid common pitfalls by ensuring each division has sufficient roots and a growth point. Overcrowding can lead to competition for resources, so give each new plant enough space to thrive.
🌱 Seed Propagation
Propagating Anoectochilus lylei from seeds is a journey of patience:
- Collect seeds: Harvest seeds from a mature Anoectochilus lylei when they're ripe.
- Sow: Plant the seeds in a fine, well-draining substrate and keep them moist.
- Germination: Provide consistent warmth and humidity to encourage sprouting.
🌱 Seedling Struggles
Germination can be slow, and seedlings are delicate. Protect them from direct sunlight and maintain a stable environment to prevent stress.
Creating the Perfect Propagation Environment
💡 Crafting the Ideal Conditions
Temperature, humidity, and light are the trifecta of propagation success. For Anoectochilus lylei, aim for a steady temperature between 65°F and 80°F. Too cold and your plants will sulk; too hot and they'll wilt under the stress.
Humidity is another critical factor. Think of it as creating a mini rainforest, with levels around 70-80%. This encourages the cuttings to root and grow. However, avoid going overboard—excessive moisture can invite unwanted fungal guests.
🌞 Lighting: The Growth Catalyst
When it comes to light, bright but indirect is the way to go. Direct sunlight is a no-no; it can scorch the delicate new growth. Find a spot that's well-lit but shielded from the harsh midday rays.
💨 Airflow and Humidity: The Invisible Allies
Good air circulation is non-negotiable. It helps maintain the right moisture level and keeps diseases at bay. Pair this with the right humidity, and you've got a winning environment.
Post-Propagation Care
🚰 Watering Wisdom
Post-propagation, water with care. The soil should be moist, like a wrung-out sponge, but not waterlogged. Overwatering is the fast track to root rot. Use room temperature water to avoid shocking the young roots.
Feeding and Acclimating
Hold off on the fertilizer for the first few weeks. Let the roots settle in their new home without the extra stress. Gradually acclimate your new plants to their surroundings, ensuring consistent temperatures and conditions similar to the propagation phase.
Remember, these guidelines are a starting point. Observe your plants and adjust as needed. They'll tell you what they need—if you're listening.
⚠️ Safety First
This content is for general information and may contain errors, omissions, or outdated details. It is not medical, veterinary advice, or an endorsement of therapeutic claims.
Always consult a qualified healthcare professional before using any plant as food, medicine, or supplement.
Never eat any plant (or feed one to pets) without confirming its identity with at least two trusted sources.
If you suspect poisoning, call Poison Control (800) 222-1222, the Pet Poison Helpline (800) 213-6680, or your local emergency service immediately.
Spotted an error? Please report it here.
Embrace the journey of propagating your Anoectochilus lylei 🌱 with Greg's tailored guidance for each step, from division to the perfect watering schedule, ensuring your plant's success.