Step-by-Step Guide to Repotting Your Serai
Cymbopogon citratus
By the Greg Editorial Team
Jul 21, 2024•4 min read
This article was created with the help of AI so we can cover more plants for you. May contain errors. See one? Report it here.
- 🌱 Identify repotting time by checking for visible roots and drooping leaves.
- 🏺 Choose terracotta pots for breathability, preventing root rot in Serai.
- ✂️ Trim roots and monitor post-repotting for Serai's optimal growth and health.
Recognizing Repotting Time
Serai, like any plant, has its own way of telling you it's time for a new home. Here's how to spot the signs:
Identifying root-bound Serai:
- Check for roots that are visible at the drainage holes or are circling the pot's interior.
- Gently lift the plant; a dense, yarn-like root mass signals it's time to repot.
Observing water drainage and root protrusion:
- If water zips through the soil and out the bottom quickly, it's a hint that the roots may have taken over too much space.
- Soil that dries out faster than usual or has roots growing on the surface is a clear indicator.
- When leaves start drooping or showing discoloration, it's not just for show—your Serai is likely in need of more room to grow.
Selecting a Suitable Pot
When it's time to give your Serai a new home, the pot you choose is more than a decorative container—it's a decision that impacts the health and growth of your plant. Let's break down your options:
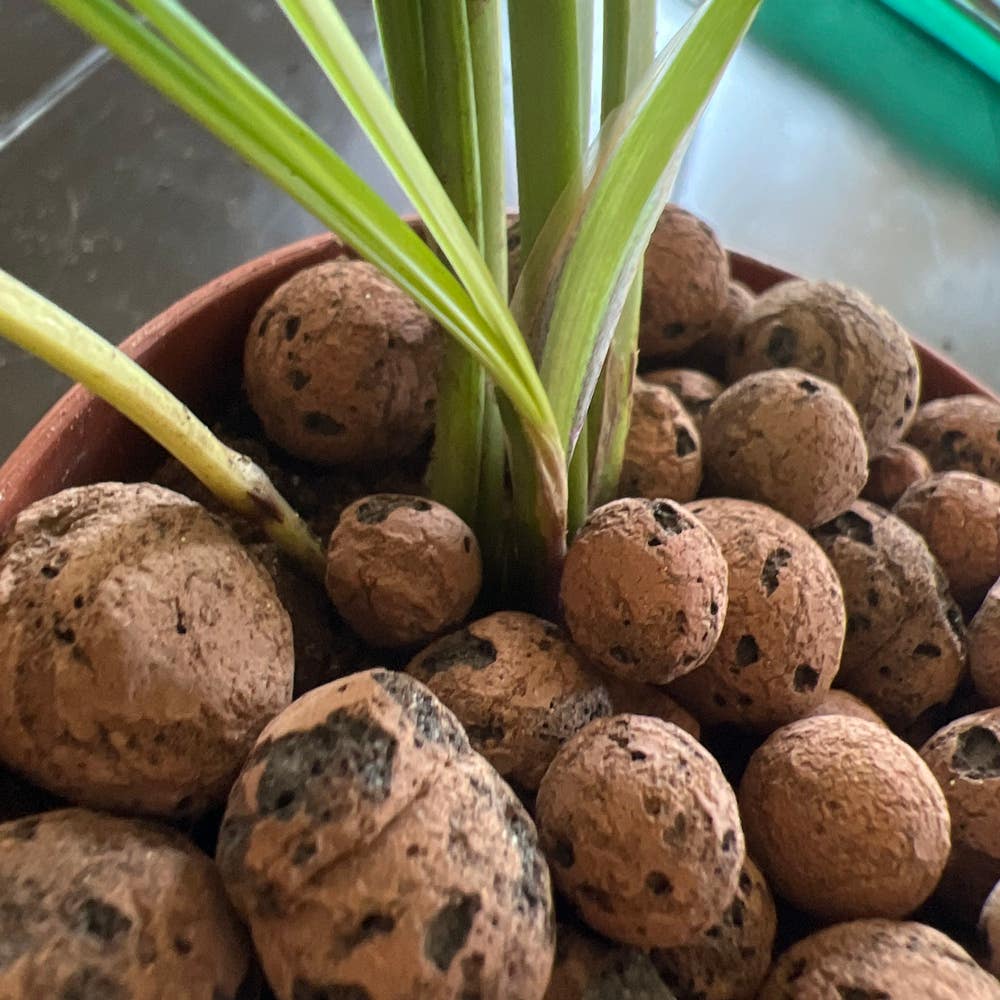
Terracotta: The go-to for many gardeners, terracotta is like the plant world's breathable workout gear. Its porous nature allows air and moisture to move through the walls, helping to prevent overwatering and root rot. Ideal for Serai, which thrives with well-aerated roots.
Ceramic: These pots can be stunning, adding a touch of elegance to your Serai. They're less porous than terracotta, retaining moisture for longer periods. If you're prone to under-watering, a ceramic pot might be your Serai's best ally.
Plastic: Lightweight and cost-effective, plastic pots are a practical choice. They retain moisture well, which can be a double-edged sword—great for drier climates but risky if you tend to overwater.
Regardless of material, there's one rule that's carved in stone: your pot must have drainage holes. Without them, you're rolling out the red carpet for soggy soil and unhappy roots. So, whether you lean towards the natural vibe of terracotta, the sleek look of ceramic, or the practicality of plastic, make sure those drainage holes are present. Your Serai will thank you with lush growth and vibrant health.
Repotting Steps
🌱 Preparation
Before diving in, make sure you have all the essentials on hand:
- A new pot with adequate drainage
- Fresh potting mix, tailored for Serai's needs
- Clean, sharp tools for any root trimming
- Gloves for a mess-free experience
Set up your workspace with plenty of room to maneuver, and lay out your tools for easy access.
🪴 Plant Removal
Gently coax your Serai from its current home, tilting the pot and easing the plant out. If it's stubborn, a few taps on the pot's bottom or a careful slide of a knife around the inside edge can help. Remember, patience is key—no yanking allowed.
🌿 Root Care
Inspect the Serai's roots with a discerning eye:
- Trim tangled or excessively long roots
- Remove any parts that are damaged or show signs of rot
This is the time to encourage a healthy, robust root system, so handle with care and precision.
🏺 Pot Preparation
Now, prepare the new residence for your Serai:
- Add a layer of fresh potting mix to the bottom
- Ensure the depth is just right so that the Serai sits at the same level it did in the old pot
🌱 Planting Serai
Carefully place your Serai in the center of its new pot. Then, surround it with more potting mix, gently pressing down to eliminate air pockets but not so hard as to compact the soil.
🌧️ Aftercare
The final touches for a seamless transition:
- Water your Serai to help settle the soil
- Keep it in a shaded area for a few days to recover
Monitor your Serai closely during this adjustment period to ensure it thrives in its new environment.
Wrapping Up
Repotting Serai not only refreshes its living space but also invigorates its growth, ensuring your lemongrass continues to thrive. By following the steps outlined, you've provided your plant with a new foundation to flourish.
- Benefits of repotting include:
- Enhanced root health and space for growth.
- Improved nutrient uptake from fresh soil.
- Prevention of waterlogging and root diseases.
Embrace the process with the knowledge that you're nurturing your Serai's vitality. Happy gardening, and may your lemongrass grow lush and fragrant!
⚠️ Safety First
This content is for general information and may contain errors, omissions, or outdated details. It is not medical, veterinary advice, or an endorsement of therapeutic claims.
Always consult a qualified healthcare professional before using any plant as food, medicine, or supplement.
Never eat any plant (or feed one to pets) without confirming its identity with at least two trusted sources.
If you suspect poisoning, call Poison Control (800) 222-1222, the Pet Poison Helpline (800) 213-6680, or your local emergency service immediately.
Spotted an error? Please report it here.
Repot your Serai with confidence and let Greg's tailored care tips 🌿 guide you to perfect post-repotting growth.