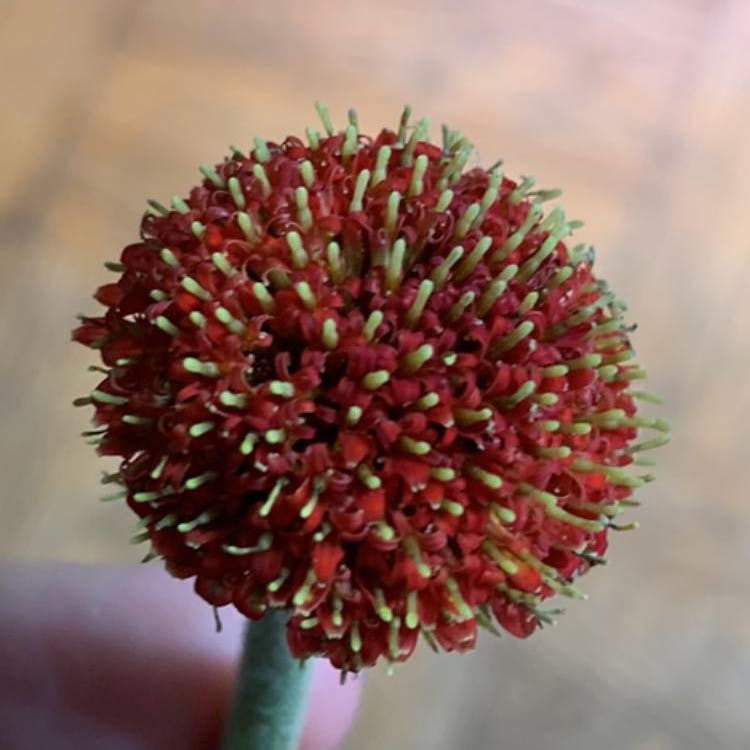
🌼 Transvaal Daisy Roots 101
Gerbera L.
By the Greg Editorial Team
Nov 06, 2024•6 min read
This article was created with the help of AI so we can cover more plants for you. May contain errors. See one? Report it here.
- 🌱 Transvaal daisies have shallow, fibrous roots for efficient nutrient absorption.
- 💧 Consistent moisture is key; avoid overwatering to prevent root rot.
- 🌼 Dividing in spring rejuvenates plants and promotes abundant blooms.
Root System Characteristics
Fibrous Roots 🌱
Transvaal daisies feature a fibrous root system, which is characterized by a shallow yet extensive network. This design allows for efficient nutrient absorption while securely anchoring the plant in the soil.
The fibrous roots spread out horizontally, maximizing their reach in the top layers of soil. This adaptability is crucial for thriving in various soil conditions, ensuring the plant can access essential nutrients and water.
Comparison with Taproot Systems 🤔
When comparing fibrous roots to taproot systems, several key differences emerge. Fibrous roots tend to be shallower and spread more widely, while taproots grow deeper and focus on vertical expansion.
In terms of nutrient uptake efficiency, fibrous roots excel in nutrient-poor soils due to their extensive network. This adaptability allows them to thrive in diverse environments, making them a resilient choice for gardeners.
Understanding these root system characteristics is essential for nurturing healthy Transvaal daisies. With this knowledge, you can better support their growth and ensure they flourish in your garden.
Root Growth Patterns
Depth and Spread 🌱
Transvaal daisies boast a root depth of about 12-18 inches (30-45 cm), which allows them to access essential nutrients and moisture. Their roots can spread impressively, extending 2-3 feet (60-90 cm) in diameter, creating a robust network that supports the plant's growth.
Seasonal Growth Patterns 🌸
These plants thrive with active growth during spring and summer, soaking up the sun and nutrients. As fall and winter approach, they enter a dormant phase, conserving energy and preparing for the next growth cycle, which significantly impacts their root development.
Understanding these growth patterns is crucial for effective care. By recognizing the seasonal shifts, you can tailor your watering and fertilizing practices to support your Transvaal daisies throughout the year.
Next, we’ll explore the best practices for watering, fertilizing, and transplanting these vibrant plants to ensure they flourish.
Watering, Fertilizing, and Transplanting
💧 Watering Needs
Watering your Transvaal Daisy requires a careful balance. Consistent moisture is crucial, but be wary of waterlogging, which can lead to root rot.
Aim to water every 1-2 weeks, adjusting based on soil moisture levels. Check the top inch of soil; if it feels dry, it’s time to water.
🌱 Fertilizing Techniques
Fertilizing is essential for robust growth. Use a balanced NPK fertilizer during the growing season to provide the necessary nutrients.
Timing is key—fertilize every 4-6 weeks. However, avoid over-fertilization, as it can cause root burn and damage your plant.
🌼 Transplanting Best Practices
Transplanting your Transvaal Daisy can rejuvenate its growth. The best times to transplant are early spring or fall when the plant is less stressed.
Follow these steps for successful transplanting:
- Prepare the new planting site with well-draining soil.
- Water the plant thoroughly before transplanting.
- Gently remove the plant from its current pot, taking care not to damage the roots.
- Place it in the new location and fill with soil, ensuring the roots are covered.
- Water thoroughly after transplanting to help settle the soil.
By following these guidelines, you’ll ensure your Transvaal Daisy thrives in its new environment. Next, let’s explore common root issues that may arise and how to tackle them effectively.
Common Root Issues
Identifying Problems 🌱
Transvaal daisies can face several root-related issues, primarily root rot, pests, and diseases.
Root rot is often indicated by brown, mushy roots and a foul odor, signaling that the plant is in distress.
On the other hand, pest infestations may present themselves through visible pests on the plant or stunted growth, which can be frustrating for any gardener.
Solutions and Prevention Tips 🛠️
Preventing root rot starts with proper watering techniques.
Allow the soil to dry out between waterings to avoid waterlogged conditions that can suffocate the roots.
Additionally, ensuring good drainage in pots and garden beds is crucial for maintaining healthy roots.
For pest control, regular inspections of your plants can help catch issues early.
Using organic pesticides as needed can effectively manage pest populations without harming the environment.
By staying vigilant and proactive, you can keep your Transvaal daisies thriving and free from common root issues.
Next, let’s explore how to recognize and address rootbound plants to ensure your daisies continue to flourish.
Recognizing and Addressing Rootbound Plants
Definition and Signs 🌱
Rootbound plants occur when roots grow in circles around the pot, limiting their growth. You can spot a rootbound plant by looking for roots emerging from drainage holes or noticing stunted growth.
Remediation Steps 🛠️
Timing is crucial for repotting; do it when roots are visibly bound. Follow these steps to remedy rootbound conditions:
- Choose a larger pot: Select one that is 1-2 inches larger in diameter.
- Loosen the roots: Gently separate the roots before placing the plant in the new pot.
- Fill with fresh potting mix: Use quality soil and water thoroughly after repotting.
By addressing rootbound conditions promptly, you can help your Transvaal Daisy thrive and flourish. This proactive approach ensures your plant has the space it needs to grow and remain healthy.
Propagation and Division
🌱 Importance of Root Health
Healthy roots are crucial for successful propagation. They not only support the plant's growth but also enhance flowering, making your Transvaal Daisy more vibrant and resilient.
Dividing plants can rejuvenate them, leading to increased growth and more abundant blooms. This practice helps manage overcrowding and ensures that each division has ample space and resources to thrive.
✂️ Techniques for Dividing and Propagating
The best time to divide your Transvaal Daisy is in early spring. This timing allows the plant to recover and establish itself before the growing season kicks into high gear.
Here’s how to successfully divide and propagate your plant:
- Remove the plant from its pot: Gently take the plant out, being careful not to damage the roots.
- Separate the root clumps: Gently pull apart the roots, ensuring each division has healthy roots and at least one leaf.
- Replant divisions: Place each division in separate pots filled with appropriate soil, allowing for good drainage.
- Water thoroughly: After planting, give each new pot a good soak and place them in indirect sunlight until they establish.
By following these steps, you can ensure that your Transvaal Daisy not only survives but thrives, bringing beauty to your garden. As you nurture these divisions, you'll witness the joy of watching them grow and flourish in their new homes.
⚠️ Safety First
This content is for general information and may contain errors, omissions, or outdated details. It is not medical, veterinary advice, or an endorsement of therapeutic claims.
Always consult a qualified healthcare professional before using any plant as food, medicine, or supplement.
Never eat any plant (or feed one to pets) without confirming its identity with at least two trusted sources.
If you suspect poisoning, call Poison Control (800) 222-1222, the Pet Poison Helpline (800) 213-6680, or your local emergency service immediately.
Spotted an error? Please report it here.
Unlock the secret to thriving Transvaal daisies 🌼 with Greg's tailored watering alerts and fertilization tips, ensuring your plants grow strong and vibrant all season!