5 Tips for Propagating Your Rebutia 🌵
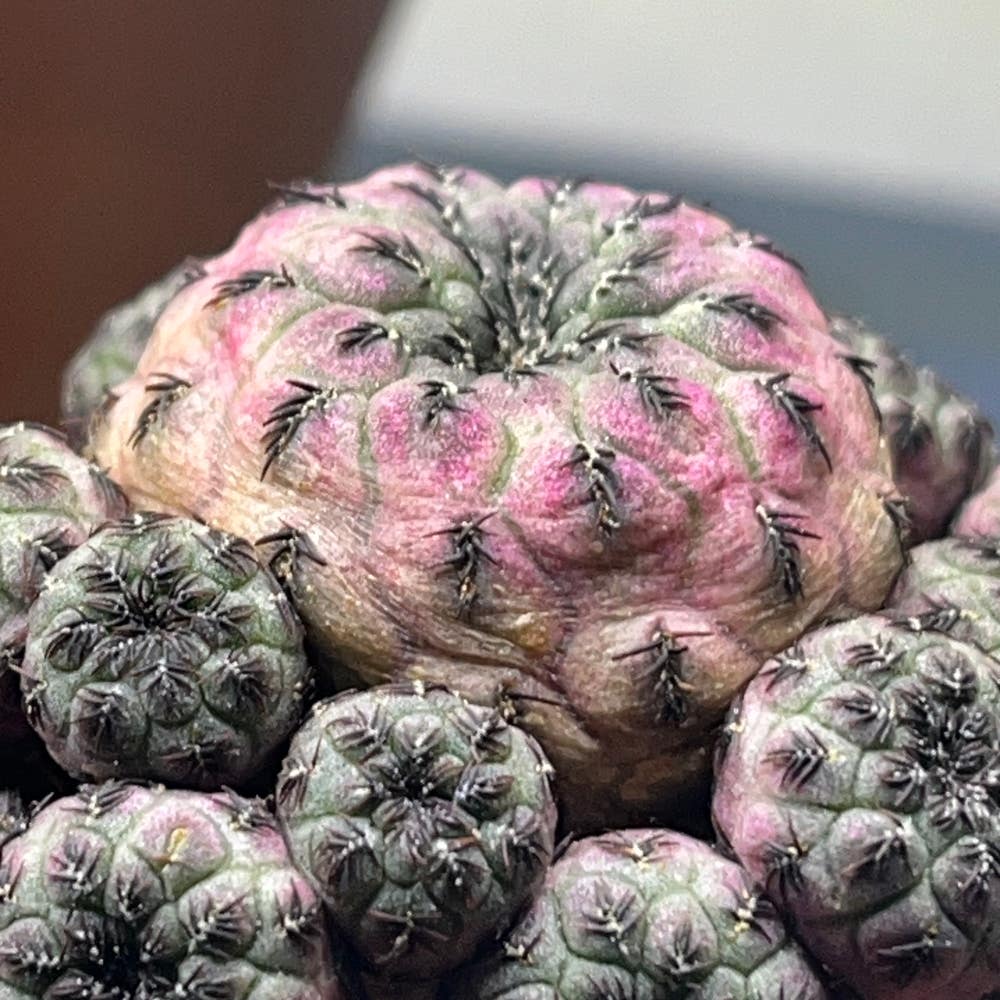
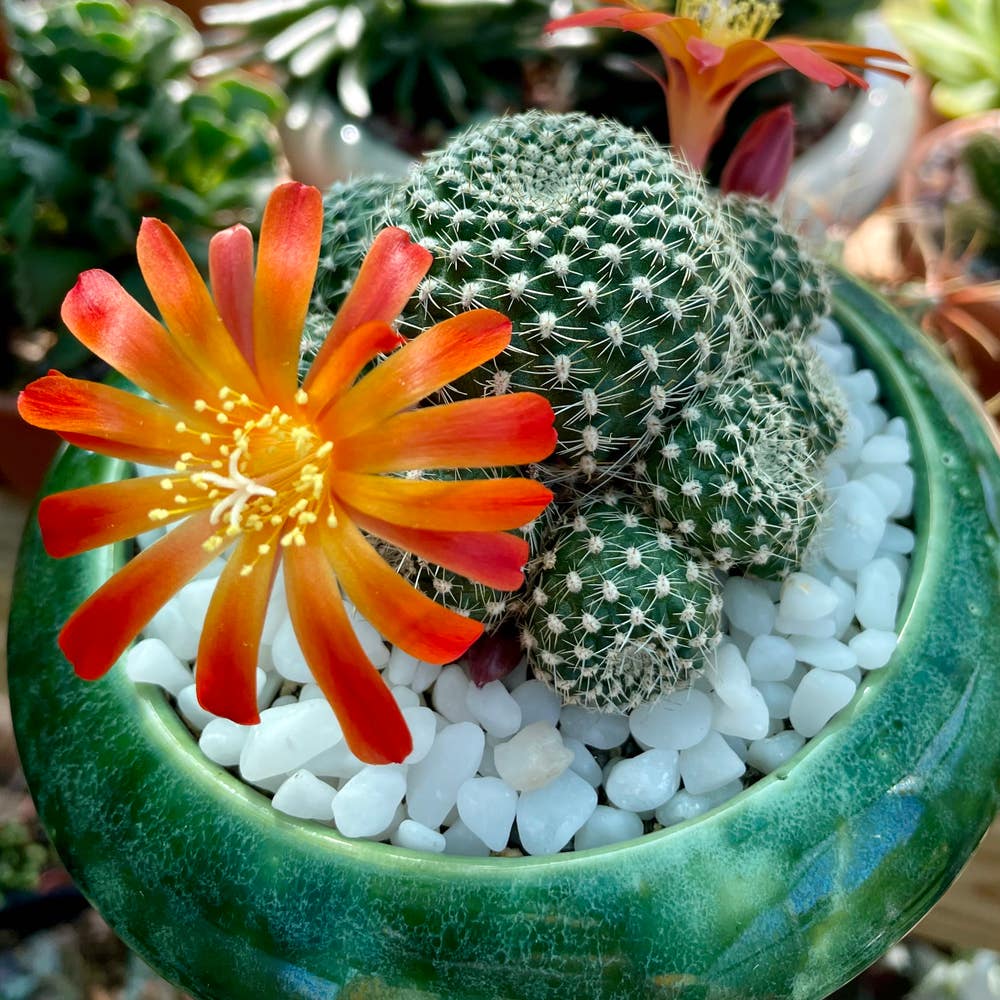
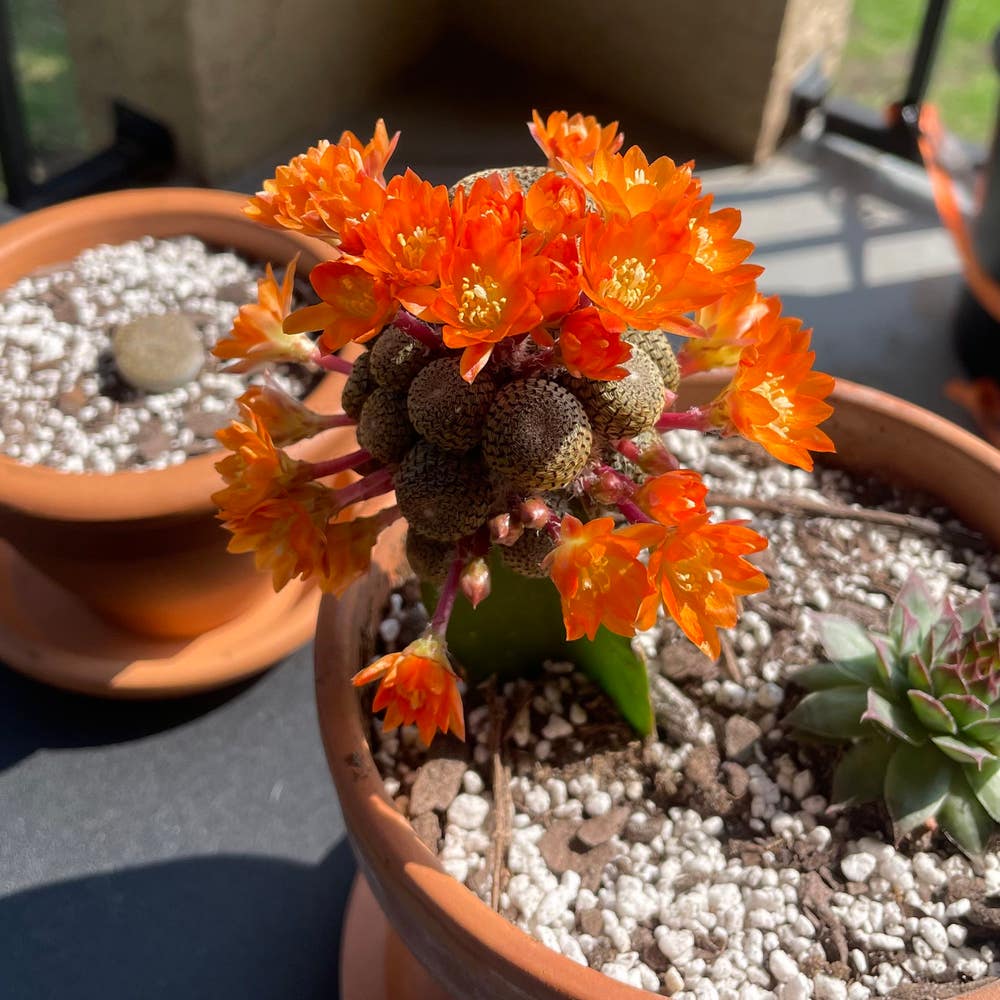
Rebutia spp.
By the Greg Editorial Team
Nov 22, 2024•5 min read
This article was created with the help of AI so we can cover more plants for you. May contain errors. See one? Report it here.
Master Rebutia propagation 🌱 with this essential guide to growing from seeds, offsets, and cuttings!
- 🌱 Collect seeds in late summer for successful Rebutia propagation.
- 💧 Use well-draining soil and allow it to dry to prevent root rot.
- 🌞 Provide 12-16 hours of indirect sunlight for optimal seed germination.
Propagating from Seeds
🌱 Step-by-step guide on seed collection
Collecting seeds from your Rebutia is a rewarding process. Timing is crucial; aim to gather seeds after the flowers have dried, typically in late summer.
To collect the seeds, gently shake the dried flower over a clean container. This method ensures you capture all the tiny seeds without damaging the flower.
Once collected, store the seeds in a cool, dry place until you're ready to plant. Proper storage helps maintain their viability for future propagation.
🌼 Germination process and conditions
Germinating Rebutia seeds can take anywhere from 2 to 4 weeks under optimal conditions. Patience is key, as this is a moderate difficulty process.
For successful germination, provide indirect sunlight or fluorescent light for 12 to 16 hours daily. This light exposure mimics their natural habitat and encourages healthy growth.
Watering is essential, but be cautious. Light misting keeps the soil moist without making it soggy, which can hinder germination.
🪴 Ideal soil mix for seed propagation
Choosing the right soil mix is vital for seed propagation. A recommended blend is 50% cactus mix and 50% perlite, ensuring excellent drainage.
Additionally, aim for a soil pH that is slightly acidic to neutral, ideally between 6.0 and 7.0. This pH range supports optimal seedling growth and development.
With the right conditions in place, you’re well on your way to successfully propagating your Rebutia from seeds. Next, let’s explore how to propagate these charming plants from offsets.
Propagating from Offsets
Identifying offsets on mature plants 🌱
Offsets are small, bulbous growths that appear at the base of your mature Rebutia plants. The best time to remove these offsets is during the growing season, specifically from spring to early summer, when they are most vigorous.
Step-by-step removal and planting of offsets ✂️
- Tools needed: Grab a clean, sharp knife or trowel to ensure a smooth process.
- Removal: Gently twist or cut the offset from the parent plant, making sure to leave some roots attached for better survival.
- Planting: Place the offset in a well-draining soil mix, burying it slightly to provide stability.
- Watering: After planting, lightly water the area to help settle the soil around the new offset.
Care for newly planted offsets 🌞
For the first few weeks, provide bright, indirect light to encourage healthy growth. Remember to allow the soil to dry out completely between waterings to prevent any moisture-related issues.
By following these simple steps, you can successfully propagate your Rebutia from offsets, ensuring a thriving collection of these charming cacti. Next, let’s explore how to propagate Rebutia from cuttings for even more propagation options!
Propagating from Cuttings
🌱 Selecting the right cutting
When propagating Rebutia from cuttings, start by choosing a healthy stem. Look for one that shows no signs of disease or pests, and aim for a length of about 3-4 inches.
✂️ Preparing the cutting for propagation
After selecting your cutting, allow the cut end to callous over for 1-3 days. This step is crucial as it helps prevent rot when planted. For an extra boost, consider dusting the cut end with rooting hormone to encourage root growth.
🌿 Rooting process and conditions
For rooting, use a cactus mix or a combination of perlite and peat. This ensures excellent drainage, which is vital for healthy root development.
Water the soil lightly, misting it to maintain moisture without overwatering. Place your cutting in bright, indirect light, steering clear of direct sunlight until roots establish. This gentle approach helps your cutting thrive as it transitions into a new plant.
With these steps, you’re well on your way to successfully propagating Rebutia from cuttings. Next, let’s explore common challenges you might face during propagation and how to overcome them.
Common Challenges in Propagation
🐛 Pests and Diseases
Identifying common pests during propagation
When propagating your Rebutia, keeping an eye out for pests is crucial. Common culprits include mealybugs, spider mites, and aphids, which can wreak havoc on your plants.
Look for signs of infestation such as sticky residue, webbing, or visible insects. Early detection is key to preventing a larger problem.
Preventative measures and treatments
To keep your plants healthy, conduct regular inspections at least once a week. This proactive approach helps you catch any issues before they escalate.
If you do spot pests, treatment options like insecticidal soap or neem oil can effectively control the situation. These solutions are gentle on your plants while being tough on unwanted visitors.
🌱 Root Rot Prevention
Signs of root rot in propagated plants
Root rot is a serious concern for any plant enthusiast. Symptoms include wilting, yellowing leaves, or mushy roots, which indicate that your plant is in distress.
The primary causes of root rot are overwatering and poor drainage. Understanding these factors can help you take action before it’s too late.
Best practices to avoid root rot
To prevent root rot, start with a well-draining soil mix. This is essential for ensuring that excess water can escape, keeping your roots healthy.
Additionally, adopt a watering technique that allows the soil to dry out completely between waterings. This simple practice can make a significant difference in the health of your propagated plants.
By being vigilant about pests and root rot, you can enjoy a thriving propagation experience. Next, let’s explore the various methods of propagating your Rebutia for optimal results.
⚠️ Safety First
This content is for general information and may contain errors, omissions, or outdated details. It is not medical, veterinary advice, or an endorsement of therapeutic claims.
Always consult a qualified healthcare professional before using any plant as food, medicine, or supplement.
Never eat any plant (or feed one to pets) without confirming its identity with at least two trusted sources.
If you suspect poisoning, call Poison Control (800) 222-1222, the Pet Poison Helpline (800) 213-6680, or your local emergency service immediately.
Spotted an error? Please report it here.
Propagate your Rebutia with confidence 🌱 by using Greg's tailored reminders and expert care tips to ensure your seeds and cuttings thrive beautifully!