Propagating My Rebutia krainziana: Step-by-Step Guide
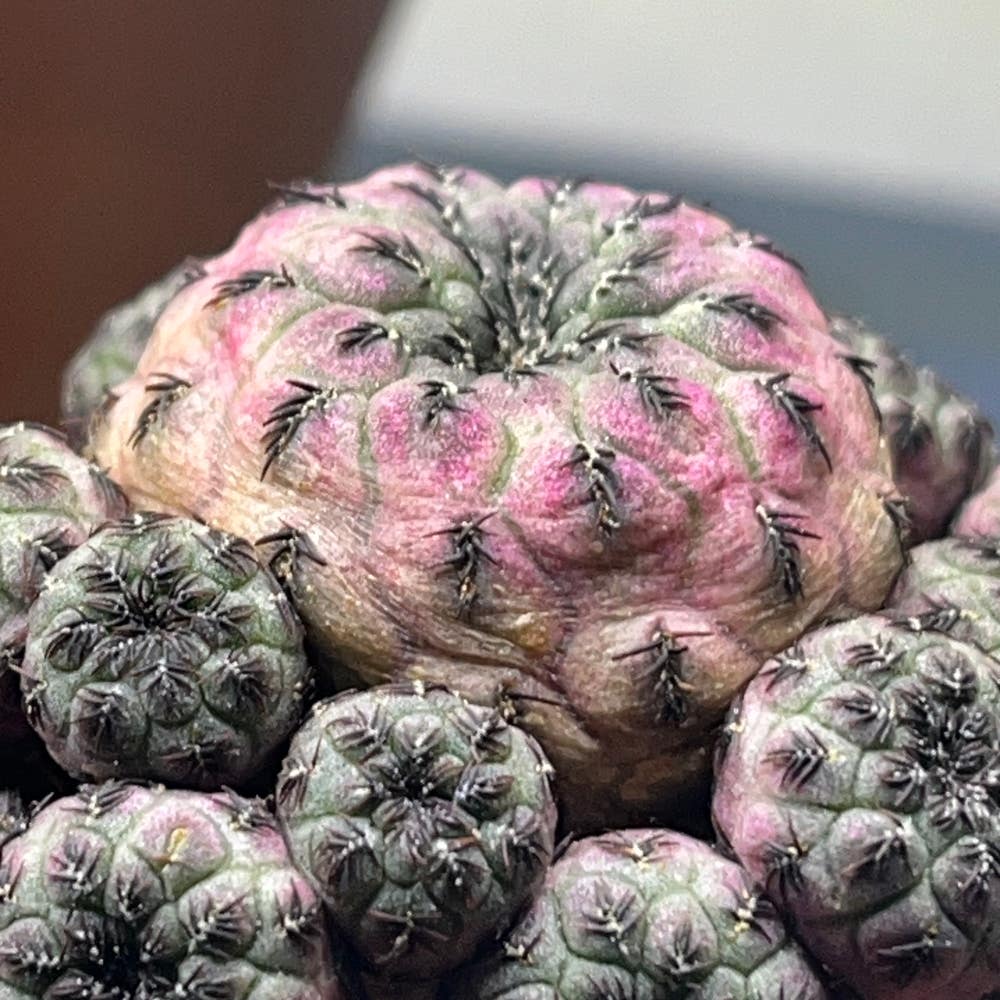
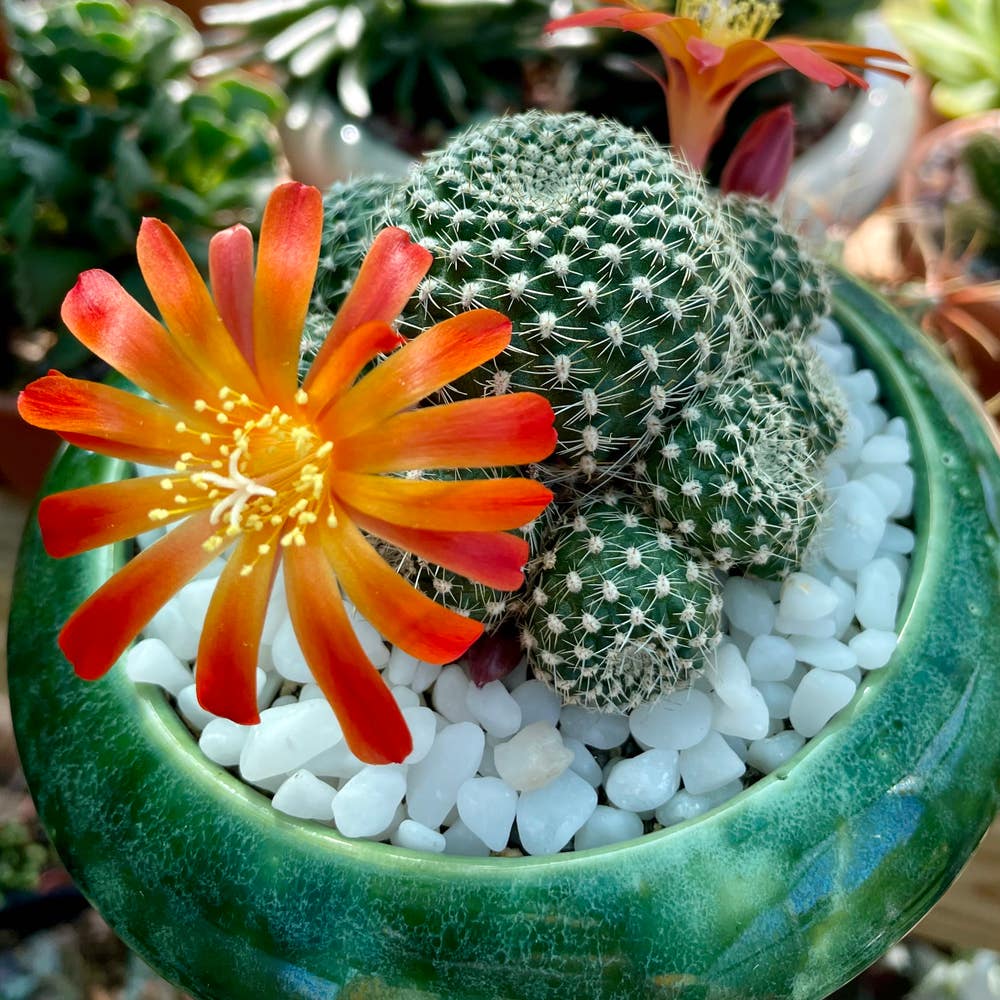
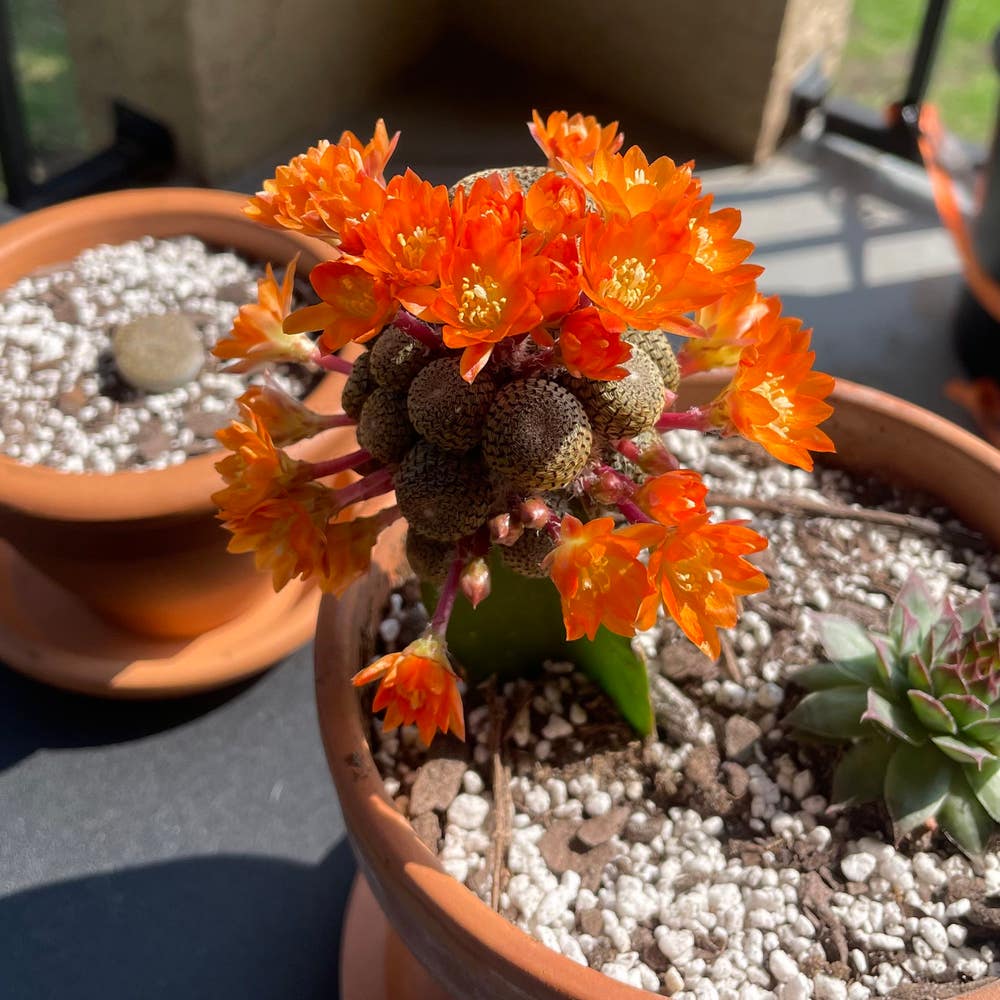
Rebutia minuscula var. minuscula
By the Greg Editorial Team
Feb 14, 2024•4 min read
This article was created with the help of AI so we can cover more plants for you. May contain errors. See one? Report it here.
Propagate your Rebutia krainziana 🌵 and watch your cactus garden thrive with these expert tips!
- Offsets ensure easy propagation, look for plump ones with roots.
- 🌱 Germinate seeds in sterile, moist conditions for success.
- Prevent rot and pests with well-draining soil and cleanliness.
Propagating from Offsets: The Natural Way
🌱 Spotting and Harvesting Offsets
Offsets are your Rebutia krainziana's gift for multiplication. Look for plump miniatures with a few roots, signaling they're ripe for independence. Use a clean, sharp tool to separate them, or gently twist off by hand, taking care not to harm the roots.
🌱 Planting Offsets
Soil is key: mix it well-draining. Nestle the offsets in, covering roots but not smothering. Water sparingly; overzealous hydration is the fast track to rot. Place them in bright, indirect light, avoiding the midday sun's harsh rays.
Sowing Success: Propagating from Seeds
🌱 Collecting and Prepping Seeds
Harvesting viable seeds from your Rebutia krainziana is a treasure hunt. Timing is everything—pluck them post-flower show but before they make their escape. Cleanliness is your ally; ensure seeds are free from plant pulp for a strong start.
Prep work is crucial for germination success. Consider a scarification spa for your seeds: a quick dip in nearly boiling water followed by a 12-24 hour soak. If they're stubborn and unswollen, a delicate nick in the seed coat may be in order.
🌱 The Germination Game
Creating the perfect germination environment is like setting the stage for a microscopic opera. Sterility and consistency are the stars here. Mix a well-draining concoction of potting soil, coarse sand, and perlite. Sow your seeds on the surface, and dust them with a light soil sprinkle, as if forecasting a fine snow.
Moisture is key, but don't drown your tiny performers. A spray bottle is your instrument of choice, delivering a gentle mist. Patience is your virtue; germination is not a sprint. It's a slow dance that can take weeks to months. Once seedlings emerge, ease them into less humid conditions, acclimating them to the real world.
Cuttings: A Snip in the Right Direction
✂️ Choosing and Preparing Stem Cuttings
Selecting healthy stems is your first step towards propagation victory. Look for robust, disease-free growth with no signs of pests.
Sterilize your scissors or pruners to avoid introducing pathogens. Make a clean, angled cut just below a leaf node for the best results.
🌱 Preparing Cuttings for Rooting
Cuttings should be about 4-6 inches long. Strip lower leaves to prevent rot, but leave a few at the top for photosynthesis.
Dip the cut end into rooting hormone to encourage faster root development. This step isn't mandatory, but it's like a turbo boost for rooting.
🌿 Rooting and Aftercare
Create a humidity haven for your cuttings. A plastic bag or container can simulate a mini greenhouse, maintaining moisture and warmth.
Well-draining soil is non-negotiable. Plant your cuttings in a medium that's similar to their future home. Keep the soil moist but not waterlogged—think nurturing, not drowning.
Bright, indirect light is the sweet spot for your cuttings. Too much direct sunlight can be more harmful than helpful.
Watch for root development. When you see a network of white, firm roots, it's time for a little happy dance.
Maintain airflow around the cuttings to prevent disease. A gentle fan can work wonders here.
Remember, patience is key. Roots take time to develop, but the wait is a small price to pay for the joy of new growth.
Troubleshooting Propagation Pitfalls
🌱 Common Setbacks and Solutions
🦠 Addressing Rot and Damping Off
Rot is the grim reaper of propagation, often due to soggy soil conditions. To combat this, ensure your Rebutia krainziana's soil is well-draining and only water when the topsoil feels dry. If rot has set in, act swiftly: remove the affected parts, let the cut area callus over, and replant in fresh, dry soil.
🌱 Ensuring Successful Germination and Rooting
Germination can be as unpredictable as a lottery. If your seeds are stubborn, check that they're not too old and that they're sown in a light, well-draining mix. Temperature and moisture are key; maintain a consistent environment and resist the urge to overwater. If all else fails, a touch of rooting hormone can be the nudge your seeds need.
🐜 Keeping Pests at Bay
🐛 Identifying and Dealing with Pests
Pests are the party crashers no one invited. Mealybugs and aphids can be particularly pesky, treating your cactus like an all-you-can-eat buffet. Regular inspections are crucial; if you spot any freeloaders, isolate the affected plant and treat it with a suitable insecticide or neem oil. Prevention is better than cure, so keep your propagation area clean and your plants healthy to reduce the risk of infestation.
⚠️ Safety First
This content is for general information and may contain errors, omissions, or outdated details. It is not medical, veterinary advice, or an endorsement of therapeutic claims.
Always consult a qualified healthcare professional before using any plant as food, medicine, or supplement.
Never eat any plant (or feed one to pets) without confirming its identity with at least two trusted sources.
If you suspect poisoning, call Poison Control (800) 222-1222, the Pet Poison Helpline (800) 213-6680, or your local emergency service immediately.
Spotted an error? Please report it here.
Successfully propagate your Rebutia krainziana by following this guide, and let Greg's custom care alerts 🌱 ensure your offsets and cuttings thrive every step of the way!