Propagating Myanmar Anoectochilus: Step-by-Step Guide
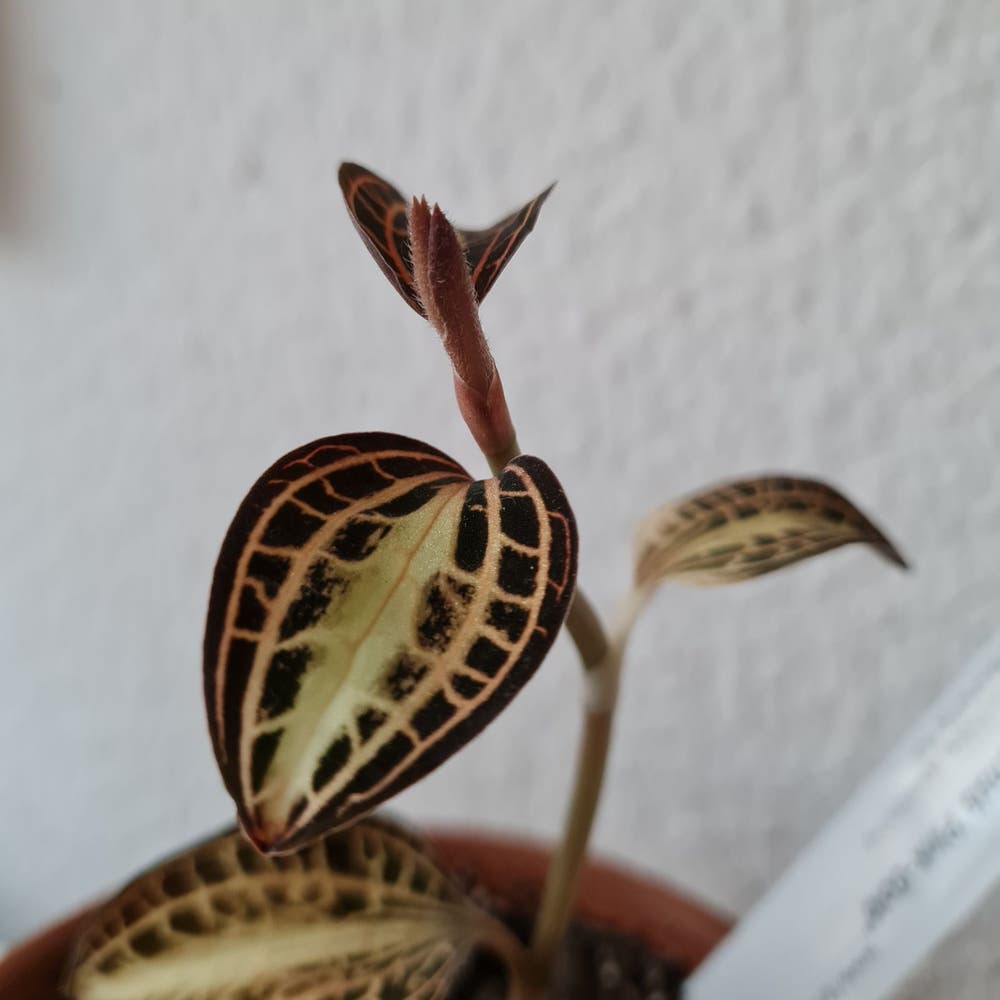
Anoectochilus burmannicus
By the Greg Editorial Team
Apr 16, 2024•6 min read
This article was created with the help of AI so we can cover more plants for you. May contain errors. See one? Report it here.
Propagate your own lush Myanmar Anoectochilus jungle 🌿 with our foolproof step-by-step guide!
- Spring or early fall best for dividing Myanmar Anoectochilus.
- Sterilize tools, look for natural separations when dividing.
- Rooting rhizomes requires callusing, warm and humid conditions.
Getting Started with Division
🌱 Choosing the Right Time to Divide
Spring is your golden ticket for division. It's when the Myanmar Anoectochilus is primed for growth, making it the perfect time to separate your plant. If you miss this window, early fall is your backup, but it's a bit of a gamble with the cooler temperatures. Look for mature plants that are showing signs of being pot-bound or are simply too large for their current space.
🛡️ The Division Process
Sterilize Your Tools
Before you dive in, make sure your knife or scissors are sterilized. This isn't just a suggestion; it's a must to prevent disease spread.
Unpot and Inspect
Gently remove your plant from its pot. You're looking for natural separations in the root ball where you can divide the plant without causing unnecessary stress.
Make the Cut
With a steady hand, use your sharp tool to divide the plant into sections. Each should have its own roots and a few leaves to sustain it. It's like giving each division its own mini ecosystem.
Plant the Divisions
Replant each section at the same depth it was previously growing. This familiarity helps the divisions adjust to their new independence.
🚰 Aftercare for Divisions
Consistent Moisture
Keep the soil moist but not waterlogged. Overwatering is a surefire way to invite root rot to the party, and nobody wants that guest.
Bright, Indirect Sunlight
Place your new divisions in a spot where they'll receive bright, indirect sunlight. This will encourage them to put down roots and start growing.
Watch for Growth
New growth is the sign you're waiting for—it means your division has been a success. Keep an eye out for new leaves, and celebrate when you see them. It's a small victory, but in the world of plant propagation, it's everything.
Rooting Rhizome Cuttings
🌱 Preparing Your Cuttings
To kick off your propagation journey, select robust rhizomes with at least one growth point. Imagine you're a surgeon as you use a sterilized knife to make a clean cut—precision matters. Let the rhizome callus over before planting; it's like giving it armor against rot.
🌱 Planting and Encouraging Root Growth
Plant the callused rhizome in a cozy bed of well-draining, peat-based potting soil mixed with perlite. This isn't just dirt; it's the foundation of your cutting's future. Keep the soil moist, like a tropical mist has settled over your plant shelf, but not waterlogged—think moist towelette, not drenched sponge.
🌞 Creating the Perfect Environment
Aim for a warm, humid haven around 25°C (77°F) to make your cuttings feel at home. Bright, indirect light is your ally, but direct sun is a sworn enemy—avoid scorching your delicate cuttings. Patience is key; roots may take 2-3 months to appear, so keep the faith.
🚀 Rooting Hormone: A Secret Weapon
Consider rooting hormone your cutting's best friend, giving it a leg-up in the rooting race. Dip the cut end into the hormone before planting to accelerate root development. It's like a sprinter wearing the right shoes for a race.
Remember, rooting rhizome cuttings is a test of your green thumb's mettle. With these steps, you're on your way to propagation glory.
Advanced Propagation: Tissue Culture
🌱 Understanding Tissue Culture
Tissue culture, or micropropagation, is akin to a botanical photocopy machine. It's a method where tiny plant pieces, like shoot tips, are coaxed into full-blown plants in a nutrient-dense, sterile environment. For Myanmar Anoectochilus, it's a game-changer, offering a way to churn out numerous disease-free specimens without the genetic lottery of seeds.
🧤 The Tissue Culture Process
🧼 Step 1: Sterilization
First, you'll need to don your mad scientist gloves. Sterilize your tools, workspace, and the plant material. Contamination is the arch-nemesis of tissue culture, so this step is crucial.
🌱 Step 2: Explant Selection
Next, select a healthy piece of Anoectochilus, typically a shoot tip or meristem. This will be your 'explant', the tissue that will start a new plant life.
🧪 Step 3: Culture Initiation
Introduce the explant to a gel-like medium brimming with nutrients and hormones. This concoction is the secret sauce that encourages the explant to grow and multiply.
🔄 Step 4: Multiplication
Once the explant settles in, it'll start to proliferate. It's like watching a time-lapse of evolution, as cells differentiate into tiny plantlets right before your eyes.
🌱 Step 5: Rooting
After multiplication, it's time to prompt those plantlets to put down roots. Adjust the medium to favor root growth, and soon you'll have a bunch of rooted clones ready for the real world.
🌿 Step 6: Acclimatization
The final hurdle is easing these lab-born plants into their new, less controlled environment. Gradually introduce them to factors like airflow and sunlight, and they'll toughen up for their new home in soil or a growing medium.
Remember, tissue culture is not for the faint of heart. It demands precision, patience, and a bit of trial and error. But for those with a penchant for the meticulous, it's a rewarding way to mass-produce Myanmar Anoectochilus, preserving its beauty for generations to come.
The Seed Propagation Challenge
🌱 Collecting and Preparing Seeds
Harvesting seeds from the Myanmar Anoectochilus is a precise affair. Wait for the seed pods to mature, turning a telltale brown, before collecting. Cleanliness is crucial; any residual plant material can hinder germination. Some seeds may require a pre-sowing soak—check if this applies to your particular plant.
🌱 Germinating Seeds Successfully
To germinate Myanmar Anoectochilus seeds, patience is key. Plant them in a well-draining medium, barely covering them with soil. They need consistent warmth and humidity—think of mimicking a tropical climate. Monitor your seeds without turning into a helicopter parent; they'll sprout in their own time.
Propagation Care and Troubleshooting
💡 Creating the Ideal Environment
To thrive, Myanmar Anoectochilus cuttings need a propagation environment that's just right. Humidity should hover around 70-80%, like a gentle mist that encourages root growth without inviting mold. Temperature consistency is crucial; avoid fluctuations that could shock the new growth. Aim for a stable, warm environment that mimics the plant's natural habitat.
Bright, indirect light is the sweet spot for these plants. Too much sun and you'll have crispy leaves; too little and you'll see stretching, etiolated growth. Ensure good air circulation to keep fungal spores at bay, but avoid drafty areas that can rapidly change temperature and humidity.
🚨 Common Propagation Pitfalls
Sanitation is non-negotiable. Sterilize your tools to prevent introducing diseases to your cuttings. Overwatering is a common misstep, leading to root rot and mushy plants. Water with precision, allowing the medium to dry slightly between waterings.
If roots are shy to appear, reassess your lighting and temperature setup. No growth or mold? It's a red flag that humidity and cleanliness need adjustment. Keep a watchful eye on your plants and be ready to tweak conditions as needed. Remember, propagation is a marathon, not a sprint, and each plant's response will guide your care adjustments.
⚠️ Safety First
This content is for general information and may contain errors, omissions, or outdated details. It is not medical, veterinary advice, or an endorsement of therapeutic claims.
Always consult a qualified healthcare professional before using any plant as food, medicine, or supplement.
Never eat any plant (or feed one to pets) without confirming its identity with at least two trusted sources.
If you suspect poisoning, call Poison Control (800) 222-1222, the Pet Poison Helpline (800) 213-6680, or your local emergency service immediately.
Spotted an error? Please report it here.
Dive into spring propagation of Myanmar Anoectochilus with confidence, knowing that Greg's community and alerts 🌿 are there to guide you every step of the way for a flourishing indoor jungle.