Propagating Your Firetails Chenille: Step-by-Step Guide
Acalypha pendula
By the Greg Editorial Team
Feb 07, 2024•4 min read
This article was created with the help of AI so we can cover more plants for you. May contain errors. See one? Report it here.
Propagate lush Firetails Chenille 🌿 effortlessly with this fail-proof, step-by-step guide!
- Choose healthy stems and use clean cuts for successful propagation.
- Rooting hormone boosts growth; division requires precise timing and care.
- Aftercare is crucial: watch for root and leaf growth, and avoid overwatering.
Choosing Your Propagation Adventure
🌱 Stem Cuttings: The Quick Start
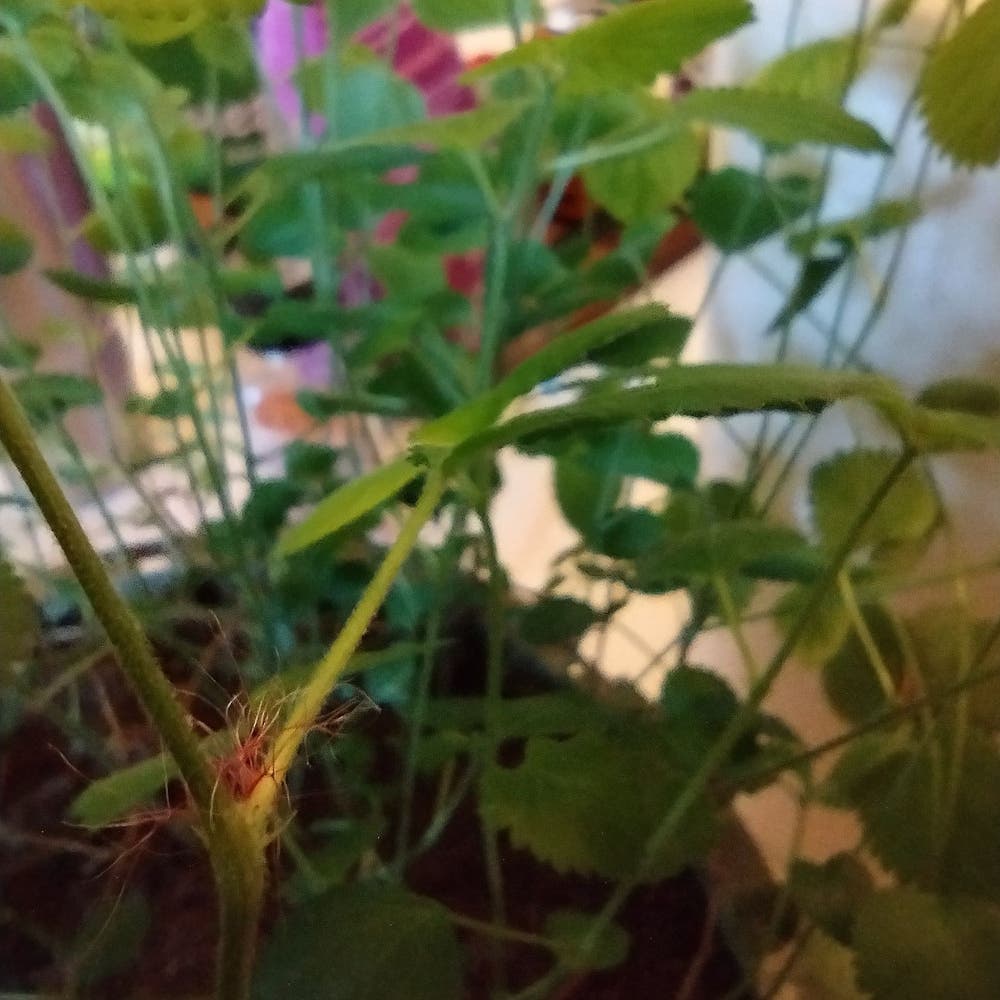
Selecting the perfect stem is like picking the right teammate for a relay race: you want strength and vitality on your side. Look for stems that are vibrant and firm, free from pests or diseases, and with a few leaves to sustain growth. Aerial roots are a bonus, signaling a readiness to grow.
Prepping your stem cuttings is about cleanliness and precision. Use sterilized shears to make a clean cut just above a leaf node—think surgical precision. Strip the lower leaves to prevent rot and consider a dip in rooting hormone to turbocharge root development.
🌿 Division: Multiplying Your Firetails
Timing is crucial when dividing your Firetails Chenille. The best moment is during a period of dormancy or just after flowering, when the plant is less stressed. Ensure each new section has its own root system and a few shoots to continue growing.
To ensure each division thrives, treat them to fresh, well-draining soil and maintain high humidity during the initial adjustment period. It's like sending kids off to college—you want to set them up with everything they need for success.
The Propagation Play-by-Play
🌱 Step 1: Making the Cut or Split
In the realm of propagation, precision is your ally. For stem cuttings, select a robust stem, ensuring it's free from pests and diseases. A clean, angled cut just above a node sets the stage for success. When dividing, wield a sterile knife to separate the root ball, guaranteeing each division has its fair share of roots and shoots.
🌱 Step 2: Rooting for Roots
Rooting hormone? It's not mandatory, but think of it as a growth accelerator for your cuttings. For optimal root development, maintain a steady temperature and humidity level. Keep the soil consistently moist, but avoid waterlogging your future green wonders.
🌱 Step 3: Planting Your Future Firetails
Now, let's talk dirt. A well-draining soil mix is non-negotiable for your fledgling Firetails. Pot them up, giving each cutting its own space to flourish. As for their new digs, keep them in a warm spot with indirect light—think cozy, not tropical vacation.
Aftercare for Your New Firetails Babies
💧 The First Few Weeks
🌞 Light and Temperature
Keep your young Firetails in a spot with bright, indirect sunlight. Direct rays are a no-go, as they can be too harsh for the delicate new growth. Aim for a consistent temperature, avoiding fluctuations that could stress the plants. If your home's air is drier than a humorist's wit, consider a humidifier or a pebble tray to up the humidity.
💪 Growth Milestones to Watch For
In about 2-4 weeks, you should see root development; this is the first big milestone. After that, keep an eye out for new leaf growth, which indicates that your Firetails are settling into their new home. Full root establishment takes time, but once there, your plants will be ready for a growth spurt. Remember, these milestones are like a plant's first words—exciting and indicative of more good things to come.
Propagation Pitfalls: Avoiding Common Mistakes
👀 Spotting and Solving Issues
Root rot is the grim reaper of propagation. Make sure your potting mix drains like it's got somewhere to be. If your cuttings are shy about sprouting roots, crank up the warmth and dial in the light to "cozy." Sterilize your tools before use—disease doesn't stand a chance against cleanliness.
🛠 Quick Fixes for Common Problems
Leaf drop and brown spots are red flags—don't propagate from ailing plants. If you're dealing with waterlogged soil, aim for damp, not drenched. Cutting? Always snip near the node; that's where the magic happens.
🛡 Ensuring Propagation Success
Good air circulation is your invisible shield against fungal invaders. Keep the air moving to avoid a moldy disaster. Pests like aphids and mealybugs? Evict them with insecticidal soap or neem oil—think of it as a spa treatment they won't enjoy.
🚨 Troubleshooting Your Propagation Efforts
Yellow leaves or stunted growth? Act fast—these are your plant's cry for help. Temperature and humidity need to be just right. Got a pot without a drainage hole? That's an invitation to root rot—decline it. Water with precision; target the soil, not the foliage. Remember, when it comes to watering, less is more.
⚠️ Safety First
This content is for general information and may contain errors, omissions, or outdated details. It is not medical, veterinary advice, or an endorsement of therapeutic claims.
Always consult a qualified healthcare professional before using any plant as food, medicine, or supplement.
Never eat any plant (or feed one to pets) without confirming its identity with at least two trusted sources.
If you suspect poisoning, call Poison Control (800) 222-1222, the Pet Poison Helpline (800) 213-6680, or your local emergency service immediately.
Spotted an error? Please report it here.
Propagate your firetail chenille flawlessly 🌱 with Greg's precise watering reminders and care tips, ensuring your new plants grow vigorously from these step-by-step instructions.