How to Know When to Repot Dappled Snowbrush?
Haemanthus albiflos
By the Greg Editorial Team
Dec 20, 2023•4 min read
This article was created with the help of AI so we can cover more plants for you. May contain errors. See one? Report it here.
- Roots peeking out? Time to repot your Dappled Snowbrush.
- 🌱 Repot every 2-3 years, choosing a pot one size larger.
- Terracotta for breathability, plastic for moisture, ceramic for balance.
Spotting the Tell-Tale Signs for Repotting
Roots are the underground informants of your Dappled Snowbrush's comfort. When they start to tangle or make surprise appearances at the bottom of the pot, it's a clear signal: repotting time is nigh.
🌱 Root Clues: Tangled and Peeking Roots
Escapee roots are not just quirky plant behavior; they're a distress signal. If your Dappled Snowbrush's roots are poking out of the drainage holes, it's time to upgrade their living space.
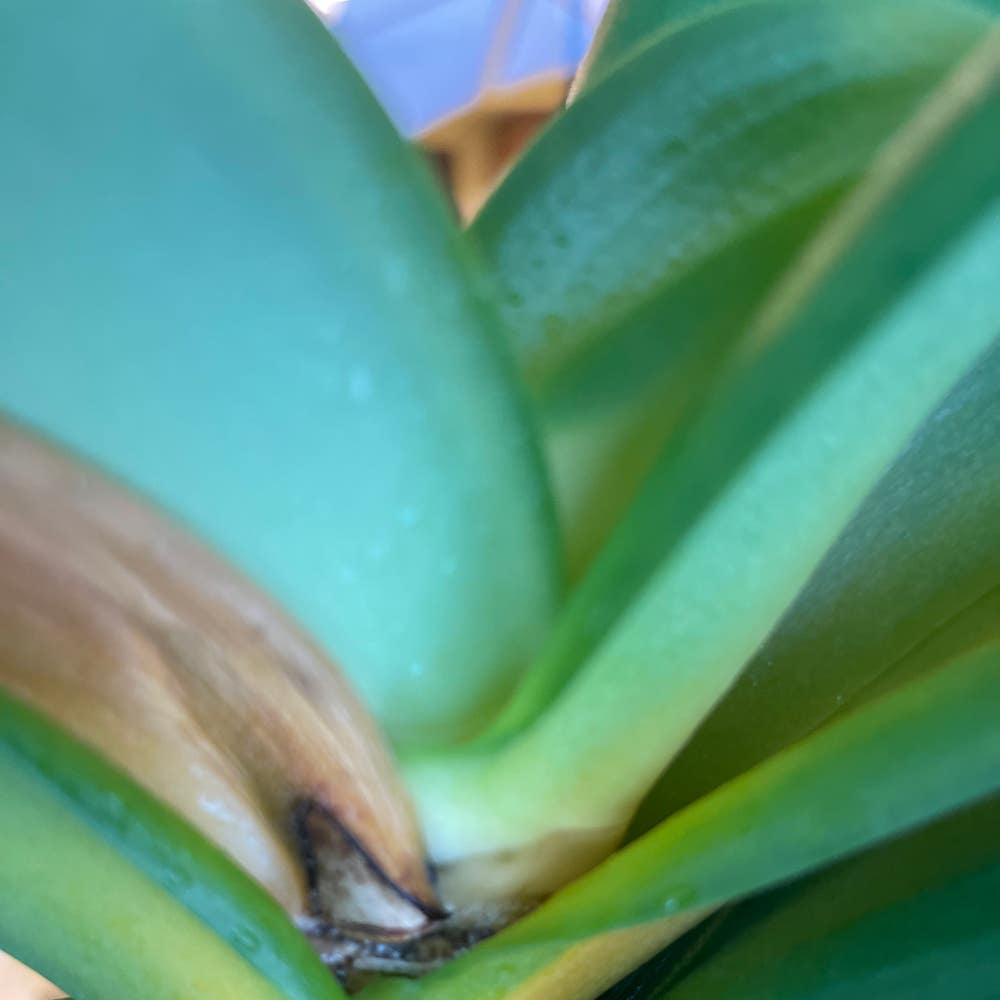
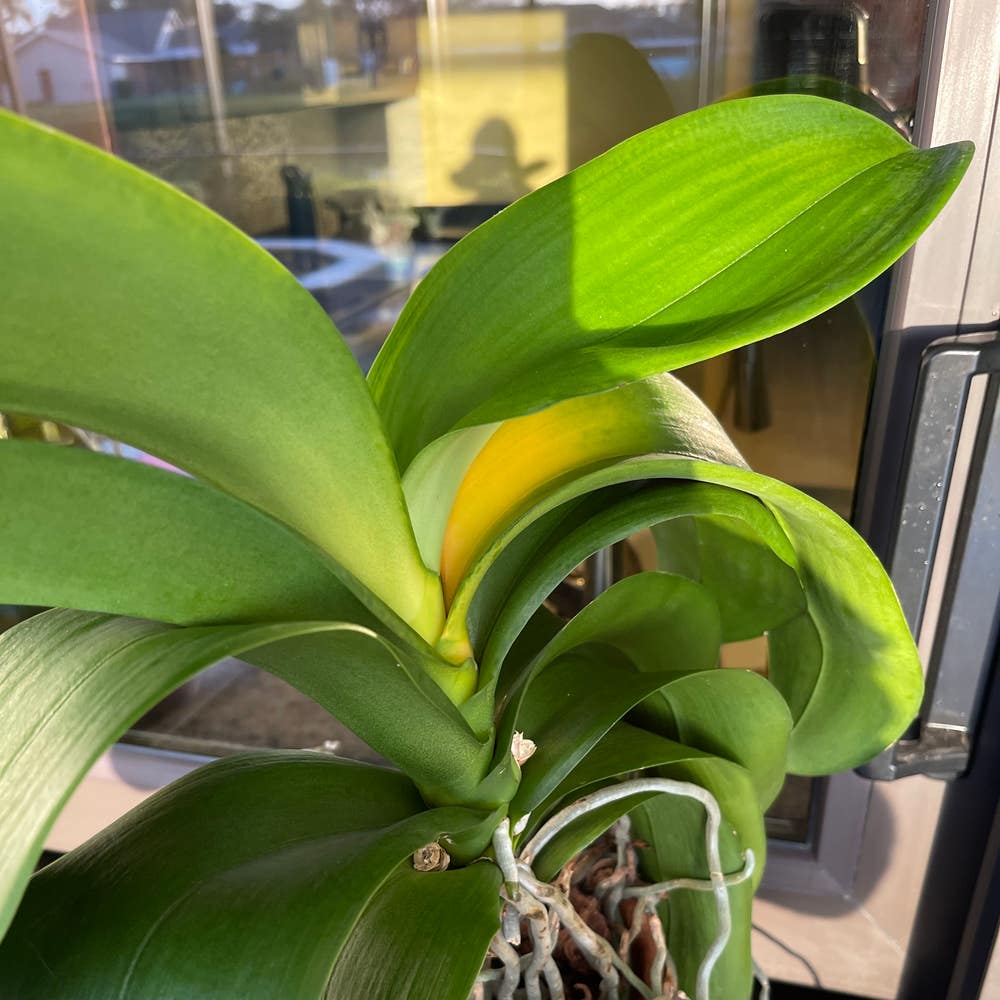
🌿 Above the Soil: Spotting Stress Signals in Leaves and Growth
Leaves don't lie. If your plant's leaves are turning yellow, curling, or the growth has slowed down to a snail's pace, these are red flags. It's not just a phase; your Dappled Snowbrush is crying out for help.
📆 Timing is Everything: How Often Does Dappled Snowbrush Typically Need a New Home?
Like clockwork, every 2-3 years, your Dappled Snowbrush will likely need a change of scenery. Keep an eye on the calendar, but trust the plant's cues to guide the timing.
Choosing the Right Pot and Soil
🌱 Size Matters: Picking the Perfect Pot Size for Your Dappled Snowbrush
When it comes to pots, size is a big deal. Your Dappled Snowbrush doesn't want to swim in soil, nor does it want to feel like it's stuffed in a shoe too small. Go one size up from its current home—this is the sweet spot for growth without drowning the roots in excess moisture.
🏺 Breathability vs. Moisture Retention: Terracotta, Plastic, or Ceramic?
The pot material is like your plant's personal climate controller. Terracotta is the MVP for breathability, letting roots breathe and preventing soggy soil syndrome. Plastic is the low-maintenance buddy, keeping things moist for longer—handy if you're a forgetful waterer. Ceramic? It's the stylish middle ground, offering a bit of both worlds.
🌱 Mixing It Up: Crafting the Ideal Soil Blend for Dappled Snowbrush
Your Dappled Snowbrush craves a soil mix that's like a well-made bed—comfortable yet firm. Start with a quality potting soil and jazz it up with coco coir for moisture retention and perlite or vermiculite for that all-important drainage. It's like cooking a gourmet meal; the ingredients need to be just right. Avoid soil that's more clingy than a stage-5 clinger; you want it to hold together but not stick like glue.
The Repotting Rundown
🛠️ Prepping Your Workspace and Tools
Before diving into the repotting process, clear a space that's easy to clean—think kitchen counter or a table with a tarp. Gather your tools: gloves, a trowel, and scissors for any rogue roots. A water source should be nearby, and don't forget the new pot and your custom soil mix.
🌿 Gentle Extraction: How to Safely Remove Your Plant
Loosen the roots by gently squeezing the sides of the current pot. Tip it sideways and coax the Dappled Snowbrush out with care, avoiding a tug-of-war. If the roots resist, slide a knife around the inside edge to help free them.
🏡 Home Sweet Home: Planting in the New Pot
Place a layer of soil at the bottom of the new pot. Now, nestle your plant in, ensuring it's not too deep or shallow. Backfill with soil, pressing lightly to eliminate air pockets. Remember, it's not about packing the soil down like you're stuffing a turkey—just a firm pat will do.
💧 Watering and Initial Care: The First Drink in the New Abode
Water the Dappled Snowbrush like it's just returned from a trek in the Sahara—thoroughly but not to the point of creating a mudslide. Strike that moisture balance; too much is a one-way ticket to root rot city, too little is just neglect. Then, place it in a spot with indirect light to avoid overwhelming your freshly potted friend.
Post-Repotting Care
After the repotting hustle, your Dappled Snowbrush is likely to throw a dramatic fit. It's normal, but you're on duty to ease its transition.
🌱 The First Few Weeks: Monitoring and Adjusting Care
Watchfulness is your new hobby. Keep an eye on the soil moisture—let the top inch dry out before you water again. Overwatering is the silent killer; don't let your plant drown in love. Rotate the pot occasionally to give each side its moment in the sun, but don't play musical chairs with its location.
🚨 Spotting and Solving Post-Repotting Stress Symptoms
Yellow leaves? Droopy vibes? Your plant's not being moody; it's stressed. Cut back on water if the soil's too wet, or up your game if it's bone dry. Hold off on the fertilizer—think of it as giving your plant a diet after an all-you-can-eat buffet. Prune any sad-looking stems to encourage a comeback. And remember, consistency is the secret sauce for a happy plant.
⚠️ Safety First
This content is for general information and may contain errors, omissions, or outdated details. It is not medical, veterinary advice, or an endorsement of therapeutic claims.
Always consult a qualified healthcare professional before using any plant as food, medicine, or supplement.
Never eat any plant (or feed one to pets) without confirming its identity with at least two trusted sources.
If you suspect poisoning, call Poison Control (800) 222-1222, the Pet Poison Helpline (800) 213-6680, or your local emergency service immediately.
Spotted an error? Please report it here.
With Greg, you'll never miss the perfect time to repot 🪴 your Dappled Snowbrush, ensuring it continues to grow healthily with tailored post-repotting care reminders.