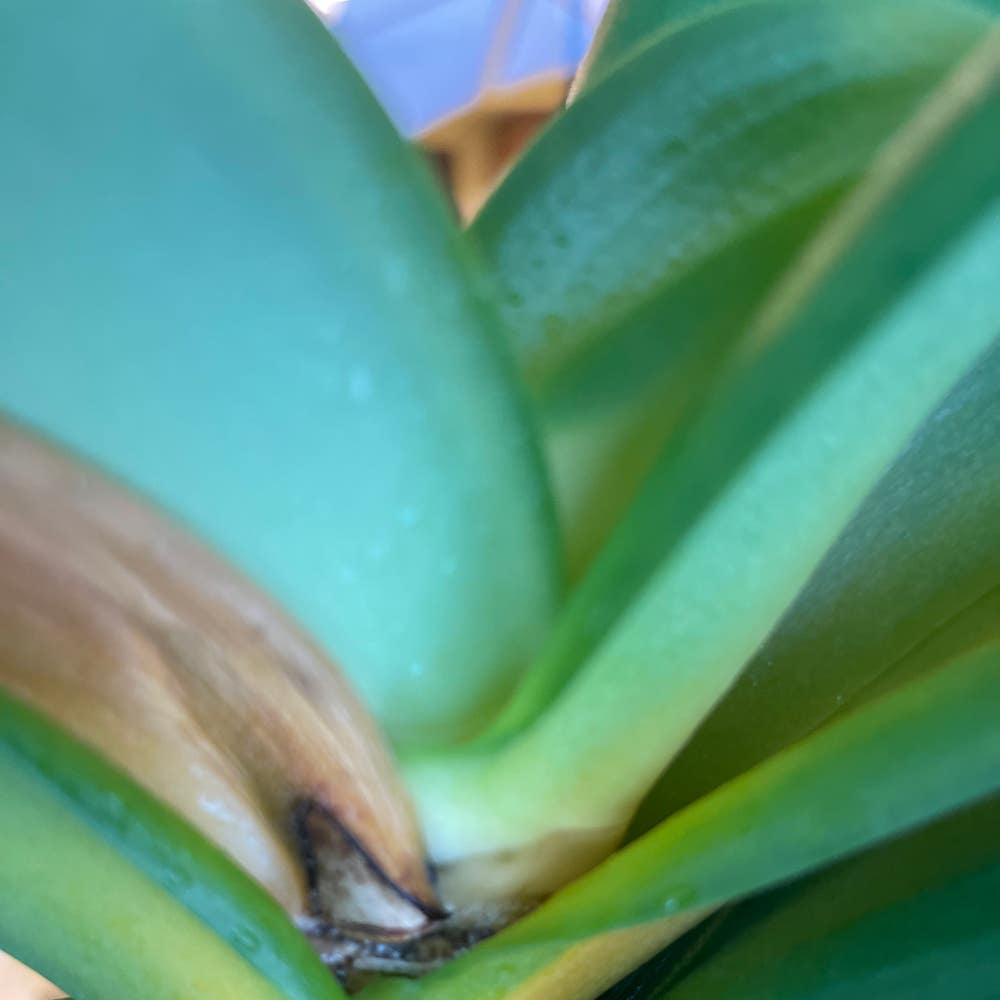
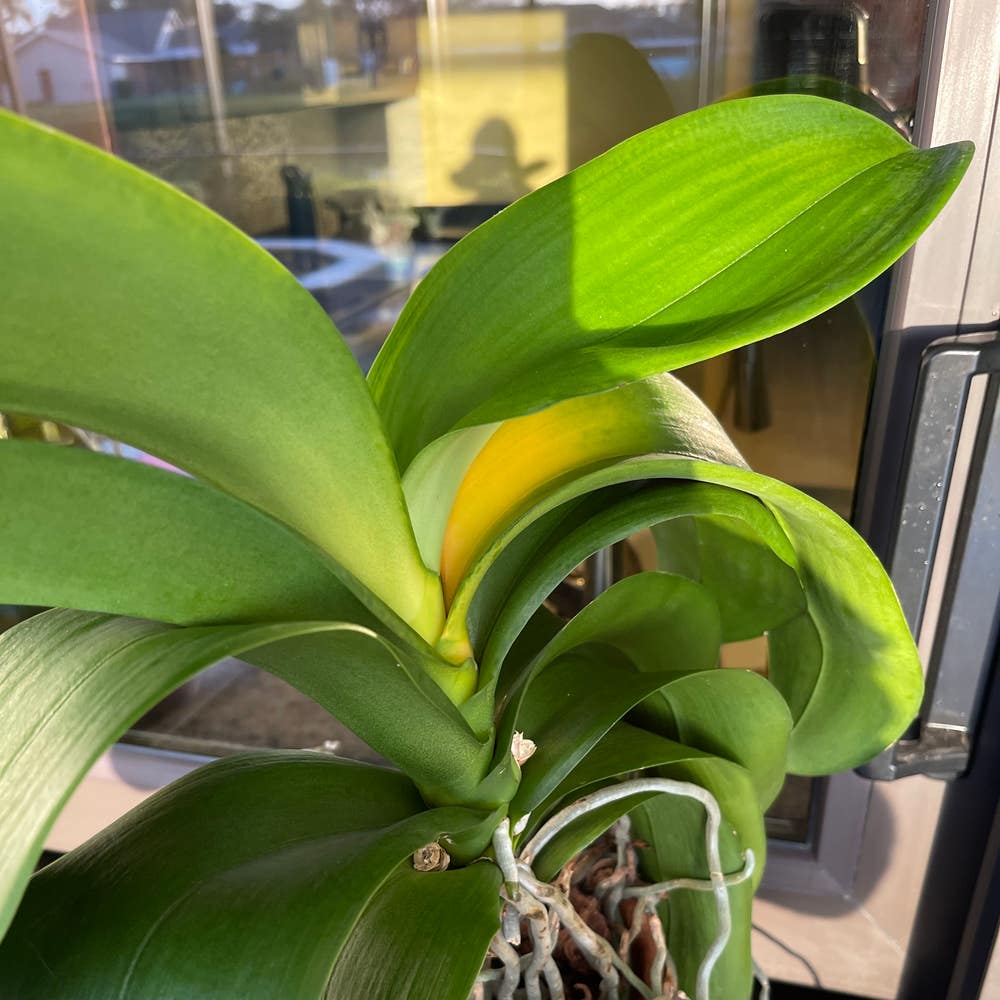
When and How to Repot Cat's Tongue Plant 🐱
Haemanthus albiflos
By the Greg Editorial Team
Oct 17, 2024•6 min read
This article was created with the help of AI so we can cover more plants for you. May contain errors. See one? Report it here.
- 🌱 Repot every 1-2 years in spring for optimal growth of your Cat's Tongue plant.
- 🧑🌾 Check for root bound signs like roots out of drainage holes before repotting.
- 💧 Water before repotting to ease root removal and minimize transplant shock.
Signs That Your Plant Needs Repotting
🌱 Root Bound Indicators
Recognizing when your Cat's Tongue plant needs repotting is crucial for its health. One clear sign is roots growing out of the drainage holes; this indicates that the plant is outgrowing its current pot.
Another indicator is soil that dries out too quickly after watering. If you find yourself watering more often than usual, it might be time to check the roots.
Stunted growth or yellowing leaves, despite providing adequate care, are also red flags. These symptoms suggest that the plant is struggling to absorb nutrients due to limited root space.
⏰ Timing for Repotting
Repotting frequency is generally every 1-2 years. However, if you notice signs of root binding, don’t hesitate to act sooner.
The best time to repot your Cat's Tongue plant is during the spring or early summer. This timing aligns with the plant's active growth phase, making it more resilient to the transition.
By keeping an eye on these signs and timing, you can ensure your plant thrives in its new environment. Next, let’s explore the techniques for repotting your Cat's Tongue plant effectively.
Repotting Techniques
Step-by-Step Guide to Repotting 🌱
Repotting your Cat's Tongue Plant can seem daunting, but it’s a straightforward process. Start by gathering your materials: a new pot, fresh potting soil, and essential tools like a trowel and gloves.
Water your plant a day before repotting. This helps ease the removal of roots from the old pot.
Carefully remove the plant from its current pot, supporting the base to avoid damage. Inspect the roots for health; trim any dead or damaged roots to promote new growth.
Next, place a layer of fresh potting soil in the new pot. Position the plant in the center and fill around it with soil, ensuring the root ball is level with the rim.
Finally, water thoroughly to settle the soil. This step is crucial for eliminating air pockets and ensuring good contact between the roots and the new soil.
Handling the Roots During Repotting 👐
When handling the roots, be gentle. Use your fingers to untangle any roots that are tightly bound, avoiding any harsh pulling that could cause damage.
It's also essential to check for root rot during this process. If you notice any mushy or discolored roots, trim them away to keep your plant healthy.
Tips for Minimizing Transplant Shock 🌿
To help your plant adjust after repotting, water it immediately. This not only hydrates the plant but also helps settle the soil.
Avoid placing your newly repotted plant in direct sunlight for a few days. This gives it time to acclimate without the stress of intense light.
If you feel it’s necessary, consider using a rooting hormone. This can encourage new root growth and help your plant bounce back more quickly.
With these techniques, your Cat's Tongue Plant will thrive in its new home, setting the stage for healthy growth. Next, let’s explore the best pot material options to further enhance your plant’s environment.
Pot Material Options
Choosing the right pot material for your Cat's Tongue plant can significantly impact its health and growth. Each material has its unique benefits and drawbacks.
🥇 Pros and Cons of Each Material
Ceramic
Ceramic pots are visually appealing and come in various designs, making them a popular choice. However, they can retain moisture, increasing the risk of overwatering.
Plastic
Plastic pots are lightweight and easy to handle, which is great for moving your plants around. On the downside, if drainage holes are inadequate, they can lead to root rot.
Terracotta
Terracotta pots are excellent for drainage, allowing excess moisture to evaporate. Yet, they require more frequent watering, as they can dry out quickly.
📏 Recommended Pot Sizes for Optimal Growth
When repotting, aim for a pot that is 1-2 inches larger in diameter than the current one. This extra space allows for healthy root expansion.
Depth is also crucial; a deeper pot supports root growth and enhances drainage. A well-sized pot can make all the difference in your plant's vitality.
Choosing the right pot material and size sets the foundation for your Cat's Tongue plant's success. Next, let’s dive into the soil requirements that will keep your plant thriving.
Soil Requirements
Best Potting Mix 🌱
For your Cat's Tongue Plant, a well-draining potting soil is essential. Consider mixing in perlite or sand to enhance drainage and aeration.
Maintaining the right pH balance is crucial, too. Aim for a slightly acidic to neutral range, ideally between pH 6.0 and 7.0, to keep your plant thriving.
Importance of Drainage 🚰
Good drainage is vital for preventing root rot, which can be a silent killer for your plant. If you notice water pooling on the surface or a soggy texture, it’s a sign that drainage is inadequate.
Watch for yellowing leaves or a mushy root system, as these are clear indicators that your plant is struggling due to poor drainage.
How to Amend Soil for Better Drainage 🛠️
To improve drainage, consider adding perlite, coarse sand, or orchid bark to your potting mix. These materials help create air pockets, allowing roots to breathe.
A good mixing ratio is about 1 part perlite or sand to 3 parts potting soil. This blend will ensure your Cat's Tongue Plant has the best environment for healthy growth.
With the right soil and drainage, your plant will flourish, setting the stage for successful repotting. Next, let’s explore how to care for your plant after repotting to ensure it continues to thrive.
Post-Repotting Care
🌱 How to Care After Repotting
After repotting your Cat's Tongue plant, it's crucial to establish a proper watering schedule. Allow the top inch of soil to dry out before watering again to prevent overwatering.
Light is another key factor. Gradually reintroduce your plant to bright, indirect light to help it acclimate without shock.
🌿 Signs of Successful Repotting
Keep an eye out for new growth within a few weeks; this is a positive sign that your plant is settling in. Additionally, vibrant leaves returning to their original color and shape indicate that your repotting efforts were successful.
🐛 Troubleshooting Common Issues
If you notice wilting or yellowing leaves, it could signal overwatering or inadequate light. Adjust your care routine accordingly, ensuring proper drainage and light exposure.
Also, monitor for pests or diseases that may arise after repotting. Regular checks can help you catch any issues early, ensuring your plant thrives in its new home.
With these care tips, your Cat's Tongue plant will flourish post-repotting, setting the stage for healthy growth. Next, let's explore the best pot material options to further enhance your plant's environment.
⚠️ Safety First
This content is for general information and may contain errors, omissions, or outdated details. It is not medical, veterinary advice, or an endorsement of therapeutic claims.
Always consult a qualified healthcare professional before using any plant as food, medicine, or supplement.
Never eat any plant (or feed one to pets) without confirming its identity with at least two trusted sources.
If you suspect poisoning, call Poison Control (800) 222-1222, the Pet Poison Helpline (800) 213-6680, or your local emergency service immediately.
Spotted an error? Please report it here.
Repotting your Cat's Tongue plant is a breeze 🌱 with Greg's tailored reminders and expert tips to keep your plant thriving every step of the way!