✨ Top 8 Pot Options to Make Your Lightning Jewel Orchid Thrive
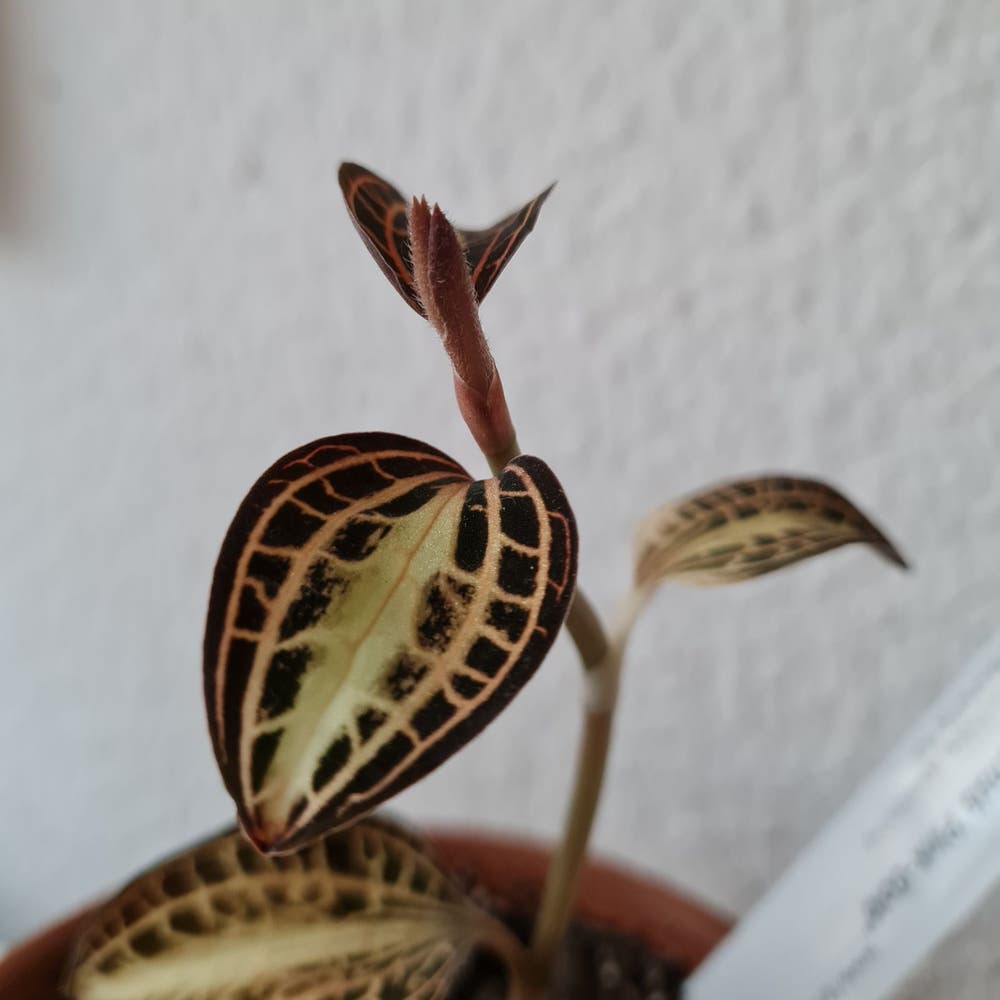
Anoectochilus roxburghii
By the Greg Editorial Team
Sep 28, 2024•5 min read
This article was created with the help of AI so we can cover more plants for you. May contain errors. See one? Report it here.
Maximize your Lightning Jewel Orchid's growth 🌱 by choosing the right pot sizes and materials for each stage!
- 🌱 Choose pot sizes wisely: 2-8 inches for seedlings to mature orchids ensures growth.
- 🏺 Clay pots promote airflow, while plastic pots retain moisture—pick based on your watering habits.
- 🔄 Repot every 1-2 years and look for signs like crowded roots to maintain health.
Pot Sizes for Different Growth Stages
Seedling Stage 🌱
For seedlings, a container size of 2-4 inches in diameter is ideal. Smaller pots help establish roots, allowing your Lightning Jewel Orchid to thrive.
Juvenile Stage 🌿
As your orchid grows, transition to a pot size of 4-6 inches in diameter. This change supports the plant's accelerating growth and provides more room for root expansion.
Mature Stage 🌳
Once your orchid reaches maturity, opt for a pot size of 6-8 inches in diameter. At this stage, stability and adequate root space are crucial for continued health and growth.
Choosing the right pot size at each growth stage is essential for your orchid's success. With proper sizing, your Lightning Jewel Orchid will flourish beautifully.
Ideal Pot Materials
🌱 Clay Pots
Clay pots are a popular choice for many plant enthusiasts. Their breathability allows for excellent air circulation, which is crucial for healthy root development.
However, they come with some drawbacks. Clay pots are heavier and can dry out quickly, requiring more frequent watering.
🪴 Plastic Pots
Plastic pots offer a lightweight alternative that many find appealing. They retain moisture longer, making them suitable for those who might forget to water regularly.
On the downside, plastic pots provide less airflow compared to clay. This can lead to potential issues with root health if not monitored closely.
🎨 Other Materials
Ceramic and terracotta pots add aesthetic appeal to your plant collection. While they look great, consider their practicality in terms of weight and moisture retention.
Biodegradable pots are an eco-friendly option for those looking for temporary solutions. They break down over time, making them a great choice for seedlings or short-term use.
Choosing the right pot material can significantly impact the health of your Lightning Jewel Orchid. Consider your plant's needs and your own care routine when making your selection.
Next, let’s explore the importance of drainage holes in your potting setup.
Importance of Drainage Holes
Drainage holes are crucial for preventing root rot in your Lightning Jewel Orchid. Without them, excess water can accumulate, leading to soggy roots and ultimately, plant decline.
🕳️ Recommended Size and Number of Drainage Holes
Aim for at least three to four drainage holes in your pot. Each hole should be about half an inch in diameter to ensure efficient water flow.
🔧 Modifying Pots for Improved Drainage
If your pot lacks drainage holes, don’t fret. You can easily modify it by using a drill to create holes, ensuring your orchid has the best chance to thrive.
By prioritizing proper drainage, you set the stage for a healthy, vibrant plant. Next, let’s explore when and how to repot your Lightning Jewel Orchid for optimal growth.
Repotting Lightning Jewel Orchid
When to Repot 🌱
Repotting your Lightning Jewel Orchid is essential for its health. Aim to do this every 1-2 years, ideally in spring when the plant is actively growing.
Signs That Indicate the Need for Repotting 🚨
Keep an eye out for key signs that your orchid needs a new home. If you see roots crowding through the drainage holes, it’s time to repot.
Stunted growth, where new leaves or roots aren’t appearing despite proper care, is another indicator. Additionally, if the potting mix smells off or shows signs of decomposition, it’s definitely time for a change.
Step-by-Step Guide to Repotting 🛠️
- Gather necessary materials: You’ll need a new pot, orchid potting mix, and some basic tools.
- Remove the orchid from its current pot: Gently loosen the roots to avoid damage.
- Inspect and trim roots: Cut away any dead or damaged roots to promote healthy growth.
- Place in new pot: Position the orchid at the correct height for optimal growth.
- Fill with potting mix: Distribute the mix evenly, ensuring no air pockets remain.
- Water lightly: Moisten the potting mix without soaking it to prevent root rot.
Choosing the Right Pot During Repotting 🪴
Selecting the right pot is crucial for your orchid's success. Choose a pot that is 1-2 inches larger in diameter than the current one to give roots room to grow.
Evaluate the material based on your orchid's growth stage and your environment. Lastly, ensure the pot has adequate drainage holes to keep the roots healthy.
With these steps, your Lightning Jewel Orchid will thrive in its new pot, setting the stage for vibrant growth. Next, let’s explore common potting mistakes to avoid for optimal plant health.
Common Potting Mistakes
🥴 Mistakes to Avoid When Choosing Pots
Choosing the right pot for your Lightning Jewel Orchid is crucial. Avoid selecting pots that are either too large or too small, as this can hinder root development.
Ignoring drainage needs is another common pitfall. Always opt for pots with drainage holes to prevent water accumulation.
🚑 Effects of Poor Pot Choice on Plant Health
Poor pot choices can lead to serious health issues for your orchid. Inadequate airflow can cause root rot and fungal problems, which are detrimental to growth.
Additionally, excessive moisture retention can lead to overwatering risks. This can stunt growth and even kill your plant if not addressed.
🛠️ Solutions for Common Potting Issues
If you notice signs of root rot, repotting is essential. Adjusting your care routine can also help revive your orchid.
For existing pots lacking drainage, consider modifying them. Drilling additional holes can significantly improve airflow and moisture management.
Lastly, if your pot isn't suitable, transitioning to a more appropriate type is key. Assess your plant's needs and choose wisely to ensure a thriving environment.
⚠️ Safety First
This content is for general information and may contain errors, omissions, or outdated details. It is not medical, veterinary advice, or an endorsement of therapeutic claims.
Always consult a qualified healthcare professional before using any plant as food, medicine, or supplement.
Never eat any plant (or feed one to pets) without confirming its identity with at least two trusted sources.
If you suspect poisoning, call Poison Control (800) 222-1222, the Pet Poison Helpline (800) 213-6680, or your local emergency service immediately.
Spotted an error? Please report it here.
Ensure your Lightning Jewel Orchid thrives 🌱 by using Greg's tailored potting tips and reminders to create the perfect environment for your plant's growth!