⭐ Best Tips for Healthy Sparkle White Gaura Roots
Oenothera lindheimeri 'Sparkle White'
By the Greg Editorial Team
Oct 04, 2024•5 min read
This article was created with the help of AI so we can cover more plants for you. May contain errors. See one? Report it here.
Master root health for thriving Gaura plants and unlock your garden's full potential! 🌱🌼
- 🌱 Gaura roots thrive in well-draining soil; avoid root rot with proper drainage.
- 💧 Deep watering encourages root growth, enhancing moisture access for healthier plants.
- 🌼 Monitor root health by checking for white, firm roots; brown roots indicate problems.
Root Depth, Spread, and Growth Patterns
🌱 Typical Root Depth and Spread
The average root depth of Gaura roots ranges from 12 to 24 inches. These roots can spread up to 2 feet wide, which is crucial for planning your garden layout.
Understanding this root structure helps you space your plants effectively. Proper spacing ensures they have enough room to thrive without competing for nutrients.
📈 Growth Patterns and Their Implications for Care
Gaura exhibits distinct seasonal growth patterns. Expect active growth in spring and summer, while the plant enters dormancy during fall and winter.
This seasonal behavior impacts your watering and fertilizing schedules. Adjust your care routine to align with these growth phases for optimal health.
Watering, Fertilizing, and Transplanting
🌱 How the Root System Affects Watering Practices
Watering is crucial for healthy Gaura roots. Deep watering encourages roots to grow deeper, which helps the plant access moisture more effectively.
Watch for signs of overwatering, such as yellowing leaves and wilting. These symptoms indicate that the roots may be drowning, so adjust your watering schedule accordingly.
🌿 Fertilization Techniques Tailored to Root Health
To support robust root health, use balanced NPK fertilizers during the active growth phases. This ensures that your Gaura plants receive the essential nutrients they need.
Timing is key; fertilize in early spring and mid-summer for optimal results. This approach aligns with the plant's growth cycles, maximizing nutrient uptake.
🌍 Best Practices for Transplanting
Transplanting is best done in early spring or fall when the plant is less stressed. This timing allows for a smoother transition to a new environment.
Follow these steps for successful transplanting:
- Prepare the new planting hole, making it twice the width of the root ball.
- Gently remove the plant from its current location.
- Place the plant in the new hole and backfill with soil.
- Water thoroughly after transplanting to help settle the soil.
By following these practices, you can ensure your Gaura thrives in its new home. Next, let’s explore common root-related issues and how to tackle them effectively.
Common Root-Related Issues
Identification of Common Root Problems 🌱
Root health is crucial for the overall vitality of your Gaura plants. One of the most common issues is root rot, which manifests as wilting and yellowing leaves.
Pests can also wreak havoc on roots, with nematodes and root weevils being the primary culprits. These pests can lead to stunted growth and poor nutrient absorption, making early identification essential.
Prevention Tips for Root-Related Issues 🚫
Preventing root problems starts with soil choice. Well-draining soil is vital to avoid root rot, as it allows excess moisture to escape.
Regularly inspecting roots during repotting can catch issues before they escalate. This proactive approach helps ensure your plants remain healthy and vibrant.
Solutions for Addressing Unhealthy Roots 🛠️
If you encounter root rot, act quickly. Remove the affected roots and repot the plant in fresh, dry soil to promote recovery.
For pest management, consider using organic pesticides or introducing beneficial nematodes. These solutions can help restore balance and protect your plants from further damage.
By staying vigilant and addressing these common root-related issues, you can keep your Gaura thriving and beautiful. Next, let’s explore how to identify indicators of root health to ensure your plants are in top shape.
Indicators of Root Health
👀 Visual Cues for Healthy vs. Unhealthy Roots
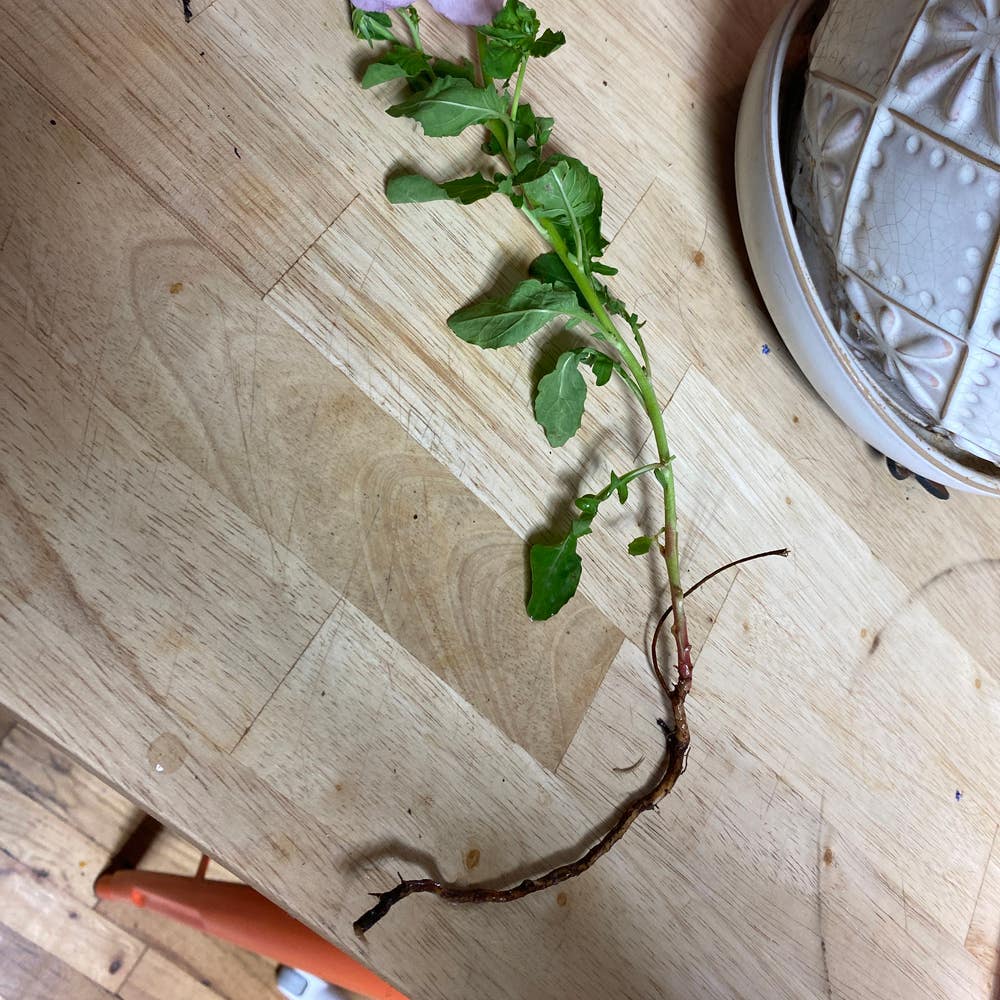
Healthy roots are a gardener's dream. They should be white, firm, and free from any foul odors.
In contrast, unhealthy roots present a worrying sight. Look for brown, mushy roots that emit unpleasant smells; these are clear signs of trouble.
📊 Other Indicators of Root Health
Beyond root appearance, overall plant vigor is crucial. Check the leaf color, growth rate, and flowering; vibrant plants indicate robust roots.
Soil moisture levels also play a significant role. Aim for consistent moisture without waterlogging, as this balance is key to root health.
Understanding these indicators can empower you to take proactive steps in caring for your plants. With keen observation, you can ensure your Gaura roots thrive beautifully.
Next, let’s explore common root-related issues and how to tackle them effectively.
Rootbound Plants
Definition and Recognition of Rootbound Conditions 🌱
Rootbound plants occur when roots circle the pot, limiting their growth. This condition often leads to stunted growth and poor water absorption.
When to Address Rootbound Issues ⏰
It's crucial to monitor your plants for signs of rootbound conditions. If growth slows or roots visibly circle the pot, it's time to take action to prevent stress.
Steps to Remedy Rootbound Plants 🛠️
- Remove the plant from its pot.
- Gently loosen the roots and prune any circling roots.
- Repot in a larger container with fresh soil.
Addressing rootbound issues promptly can rejuvenate your plants and promote healthier growth. By following these steps, you ensure your plants have the space they need to thrive.
Next, let’s explore propagation and division techniques that can further enhance your gardening experience.
Propagation and Division
🌱 Importance of Root Health in Propagation
Healthy roots are the backbone of successful propagation. They ensure that new plants can thrive and establish themselves quickly.
Timing is also crucial; the best periods for propagation are early spring or fall. This allows the plants to take advantage of optimal growing conditions.
✂️ Techniques for Dividing and Propagating
To propagate effectively, follow these simple steps:
- Remove the plant from the ground or pot carefully to avoid damaging the roots.
- Divide the root ball into sections, ensuring each piece has both roots and shoots. This is essential for the new plants to grow successfully.
- Replant immediately in suitable soil to minimize stress on the roots.
Keeping the divisions moist and in partial shade until they establish is key. This helps them adapt to their new environment without drying out.
By following these techniques, you can expand your garden and enjoy the beauty of healthy Gaura plants. Ready to dive into the next section? Let's explore how to identify and address root-related issues!
⚠️ Safety First
This content is for general information and may contain errors, omissions, or outdated details. It is not medical, veterinary advice, or an endorsement of therapeutic claims.
Always consult a qualified healthcare professional before using any plant as food, medicine, or supplement.
Never eat any plant (or feed one to pets) without confirming its identity with at least two trusted sources.
If you suspect poisoning, call Poison Control (800) 222-1222, the Pet Poison Helpline (800) 213-6680, or your local emergency service immediately.
Spotted an error? Please report it here.
Nurture robust Gaura roots 🌿 with Greg's tailored watering and fertilizing reminders, ensuring your plants thrive beautifully all season long!