⭐ How to Propagate Your Sparkle White Gaura
Oenothera lindheimeri 'Sparkle White'
By the Greg Editorial Team
Oct 04, 2024•5 min read
This article was created with the help of AI so we can cover more plants for you. May contain errors. See one? Report it here.
Transform your garden with easy propagation techniques for cuttings, seeds, and divisions! 🌱
- 🌱 Select healthy, flexible stems for cuttings to boost rooting success.
- 🌿 Cuttings should be 4-6 inches long for effective propagation.
- 💧 Maintain moisture and avoid overwatering to prevent root rot in cuttings.
Propagating from Cuttings
Step-by-step guide for softwood cuttings 🌱
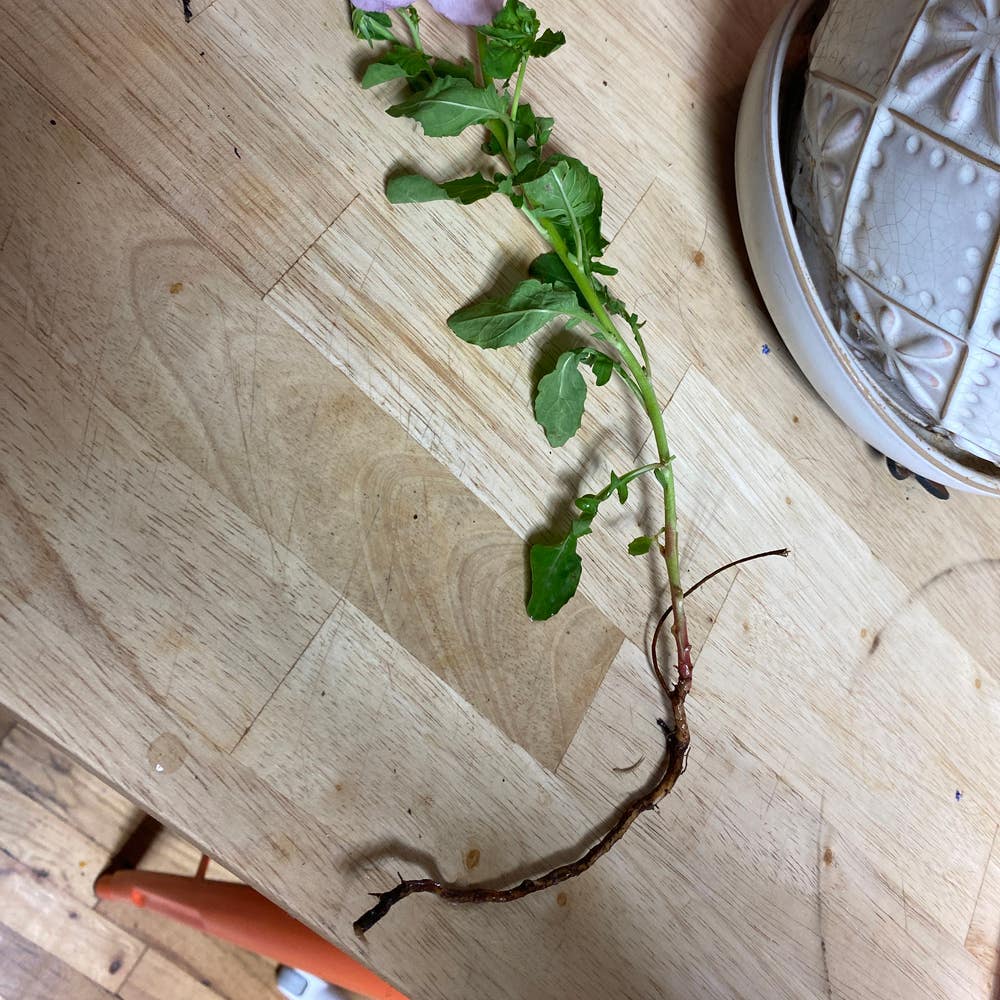
Selecting healthy stems: Start by choosing young, flexible stems. These are more likely to root successfully.
Cutting length: Aim for cuttings that are 4-6 inches long. This length strikes a balance between manageability and root potential.
Preparing the cut: Make a clean cut just below a node. This is where roots are most likely to develop.
Removing lower leaves: Trim leaves from the bottom half of the cutting. This reduces moisture loss and helps the cutting focus on root development.
Applying rooting hormone: While optional, using rooting hormone can enhance root growth. It’s a simple step that can make a big difference.
Planting the cuttings: Insert your cuttings into a well-draining potting mix. This ensures they have the right environment to thrive.
Ideal conditions for rooting cuttings 🌞
Temperature: Keep the environment between 70°F to 75°F (21°C to 24°C). This warmth encourages growth.
Humidity: Use a humidity dome or a plastic bag to retain moisture. This helps prevent the cuttings from drying out.
Light: Provide indirect sunlight for optimal growth. Too much direct light can scorch the delicate cuttings.
Common mistakes to avoid ❌
Overwatering: Ensure the soil is moist but not soggy. Overwatering can lead to root rot, which is a common issue.
Insufficient light: Avoid placing cuttings in direct sunlight. This can cause stress and hinder growth.
Neglecting to check for root development: Regularly monitor your cuttings for signs of growth. Catching issues early can save your propagation efforts.
By following these steps and tips, you can successfully propagate your Sparkle White Gaura from cuttings. This method not only expands your garden but also deepens your connection with your plants. Next, let’s explore how to propagate from seeds for even more growth opportunities.
Propagating from Seeds
🌱 Seed Collection and Preparation
Timing is crucial when collecting seeds from your Sparkle White Gaura. Wait until the flower heads turn brown, signaling that the seeds are ripe for harvesting.
Once collected, clean the seeds by removing any debris. Allow them to dry completely before storing or planting.
💧 Germination Process
To kickstart the germination process, soak the seeds in water for 24 hours. This simple step enhances their chances of sprouting.
Next, plant the seeds about 1/4 inch deep in a seed-starting mix. After sowing, lightly cover them with soil and mist the surface to keep it moist.
📅 Timing for Sowing Seeds
The best time to sow your seeds is early spring. This timing provides optimal growth conditions as temperatures begin to rise.
If you're starting indoors, aim to begin 6-8 weeks before the last frost date. This gives your seeds a head start, ensuring robust growth when it's time to move them outside.
With these steps, you're well on your way to successfully propagating your Sparkle White Gaura from seeds. Next, let’s explore the division method for propagation.
Division Method
When to Divide 🌱
Timing is crucial for successful division. Aim for early spring or fall when your Sparkle White Gaura is not actively blooming.
Look for signs like overcrowding or reduced flowering; these indicate it's time to divide.
Step-by-Step Division Process 🛠️
- Watering: Water the plant a day before division to ease the process.
- Digging: Carefully dig around the plant to avoid damaging roots.
- Dividing: Use a sharp spade to separate the root ball into sections.
- Replanting: Immediately replant divisions in prepared soil.
Post-Division Care 🌿
After dividing, proper care is essential for healthy growth.
- Watering: Keep the soil consistently moist for the first few weeks.
- Light: Provide partial shade until the plants are established.
- Fertilization: Light feeding after a month will encourage growth.
With these steps, your divided plants will thrive and continue to beautify your garden. Next, let’s explore troubleshooting common propagation issues to ensure your efforts yield the best results.
Troubleshooting Common Propagation Issues
🪴 Root Rot in Cuttings
Root rot can be a real buzzkill when propagating your Sparkle White Gaura. Look out for symptoms like wilting, yellowing leaves, and mushy stems—these are clear signs that your cuttings are in trouble.
To prevent root rot, ensure your potting mix has proper drainage. Overwatering is the main culprit, so keep the soil moist but not soggy.
🌱 Poor Germination Rates
If your seeds aren't sprouting, it could be due to a few factors. Old seeds, improper temperature, or insufficient moisture can all lead to poor germination rates.
To tackle this issue, first, test the viability of your seeds. Adjusting the temperature and moisture levels can also make a significant difference in your germination success.
🐛 Pests and Diseases Affecting Propagation
Pests like aphids and spider mites can wreak havoc on your propagation efforts. Regular inspection is key to catching these nuisances early.
If you spot any pests, using insecticidal soap can help keep them at bay. Staying proactive will save you a lot of headaches down the line.
With these troubleshooting tips, you’ll be better equipped to handle common propagation issues. Next, let’s explore the best timing and seasonal considerations for propagating your Sparkle White Gaura.
Timing and Seasonal Considerations
Best Time of Year for Propagation 🌱
When it comes to propagating your Sparkle White Gaura, timing is everything. Spring is the prime season for taking cuttings and sowing seeds, as the warmer temperatures encourage robust growth.
For those looking to divide their plants, early fall is the ideal time. This allows the plant to recover before winter sets in, ensuring a healthy start in the next growing season.
Climate Considerations ☀️
Always consider your local climate when planning propagation. Ensure that temperatures are conducive to growth; ideally, you want a range of 70°F to 75°F (21°C to 24°C) for cuttings and seeds.
Monitoring weather patterns can also help you avoid unexpected frosts that could hinder your efforts. By aligning your propagation activities with the right seasonal cues, you set your plants up for success.
With the timing nailed down, you're ready to dive into the specifics of each propagation method.
⚠️ Safety First
This content is for general information and may contain errors, omissions, or outdated details. It is not medical, veterinary advice, or an endorsement of therapeutic claims.
Always consult a qualified healthcare professional before using any plant as food, medicine, or supplement.
Never eat any plant (or feed one to pets) without confirming its identity with at least two trusted sources.
If you suspect poisoning, call Poison Control (800) 222-1222, the Pet Poison Helpline (800) 213-6680, or your local emergency service immediately.
Spotted an error? Please report it here.
Propagate your Sparkle White Gaura like a pro 🌟 with Greg's tailored reminders and expert tips that ensure your cuttings thrive in the perfect conditions!