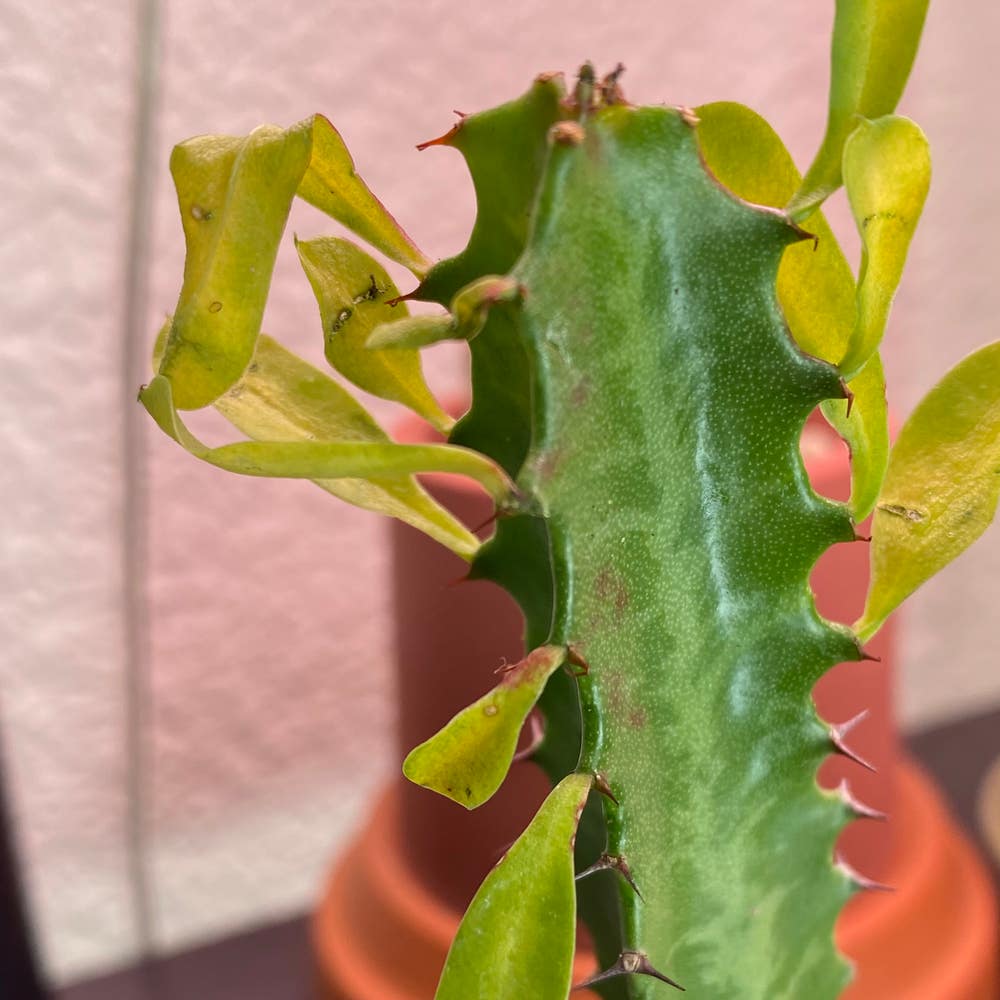
Propagating Sullu Spurge: The Ultimate Guide
Euphorbia royleana
By the Greg Editorial Team
Apr 27, 2024•6 min read
This article was created with the help of AI so we can cover more plants for you. May contain errors. See one? Report it here.
Propagate your Sullu Spurge like a pro 🌿 with this ultimate guide to mastering cuttings, division, and grafting!
- Choose healthy stems in spring/summer for successful stem cuttings.
- Division and offsets offer alternative propagation methods for Sullu Spurge.
- Grafting requires precision, but patience is key for all propagation methods.
Snip and Root: Propagating with Stem Cuttings
🌱 Choosing Your Champion Stem
In the realm of propagation, not all stems are created equal. Seek out the healthiest, most vigorous stem you can find—lush green, no signs of weakness, and a firm texture. The prime time to wield your shears is spring or early summer, when the plant is in its growth spurt.
🌿 Rooting Your Cuttings
🌱 Soil vs. Water: Pros and Cons
Soil rooting is like the tortoise in the race—slow and steady, providing a stable environment for your cutting. Water rooting, on the other hand, is the hare, offering a spectacle of root growth but requiring a transplant later. Choose your method based on your preference for spectacle or stability.
🌱 Creating the Perfect Rooting Environment
For soil enthusiasts, keep the mix moist but never soggy—think of it as a moist handshake, not a wet fish. Water propagators, refresh your liquid stage every few days to avoid a stale performance. Rooting hormone? It's like a performance enhancer for your cuttings, not essential but helpful. Whichever route you take, remember: patience is a virtue, and humidity is your cuttings' best friend.
Doubling Down: Propagation by Division
🌱 When and How to Divide
Your Sullu Spurge is screaming for space when it's as crowded as a rush-hour subway. That's your cue to divide. Spring or early fall, when the plant is neither exploding with growth nor hibernating, is your sweet spot for division.
🛠️ Preparing for Division
Hydrate your plant the day before to ease the stress of separation. Arm yourself with a sharp, sterilized knife or spade. It's plant surgery time, and precision is your mantra.
🌿 Division Steps
- Unearth the plant with care, keeping the root ball intact.
- Look for natural divisions—these are your plant's subtle hints for where to cut.
- With confidence and a steady hand, slice through the root ball.
- Ensure each new section has a fair share of roots and shoots—it's only fair.
🌱 Post-Division Care
Immediately replant your Sullu Spurge divisions, mimicking the original plant's depth. A good soak is essential—think of it as a welcome drink in their new home.
💧 Ensuring Each Division Thrives
Keep the soil consistently moist, like a perfectly wrung-out sponge. Bright, indirect light is your ally here, but direct sunlight is the nemesis. Watch for new growth—it's the high-five you've been waiting for from your plant.
Little Clones: Propagating by Offsets
👶 Spotting and Separating Offsets
Offsets are your Sullu Spurge's self-replication mode. Spot these miniatures at the plant's base, each a carbon copy of the parent. Look for a robust appearance and independent roots. A sterilized knife or a gentle twist can separate them—think surgical precision. Post-separation, give them a day to callus over, a defense against rot.
🌱 Encouraging Offset Growth
Potting your offsets is like setting up a nursery. Choose a snug pot with a well-draining soil mix—aim for the Goldilocks zone of moisture. Too much water is a no-go. Place them in bright, indirect light, avoiding the scorch of direct sun. Keep an eye on them; they're still tethered to the soil's lifeline and need your watchful care to thrive.
Advanced Moves: Propagation by Grafting
🌱 Preparing for Grafting
Grafting is not for the faint of heart; it's the surgical strike of propagation. To start, you'll need a scion—the top part of the plant you want to grow—and a rootstock, which will serve as the supportive base. Both should be healthy and disease-free. The scion should have last year's growth with a few buds. The rootstock, or understock, is the part that becomes the root system.
Tools are critical here. Arm yourself with a sharp knife or pruning shears, gloves, and grafting tape. Sterilize your tools with rubbing alcohol to prevent any unwanted microbial hitchhikers.
The Grafting Process
🎯 Step 1: Making the Cut
Precision is key. Snip the top off the rootstock and make a corresponding cut on the scion. Aim for flat, even surfaces that will adhere with minimal fuss.
💞 Step 2: Joining Forces
Time to play matchmaker. Fit the scion onto the rootstock, ensuring the cambium layers—the plant's nutrient highways—line up. This is non-negotiable for a successful graft.
🛡️ Step 3: Securing the Union
Bind the duo with grafting tape or a rubber band. Not too tight, not too loose—just enough pressure to keep them in a firm embrace.
🛠️ Step 4: Sealing the Deal
Apply grafting wax or sealant to prevent the wound from drying out. This also keeps out bacteria and fungi that love to crash a good grafting party.
Aftercare for Grafted Plants
Post-graft, your plant needs a safe space. Keep it sheltered, away from direct sunlight, and maintain a consistent moisture level. Watch for signs of new growth, which herald a successful union. If the graft is giving you the cold shoulder—no growth or signs of distress—it's time to troubleshoot. Keep an eye out for disease and be ready to act if you spot trouble.
Overcoming Propagation Pitfalls
🌱 Common Setbacks and Solutions
When diving into the world of Sullu Spurge propagation, rot and wilting are the party poopers. They're like uninvited guests who love to crash your plant-growing bash. But don't fret; here's how to show them the door.
🦠 Dealing with Rot
Rot is like that one friend who always overstays their welcome. It's often a sign you've been a tad too generous with the watering can. Cut back on the H2O and make sure your soil is well-draining. If you spot mushy roots, it's surgery time—snip off the affected parts and let the healthy ones breathe before repotting.
😓 Wilting Woes
Wilting cuttings? They might be throwing a silent tantrum for more water or less sun. Adjust their environment accordingly. If they're still droopy, it could be a sign of overwatering or poor drainage. Check that your pots have holes in the bottom and that you're not watering too frequently.
🌱 Non-Rooting Issues
No roots yet? Patience, grasshopper. Sometimes cuttings take their sweet time. If you're getting impatient, a dab of rooting hormone might nudge them along. Also, ensure they're not too cold or too hot; these little guys need the Goldilocks zone to thrive.
🔄 When to Persevere and When to Start Over
Here's the deal: if your cuttings look like they've seen better days but still have a hint of green, keep at it. Tweak the conditions, and they might surprise you. But if they've gone full zombie apocalypse, it's time to start fresh. Remember, every failed attempt is a step towards mastering the art of propagation.
⚠️ Safety First
This content is for general information and may contain errors, omissions, or outdated details. It is not medical, veterinary advice, or an endorsement of therapeutic claims.
Always consult a qualified healthcare professional before using any plant as food, medicine, or supplement.
Never eat any plant (or feed one to pets) without confirming its identity with at least two trusted sources.
If you suspect poisoning, call Poison Control (800) 222-1222, the Pet Poison Helpline (800) 213-6680, or your local emergency service immediately.
Spotted an error? Please report it here.
Successfully propagate your Sullu Spurge using this guide's expert methods, and rely on Greg's tailored reminders 🌿 to keep your new plants perfectly hydrated and growing strong.