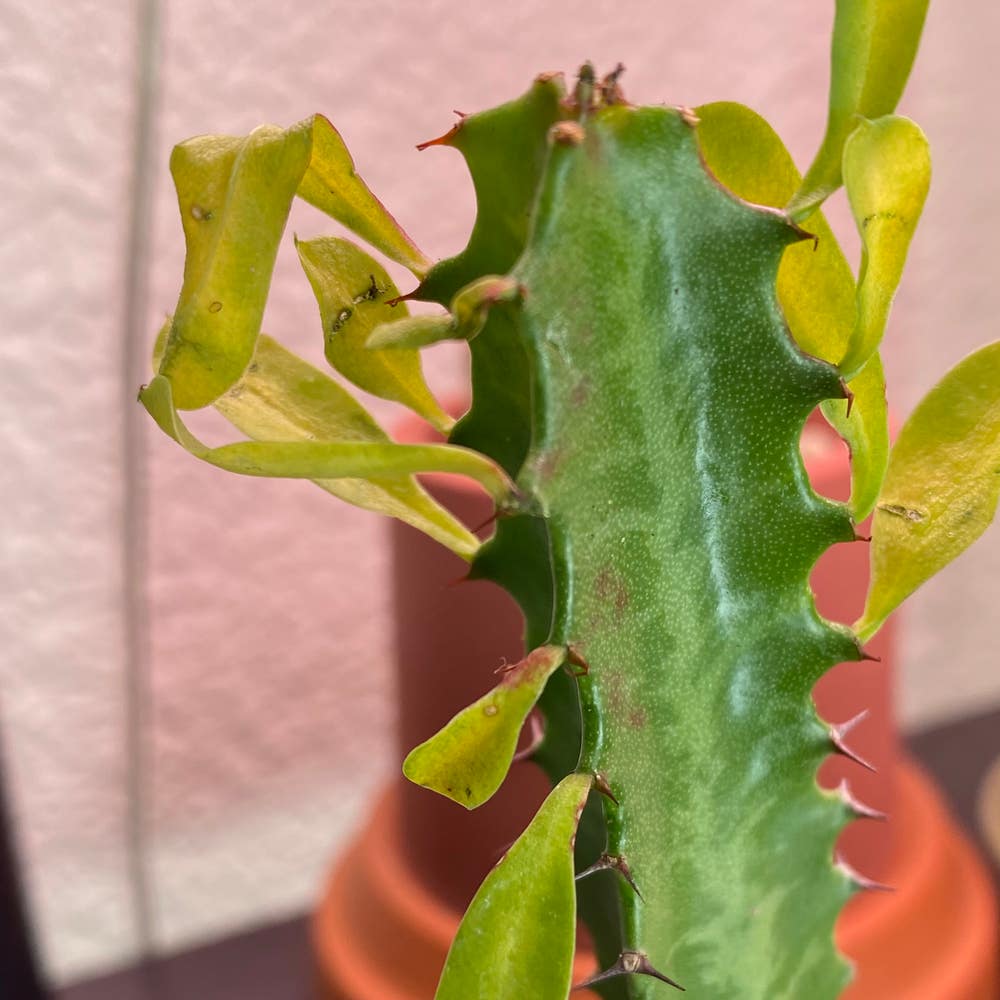
How to Know When to Repot a Sullu Spurge?
Euphorbia royleana
By the Greg Editorial Team
Apr 27, 2024•4 min read
This article was created with the help of AI so we can cover more plants for you. May contain errors. See one? Report it here.
Discover the secret to a flourishing Sullu Spurge 🌿—knowing when to repot is key to its vibrant growth!
- Roots peeking out? Time to repot your Sullu Spurge.
- Drainage issues? Fast drainage or soggy soil means repot.
- Stunted growth? Your plant likely needs a larger pot.
Spotting the Telltale Signs for Repotting
🌱 Root Check: How to tell if your Sullu Spurge is root-bound
Roots should be the hidden heroes, not escape artists. Peeking roots at the bottom or sides of the pot are a dead giveaway: your Sullu Spurge is cramped. If the roots are circling the pot's interior like a track race, it's time to give them a new, roomier stadium.
💧 Water Talk: Identifying drainage issues that signal a need for repotting
When water zips through the pot like it's on a mission, it's not just efficient—it's a cry for help. Fast drainage can mean there's more root than soil. On the flip side, if the soil stays soggy, it's a sign your plant's living in a swamp. Either way, drainage issues are a big red flag that it's time to repot.
🌱 Growth Gazing: Understanding stunted growth as a cue for a new home
If your Sullu Spurge's growth has stalled, it's not just being stubborn. Stunted growth can indicate that it's time to upgrade its living quarters. A plant that's more top-heavy than a bobblehead needs space to balance out. Keep an eye out for a slowdown in growth—it's your plant's way of nudging you for a new pot.
The Repotting Rundown
🌱 Pre-Repot Prep: What to do before you start.
Before you wrestle your Sullu Spurge out of its pot, let's get our ducks in a row. Sanitize your tools—think surgical cleanliness—and lay down some newspaper to catch the inevitable dirt escapees. Ensure your new pot is not just a pretty face; it should be clean with proper drainage holes. Water your plant a day in advance to make the roots more cooperative during the transition.
🛠 Step-by-Step Guide: The right way to repot your Sullu Spurge.
- Gear up with gloves and long sleeves to protect yourself from the Sullu Spurge's toxic sap.
- Gently coax the plant out of its pot. If it's playing hard to get, tap the pot's sides or give it a tender squeeze.
- Inspect the roots like a hawk. Snip away any dead or suspicious ones with sterilized shears.
- Place your plant in the new pot, ensuring it's not sitting deeper than in its previous home.
- Fill the pot with soil, but don't pack it down—think of it as fluffing a pillow rather than packing a suitcase.
- Water thoroughly post-repot to help the soil and roots get acquainted.
🌿 Post-Repot Care: Ensuring a smooth transition for your plant.
After the repot, it's not spa time—it's recovery. Water only when the topsoil feels dry and keep the plant in indirect light. Look out for signs of distress, but don't hover like a helicopter parent. Your Sullu Spurge is tougher than it looks and with the right care, it'll be back to its glorious self in no time.
Picking the Perfect Pot
In the quest for the ideal pot for your Sullu Spurge, material isn't just a matter of decor—it's a vital component of your plant's well-being.
🏺 Material Matters: How pot material affects Sullu Spurge's health.
Terracotta is the old-school gym sock of the pot world—breathable and no-nonsense, it lets roots breathe and prevents water from overstaying its welcome. But it's thirsty, meaning you'll be at the watering can more often. Plastic is the cheap raincoat, keeping moisture in, which can be a boon or a bane depending on your watering habits. Ceramic, the stylish middle child, offers a compromise—less porous than terracotta but with enough breathability to keep things snug yet not soggy.
📏 Size It Right: Choosing the appropriate pot size for your plant.
Size matters. Go too small, and your Sullu Spurge might feel like it's wearing skinny jeans after a big meal—uncomfortably tight. Too large, and you risk the soil staying wet longer than a British summer, which can lead to root rot. Aim for a pot that gives your plant a little room to grow, but not so much that it's swimming in soil.
🏺 Pot Material Pros and Cons
Terracotta vs. Plastic vs. Ceramic: Which is best for your Sullu Spurge?
Terracotta is the trusty steed—solid and dependable, but it can be a heavyweight to move around. Plastic is the lightweight contender, easy to shuffle but could turn your plant's home into a swamp if you're not careful. Ceramic pots are the interior designer's dream, but their weight and price tag can make you think twice.
💧 Moisture Management: Balancing drainage and retention with different materials.
Terracotta's like a good sieve, letting excess water escape, which is great for those who tend to over-love with water. Plastic is the clingy partner, holding onto moisture for dear life—ideal for the forgetful waterers but a potential nightmare for overzealous ones. Ceramic finds the middle ground, offering a bit of both worlds—just ensure there's a drainage hole to avoid unwanted puddles.
⚠️ Safety First
This content is for general information and may contain errors, omissions, or outdated details. It is not medical, veterinary advice, or an endorsement of therapeutic claims.
Always consult a qualified healthcare professional before using any plant as food, medicine, or supplement.
Never eat any plant (or feed one to pets) without confirming its identity with at least two trusted sources.
If you suspect poisoning, call Poison Control (800) 222-1222, the Pet Poison Helpline (800) 213-6680, or your local emergency service immediately.
Spotted an error? Please report it here.
Ensure your Sullu Spurge thrives in its pot by letting Greg nudge you 🪴 with custom care reminders when it's time for a new home, based on the insightful tips from this article.