When and How to Repot Your Palmarosa 🪴
Cymbopogon martini var. motia
By the Greg Editorial Team
Oct 22, 2024•6 min read
This article was created with the help of AI so we can cover more plants for you. May contain errors. See one? Report it here.
- 🌱 Signs your Palmarosa needs repotting: Look for roots out of drainage holes.
- 🌼 Best time to repot is early spring, just before growth starts.
- 🧰 Prepare essentials: New pot, fresh soil, and tools for a smooth process.
Signs That Palmarosa Needs Repotting
🌱 Root-Bound Indicators
One of the first signs that your Palmarosa needs repotting is when roots start growing out of the drainage holes. This indicates that the plant has outgrown its current pot and is seeking more space.
Another telltale sign is when roots begin to circle the pot. This circling behavior suggests that the roots are cramped and struggling for room to expand.
📉 Growth Stagnation
If you notice reduced growth or yellowing leaves, it’s time to pay attention. These symptoms often indicate that the plant is not thriving in its current environment.
Additionally, a top-heavy or unstable appearance can signal that your Palmarosa is ready for a new home. This imbalance often results from insufficient root space.
🏺 Soil Condition
Take a close look at the soil condition as well. If it dries out too quickly or retains too much moisture, your plant may be in distress.
You should also check for salt buildup on the soil surface. This accumulation can harm your plant's health and is a clear sign that repotting is necessary.
Recognizing these signs early can help ensure your Palmarosa remains healthy and vibrant. Next, let’s explore the best time to repot your plant for optimal growth.
Best Time to Repot Palmarosa
🌱 Seasonal Considerations
The best time to repot your Palmarosa is early spring, just before the growing season kicks in. This timing allows the plant to settle into its new home while it’s gearing up for growth.
Avoid repotting during winter dormancy or extreme heat. Both conditions can stress the plant, making it harder for it to adapt.
⏰ Timing Based on Growth Cycle
Keep an eye on your Palmarosa's growth patterns. The ideal moment to repot is when you notice new growth beginning to emerge.
Local climate conditions also play a role. If your area experiences a late frost or unexpected heat, adjust your repotting schedule accordingly to ensure your plant thrives.
With the right timing, your Palmarosa will flourish in its new pot, setting the stage for vibrant growth ahead.
Step-by-Step Guide to Repotting Palmarosa
🛠️ Preparation
Repotting your Palmarosa starts with gathering the right materials. You'll need a new pot, fresh soil mix, gardening gloves, and your trusty tools.
Choose a pot that is 1-2 inches larger in diameter than the current one. This extra space allows your plant to grow comfortably without feeling cramped.
🌱 Removing the Plant
Water your Palmarosa a day before repotting. This simple step makes it easier to remove the plant from its pot.
Gently tip the pot and slide the plant out, supporting the base. Be careful not to damage the roots during this process.
🔍 Inspecting and Pruning Roots
Once out of the pot, check the roots for health. Healthy roots should be white, while brown or mushy roots indicate trouble.
Trim any damaged or dead roots using sterilized scissors. This helps promote healthier growth in the new pot.
🌿 Potting the Plant
Start by placing a layer of soil at the bottom of the new pot. This provides a solid foundation for your Palmarosa.
Position the plant in the center and fill in with soil, ensuring all roots are covered. Finally, water thoroughly to eliminate any air pockets.
With these steps, your Palmarosa will be ready to thrive in its new home. Next, let’s explore the best pot materials for your plant!
Pot Material Options for Palmarosa
Best Pot Materials 🌱
Choosing the right pot material is crucial for your Palmarosa's health. Terracotta pots are a top choice due to their excellent drainage and air circulation, which helps prevent root rot.
Ceramic pots, while aesthetically pleasing, also serve a purpose. They retain moisture well, making them suitable for those who may forget to water regularly.
Materials to Avoid 🚫
On the flip side, plastic pots can be problematic. They often retain too much moisture, increasing the risk of root rot, which is a nightmare for any plant parent.
Metal pots are another option to steer clear of. They can heat up quickly in the sun, potentially damaging your plant's roots.
Benefits of Using Terracotta vs. Plastic ⚖️
Terracotta pots have a significant advantage: they allow for better evaporation. This feature reduces the risk of overwatering, a common pitfall for many gardeners.
While plastic pots are lightweight and easy to handle, they often fall short in drainage. This can lead to a host of issues, including unhealthy roots and stunted growth.
In summary, selecting the right pot material can make a world of difference for your Palmarosa. With the right choices, you set the stage for a thriving plant that brings joy to your space.
Next, let’s dive into the ideal soil mix for repotting your Palmarosa.
Ideal Soil Mix for Repotting Palmarosa
Soil Composition 🌱
For repotting your Palmarosa, the ideal soil mix consists of 50% potting soil, 30% perlite, and 20% sand. This combination ensures that the soil retains enough moisture while providing excellent drainage.
Importance of Drainage 🚰
Good drainage is crucial for preventing root rot, a common issue for Palmarosa. Poor drainage can lead to overwatering, which suffocates roots and promotes disease.
To ensure proper drainage, consider these tips:
- Use pots with drainage holes: This allows excess water to escape.
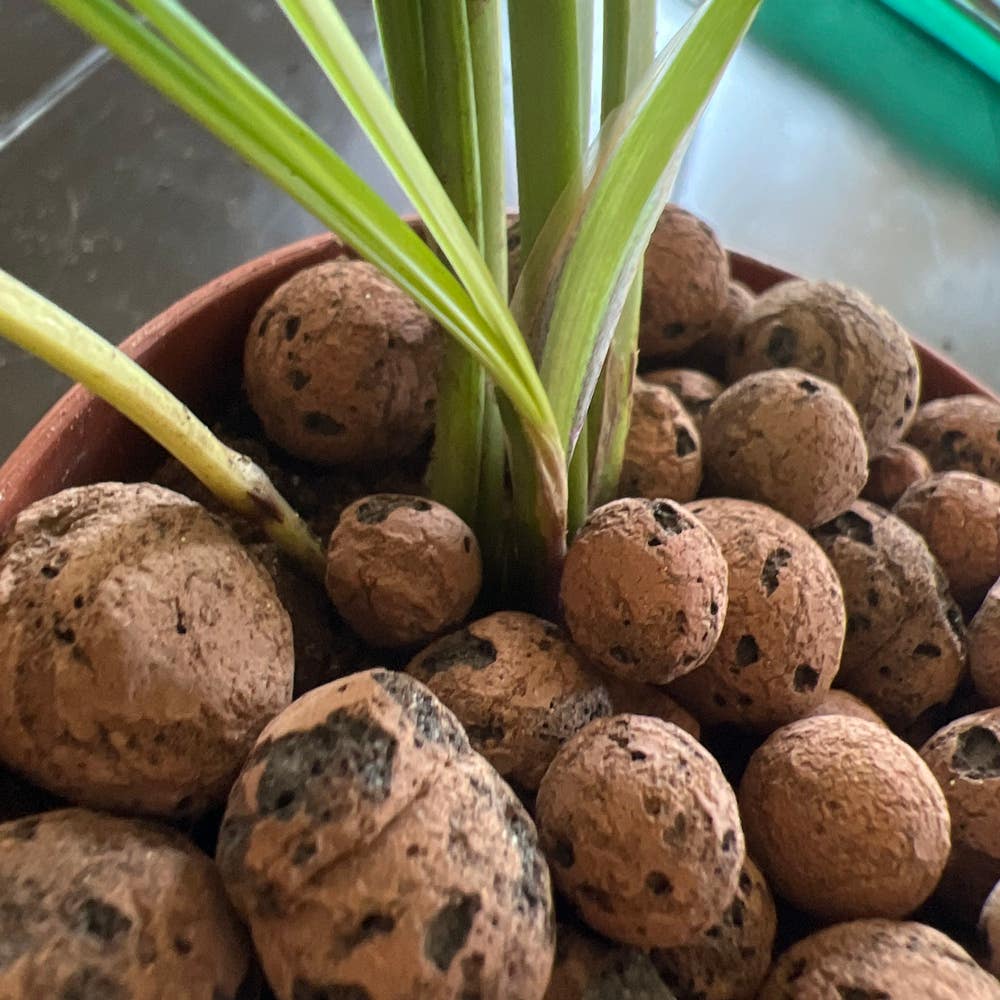
- Layering: Place small stones or gravel at the bottom of the pot before adding soil.
- Regular checks: Monitor soil moisture levels to avoid waterlogging.
By focusing on the right soil mix and drainage, you’ll set your Palmarosa up for healthy growth and vibrant foliage. Next, let’s explore the common mistakes to avoid when repotting your plant.
Common Repotting Mistakes to Avoid
Mistakes to Avoid 🌪️
Repotting can be a delicate process, and a few common mistakes can hinder your Palmarosa's growth. One major pitfall is overwatering immediately after repotting; this can suffocate the roots and lead to root rot.
Another mistake is choosing a pot that’s too large. Excess soil can retain too much moisture, creating an environment ripe for root issues.
Preventing Root Damage 🛡️
To keep your Palmarosa thriving, handle the roots gently during the repotting process. Excessive disturbance can shock the plant and hinder its recovery.
Also, ensure your tools are clean and sterilized. This simple step can prevent disease transmission, keeping your plant healthy and vibrant.
By avoiding these mistakes, you set your Palmarosa up for success. Next, let’s explore the ideal soil mix for repotting, ensuring your plant has the best foundation for growth.
⚠️ Safety First
This content is for general information and may contain errors, omissions, or outdated details. It is not medical, veterinary advice, or an endorsement of therapeutic claims.
Always consult a qualified healthcare professional before using any plant as food, medicine, or supplement.
Never eat any plant (or feed one to pets) without confirming its identity with at least two trusted sources.
If you suspect poisoning, call Poison Control (800) 222-1222, the Pet Poison Helpline (800) 213-6680, or your local emergency service immediately.
Spotted an error? Please report it here.
Repot your Palmarosa for vibrant growth 🌱 by using Greg's tailored reminders and expert tips to ensure a smooth transition into its new pot!