🦋 When and Where to Cut Back Your Whirling Butterflies
Oenothera lindheimeri 'Whirling Butterflies'
By the Greg Editorial Team
Nov 08, 2024•5 min read
This article was created with the help of AI so we can cover more plants for you. May contain errors. See one? Report it here.
Unlock your whirling butterflies' beauty and health with expert pruning tips! 🌱✂️
- 🌱 Prune whirling butterflies in early spring for fresh growth and abundant blooms.
- 🍂 Late fall pruning prepares plants for winter, reducing disease risk after frost.
- ✂️ Signs like yellowing leaves indicate it's time for rejuvenating pruning.
When to Prune
🌱 Best Seasons for Pruning
Pruning your whirling butterflies at the right time is crucial for their health and vibrancy.
Spring Pruning
Early spring is the ideal time for pruning, just before new growth begins. This timing encourages fresh growth and abundant flowering, setting the stage for a stunning display.
Fall Pruning
Late fall, after the first frost, is another excellent time to prune. This prepares the plant for winter and helps reduce the risk of disease, ensuring your plants stay healthy through the colder months.
🔍 Signs That Indicate When to Cut Back
Knowing when to cut back your plants can make all the difference in their growth and appearance.
Yellowing or Wilting Leaves
If you notice yellowing or wilting leaves, it’s a clear sign that your plant needs rejuvenation. Addressing this promptly can help restore its vitality.
Spindly Growth
Spindly growth indicates that your plant is becoming leggy and requires shaping. A good prune can help encourage a fuller, bushier appearance.
Reduced Flowering
If your whirling butterflies are producing fewer blooms, it might be time to prune. Cutting back can stimulate new growth and lead to a more vibrant flowering season.
By keeping an eye out for these signs and pruning at the right times, you can ensure your whirling butterflies thrive beautifully. Next, let’s explore how to effectively prune these lovely plants for optimal results.
How to Prune
Step-by-Step Pruning Instructions 🌱
Pruning your whirling butterflies is a straightforward process that can significantly enhance their health and appearance. Start by assessing the plant; look for any dead or damaged stems that need immediate attention.
Next, prepare your tools. Ensure your pruning shears are clean and sharp to make precise cuts without damaging the plant.
When making cuts, focus on removing dead stems at the base. For healthy stems, trim them back to about 6-12 inches from the ground to encourage new growth.
Finally, clean up your workspace. Dispose of cuttings properly to prevent the spread of diseases that could harm your plants.
Tools Needed for Effective Pruning 🛠️
To prune effectively, you’ll need a few essential tools:
- Pruning shears: These are crucial for making precise cuts on stems.
- Loppers: Use these for thicker branches if necessary.
- Gloves: Protect your hands from sharp edges and plant sap while you work.
Having the right tools makes the pruning process smoother and more efficient.
Techniques for Cutting Back ✂️
When it comes to cutting back your plants, technique matters. Aim for a cutting height of 6-12 inches above the ground for optimal regrowth.
Additionally, pay attention to your cutting angle. Make cuts at a 45-degree angle to promote water runoff, which helps prevent rot and encourages healthy growth.
By following these steps and techniques, you'll set your whirling butterflies up for a vibrant growing season. Now that you know how to prune effectively, let’s explore the importance of deadheading to keep your plants blooming beautifully.
Deadheading
🦋 Rationale for Deadheading
Deadheading is essential for keeping your whirling butterflies blooming beautifully. By removing spent flowers, you prevent the plant from wasting energy on seed production, allowing it to focus on producing more vibrant blooms.
Additionally, deadheading helps maintain a tidy appearance and encourages bushier growth. A well-cared-for plant not only looks great but also thrives in your garden.
✂️ Step-by-Step Instructions for Deadheading
- Identify spent flowers: Look for wilted or brown blooms that need removal.
- Use clean shears: Cut the stem just above the first set of healthy leaves to promote new growth.
- Dispose of dead flowers: Proper disposal prevents disease and keeps pests at bay.
Following these steps ensures your plant remains healthy and continues to produce flowers throughout the season.
🌼 Benefits of Deadheading for Flowering and Plant Health
Deadheading extends the blooming period, allowing your whirling butterflies to flower longer into the season. This simple practice enhances overall vigor, resulting in healthier growth and more abundant flowers.
By regularly deadheading, you’ll enjoy a more vibrant garden and contribute to the plant's long-term health. Embrace this easy task, and watch your plants flourish!
In the next section, we will explore where to cut back, focusing on identifying the right stems to prune for optimal growth.
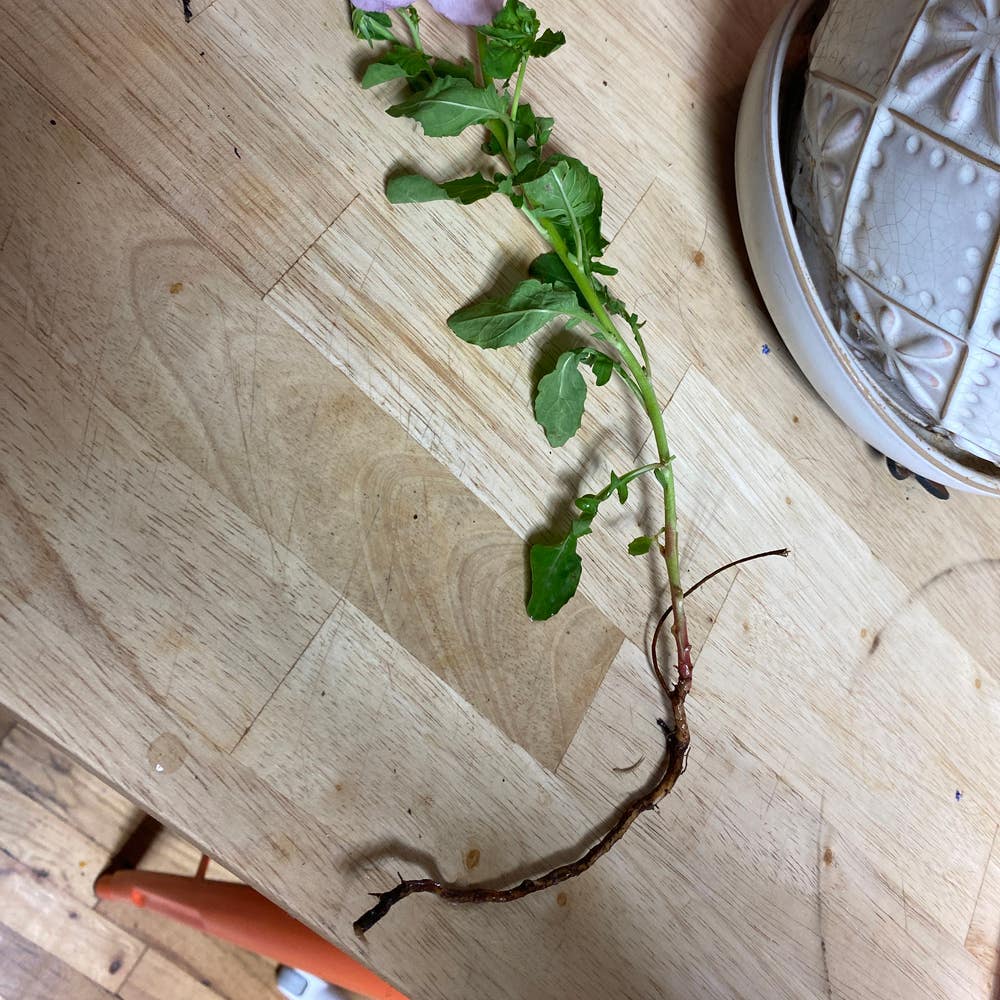
Where to Cut Back
✂️ Identifying the Right Stems to Prune
When pruning your whirling butterflies, start by focusing on dead or damaged stems. These should be removed first to promote healthier growth.
Next, look for leggy growth. Trimming back these spindly sections encourages denser foliage and a more robust plant.
🔍 How to Assess Plant Structure for Optimal Cuts
To make effective cuts, identify healthy nodes on the stems. Cutting just above these nodes stimulates new growth and keeps your plant thriving.
Also, consider the overall shape of your plant. Prune evenly around the plant to maintain a balanced appearance, ensuring it looks its best throughout the growing season.
With these tips in mind, you'll be well-equipped to make the right cuts and help your whirling butterflies flourish. Now, let’s dive into common pruning mistakes to avoid!
Common Pruning Mistakes
🚫 Mistakes to Avoid When Pruning
Pruning can be a delicate art, and common mistakes can lead to disappointing results. One major error is cutting too much at once, which can shock your whirling butterflies and hinder their growth.
Another frequent misstep is pruning at the wrong time. This can lead to reduced flowering or even stress on the plant, making it crucial to stick to the recommended seasons for pruning.
✂️ How to Correct Improper Pruning Techniques
If you've accidentally cut too much, don’t panic. Allow your plant some time to recover by minimizing further stress and providing extra care.
In cases where cuts are made at the wrong angle, keep an eye out for signs of rot. Adjust your care accordingly, ensuring the plant has the best chance to thrive despite the initial misstep.
With these insights, you can avoid common pitfalls and help your whirling butterflies flourish. Next, let’s explore where to cut back for optimal plant health.
⚠️ Safety First
This content is for general information and may contain errors, omissions, or outdated details. It is not medical, veterinary advice, or an endorsement of therapeutic claims.
Always consult a qualified healthcare professional before using any plant as food, medicine, or supplement.
Never eat any plant (or feed one to pets) without confirming its identity with at least two trusted sources.
If you suspect poisoning, call Poison Control (800) 222-1222, the Pet Poison Helpline (800) 213-6680, or your local emergency service immediately.
Spotted an error? Please report it here.
Prune your whirling butterflies for blooming success 🌸 this season, and let Greg guide you with tailored reminders and expert tips to keep your plants flourishing!