Propagating Your Slipper Plant: Step-by-Step Guide
Euphorbia lomelii
By the Greg Editorial Team
Jun 18, 2024•6 min read
This article was created with the help of AI so we can cover more plants for you. May contain errors. See one? Report it here.
Discover the joy of multiplying your Slipper Plant 🌱 through division and stem cuttings with our foolproof guide!
- Division and stem cuttings: Two effective propagation methods.
- 🌡️💧 Warmth, light, and moisture: Key to propagation success.
- 🌱 Monitor and adjust care to tackle growth challenges and ensure thriving plants.
Choosing Your Propagation Adventure
🌱 Division: Doubling Your Slipper Plant Fun
Spotting the perfect offsets is key to successful division. Look for miniature versions of your Slipper Plant, with a few developed leaves and their own roots. These are your future independent plants, eager to strike out on their own.
To separate, use a clean, sharp tool—think surgical precision. Each offset should come away with a piece of root, ensuring it has the means to thrive. If they resist, a gentle wiggle with your fingers can coax them free. Remember, they're delicate, so handle with care.
🌿 Stem Cuttings: Cloning Your Green Buddy
For stem cuttings, select healthy, vibrant stems. A clean snip below a leaf node is your starting point, and a dip in rooting hormone can kickstart growth. This is like giving your cuttings a cheat code for rooting.
Plant your cuttings in a well-draining mix to prevent soggy conditions. Cover them with a plastic bag to create a greenhouse effect, but don't let them stew—airflow is crucial. No direct sunlight yet; these cuttings aren't ready for their day in the sun.
Remember, the right tools and approach can make or break your propagation efforts. Keep a keen eye on your plant babies and adjust your care as needed. It's not just about growing plants, it's about growing your skills as a gardener.

Setting the Stage for Propagation Success
🌱 Home Sweet Home: Creating the Perfect Propagation Environment
Warmth and light are the dynamic duo of propagation. Your cuttings and offsets crave a spot that's just right—not too hot, not too cold. Aim for a cozy 68-77º F range, like a spring day that makes you want to frolic outside.
Bright, indirect light is the sweet spot. Direct sun is a no-go—it's like getting a sunburn, and nobody wants that for their plant babies. Keep it bright, but filtered, like sunglasses for your greens.
Humidity should be high, but not rainforest high. Think of it as a spa day for plants—moist air that keeps them plump without promoting a fungal rave. A plastic bag or dome can create this mini greenhouse effect, trapping moisture like a charm.
🚑 First Aid for Baby Plants: Initial Care Tips
In the first few weeks, your plant's roots are finding their footing. It's like watching a toddler take their first steps—exciting but nerve-wracking. Keep the soil moist, akin to a wrung-out sponge, to avoid drowning or dehydrating your young'uns.
New growth is the first sign you're on the right track, so celebrate those tiny victories. But keep an eye out for distress signals—wilting or yellowing leaves are your plant's way of saying, "Help!" Adjust moisture and light as needed, because in the plant world, these are the big kahunas of health.

Growing Pains: Keeping an Eye on Your Propagating Plant
🚨 Spotting Trouble: When Propagation Goes Sideways
Yellow leaves or a lack of roots can signal a propagation hiccup. It's essential to diagnose these issues promptly to avoid a full-scale plant calamity.
💛 Yellow Leaves: A Cry for Help
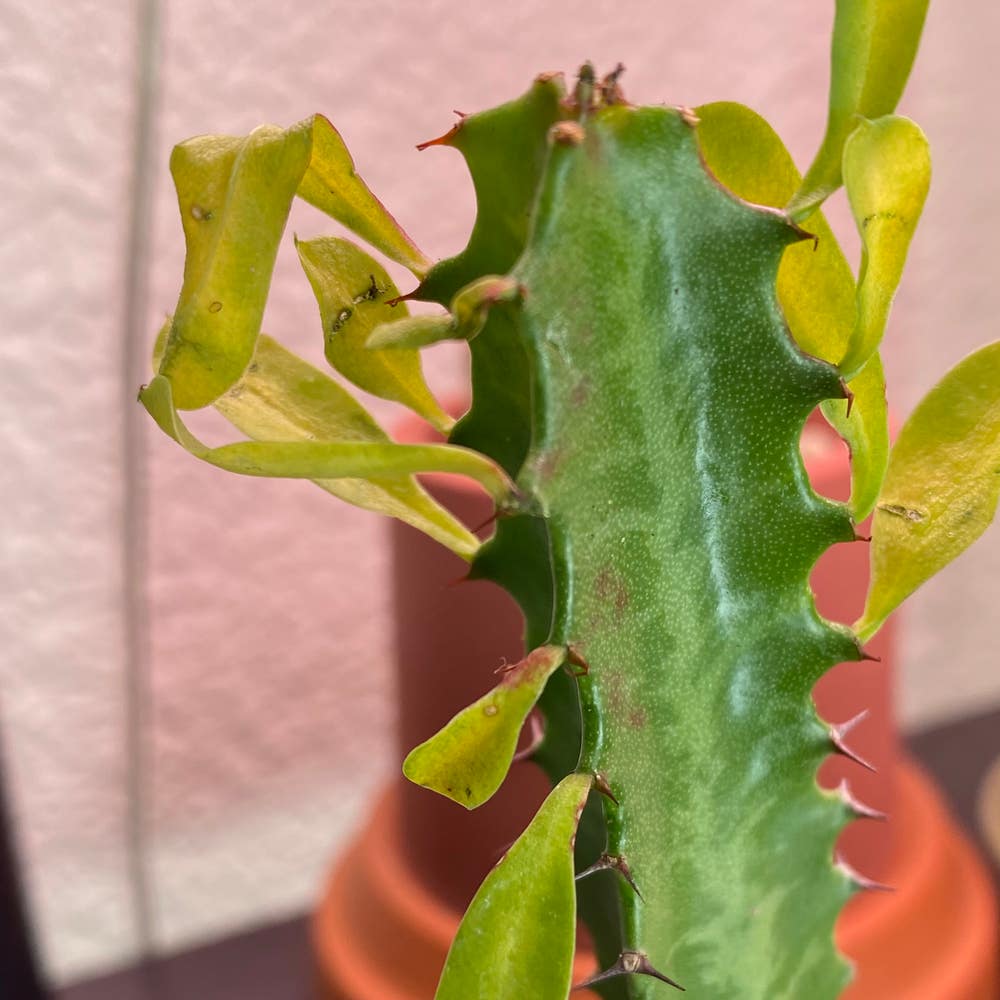
Yellowing foliage often points to nutrient deficiencies or improper light conditions. Adjust the plant's location to ensure it receives the right amount of sunlight and consider a balanced fertilizer to address potential nutrient needs.
🌱 Rootless Cuttings: A Sign of Distress
If your cuttings aren't developing roots, they might be craving more light or suffering from incorrect moisture levels. Ensure they're placed in bright, indirect sunlight and that the soil is consistently moist but not waterlogged.
🛠 Quick Fixes: Salvaging Your Propagation Efforts
Combat common issues with swift action. If you spot slimy stems or leaf spots, isolate the affected plant to prevent the spread of bacterial or fungal infections. Clean your tools and work area to maintain a sterile environment.
🐜 Pest Patrol: Keeping Invaders at Bay
Pests like mealybugs and aphids can quickly turn your propagation project sour. Regular inspections and prompt treatment with insecticidal soap or neem oil can keep these uninvited guests at bay.
💨 The Airflow Factor: Preventing Fungal Foes
Good air circulation is crucial for preventing fungal diseases. If you notice rust-colored spots on leaves, remove the affected foliage and consider applying a fungicide. Keep the air moving to discourage any fungal gatecrashers.
Monitoring Propagation Success
Stay vigilant and adjust your care routine based on what you observe. Early detection and intervention are key to ensuring the success of your propagating Slipper Plant.

Transition Time: Moving Your Propagated Plant to Its New Pot
🌱 The Big Move: Potting Your New Slipper Plant
🌿 Rooted and Ready: Knowing When It's Time to Upgrade to a Pot
After weeks of tender care, your Slipper Plant's roots have finally embraced their watery world. Visible roots in a clear container signal it's time for a more grounded existence. The gentle tug test should confirm their readiness; if the plant resists with a slight pull, it's a green light for the big move.
🏡 Soil and Space: Choosing the Right Pot and Mix for Your New Plant
Selecting a new pot is like picking out a first apartment; it needs to be just right. Opt for a small pot to start—cozy enough to prevent the loneliness of an oversized space, yet roomy enough for roots to stretch. Remember, a mansion-sized pot won't make your plant grow faster; it's more likely to drown in excess soil and water.
🚰 Prepping the New Pad
Prepare the new pot by lining the drainage holes with a coffee filter or newspaper. This simple trick prevents soil escape while ensuring proper drainage. When it comes to potting mix, consistency is key. Stick to a similar type of soil your plant was used to, avoiding any dramatic shifts that could stress your green buddy.
🌱 The Gentle Uproot
Time to coax your plant out of its current home. No yanking—think of it as a gentle eviction. If the roots are shy, give the pot a squeeze or a tap. Once free, give the roots a light massage to loosen them up, encouraging them to explore their new soil horizon.
🌿 Planting in the New Pot
Position your plant in the new pot so it sits comfortably—not too deep, not too shallow. Backfill with your chosen potting mix, tamping down lightly to eliminate air pockets. This is no time for a heavy hand; think of it as tucking your plant in for a good night's sleep.
Remember, this is a time of adjustment. Keep your newly potted Slipper Plant in indirect light and monitor soil moisture closely. You've set the stage for growth; now watch as your plant takes root in its new home.
⚠️ Safety First
This content is for general information and may contain errors, omissions, or outdated details. It is not medical, veterinary advice, or an endorsement of therapeutic claims.
Always consult a qualified healthcare professional before using any plant as food, medicine, or supplement.
Never eat any plant (or feed one to pets) without confirming its identity with at least two trusted sources.
If you suspect poisoning, call Poison Control (800) 222-1222, the Pet Poison Helpline (800) 213-6680, or your local emergency service immediately.
Spotted an error? Please report it here.
Turn your slipper plant propagation into a success story 🌟 with Greg's custom care reminders and environmental tracking for your plant's growth journey.