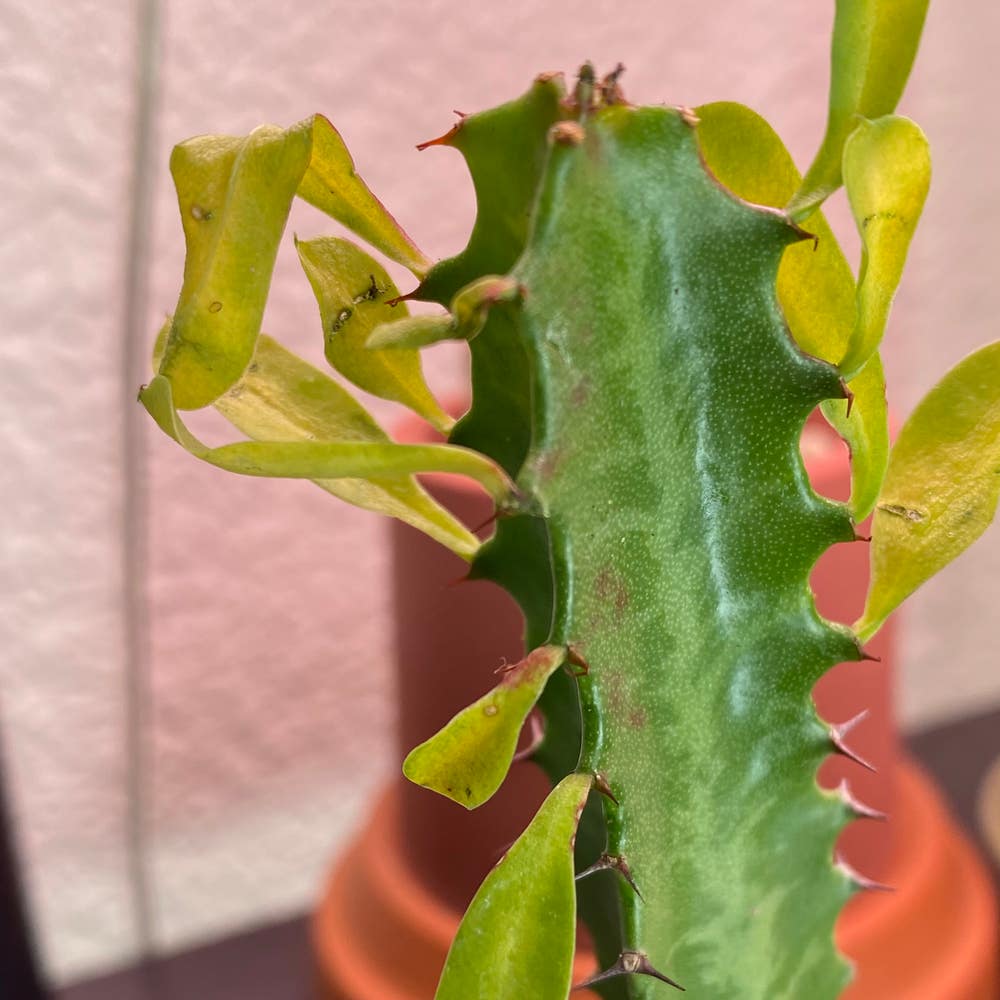
Propagating Masai Spurge: The Ultimate Guide
Euphorbia neococcinea
By the Greg Editorial Team
Jul 21, 2024•5 min read
This article was created with the help of AI so we can cover more plants for you. May contain errors. See one? Report it here.
Transform your space into a lush oasis by mastering Masai Spurge propagation 🌿—it's simpler than you think!
- 🌱 Choose healthy stems, leaves, and offsets for successful propagation.
- 🌵 Use proper techniques for cutting, callousing, and planting.
- 💧🌞 Maintain ideal conditions for rooting and growth post-propagation.
Stem Cutting Technique
🌱 Selecting Stems
Choosing the right stems is the foundation of successful Masai Spurge propagation. Look for stems that are:
- Firm to the touch, indicating good health.
- Vibrant green, a sign of vigor.
- Free from any distress, pests, or disease.
🪓 Preparing Cuttings
Once you've selected the ideal stems, follow these steps to prepare your cuttings:
- Sterilize your shears or knife to prevent disease transmission.
- Make a clean, angled cut just below a leaf node to increase the area for root development.
- Remove the lower leaves to prevent rot and maintain a few at the top for photosynthesis.
🌿 Rooting Process
For the cuttings to take root, consider these best practices:
- Allow the cuttings to callous over for a few days before planting to form a protective barrier.
- Plant the calloused cuttings in well-draining soil, ensuring they're stable but not too deep.
- Water sparingly and wait patiently for roots to establish, as overwatering can lead to rot.
Division Method
🌱 When to Divide
Dividing Masai Spurge is a strategic move, best timed for when the plant shows signs of overcrowding or to rejuvenate its vigor. Aim for early spring or late fall, capitalizing on the plant’s dormancy periods for minimal stress and optimal recovery.
🛠️ Division Steps
- Water the Masai Spurge a day before division to ensure the soil is moist and roots are hydrated.
- Gently unearth the plant, preserving the root ball as much as possible.
- Examine the root ball and identify natural divisions or sections where the plant can be separated with minimal damage.
- Use sanitized, sharp garden tools to divide the root ball into sections, each with a fair share of roots and shoots.
- Replant the divisions immediately, at the same depth they were originally growing, in well-draining soil.
🌿 Aftercare for Divisions
- Water the new divisions thoroughly after planting to settle the soil around the roots.
- Maintain consistent moisture levels without overwatering, keeping the soil damp but not soggy.
- Protect the divisions from extreme weather conditions and monitor for signs of stress as they establish.
Leaf Cutting Propagation
🍃 Choosing Leaves
Selecting the right leaves is crucial for successful Masai Spurge propagation. Here's how to pick a winner:
- Opt for mature, fully-grown leaves that are plump and free of any damage or disease.
- Ensure the leaves have a healthy, vibrant appearance, indicating they are capable of thriving when cut.
🌱 Initiating Root Growth
Getting roots to sprout from your leaf cuttings involves a few key steps:
- After detaching the chosen leaves, allow them to callus over for a few days; this helps prevent rot and encourages successful rooting.
- Place the callused leaves on a well-draining soil mix, and provide indirect sunlight to create an ideal rooting environment.
💧 Humidity and Care
Maintaining the right humidity level is like setting up a nurturing nursery for your leaf cuttings:
- Keep the soil consistently moist but be wary of overwatering, which can lead to rot.
- Cover the cuttings with a plastic dome or bag to create a mini greenhouse effect, ensuring high humidity and warmth to promote root development.
Offsets Separation
🌱 Identifying Offsets
Masai Spurge makes it easy to multiply your collection by sprouting mini versions of itself, known as offsets. Here's how to spot the ones ready for a new home:
- Look for offsets that have developed a sturdy appearance and have their own roots.
- Choose offsets that are plump and resemble a miniature Masai Spurge, indicating they're mature enough to thrive independently.
🏺 Potting Offsets
Once you've identified the right candidates, it's time to give them their own space:
- Gently separate the offset from the parent plant, taking care not to damage the roots.
- Allow the offset to dry for a day or two; this helps prevent rot and eases the transition.
- Pot the offset in a container filled with well-draining soil, mimicking the parent plant's environment.
🌿 Growth Conditions
Setting the stage for your offsets to flourish involves more than just soil and water. Keep these conditions in mind:
- Place the potted offsets in bright, indirect light; direct sunlight can be too intense for these young plants.
- Water sparingly at first, allowing the soil to dry out between waterings to avoid root rot.
- Maintain a stable temperature and humidity level, avoiding extremes that could stress the young plants.
Propagation Troubleshooting
Stem Issues
🌱 Stem cuttings can face several hurdles, from failing to root to succumbing to rot or disease. Here's how to troubleshoot:
- Rooting Failures: If cuttings aren't rooting, reassess the light and temperature. Adjust gradually for improvement.
- Rot and Disease: Sterilize tools and pots to prevent issues. For mushy stems, cut away the rot and replant in well-draining soil.
Division Challenges
🔍 Dividing Masai Spurge can be tricky, but these tips can help you avoid common problems:
- Disease Prevention: Isolate diseased sections and ensure good airflow and dry conditions to prevent fungal growth.
- Proper Sizing: When dividing, aim for sections with a balanced mix of leaves, stems, and roots for optimal recovery.
Leaf and Offset Difficulties
🍃 Leaf cuttings and offsets have their own set of challenges. Here's how to overcome them:
- Leaf Cuttings: Ensure they're placed in a well-lit, warm environment. Patience is key; some leaves may take time to show signs of growth.
- Offsets: If they struggle to root, consider using a rooting hormone and give them some space from the mother plant for better development.
⚠️ Safety First
This content is for general information and may contain errors, omissions, or outdated details. It is not medical, veterinary advice, or an endorsement of therapeutic claims.
Always consult a qualified healthcare professional before using any plant as food, medicine, or supplement.
Never eat any plant (or feed one to pets) without confirming its identity with at least two trusted sources.
If you suspect poisoning, call Poison Control (800) 222-1222, the Pet Poison Helpline (800) 213-6680, or your local emergency service immediately.
Spotted an error? Please report it here.
Ensure your Masai Spurge cuttings flourish 🌿 with Greg's tailored reminders for the perfect soil moisture and light conditions from this propagation guide.