Plant Care
›
Propagation
›
Kale
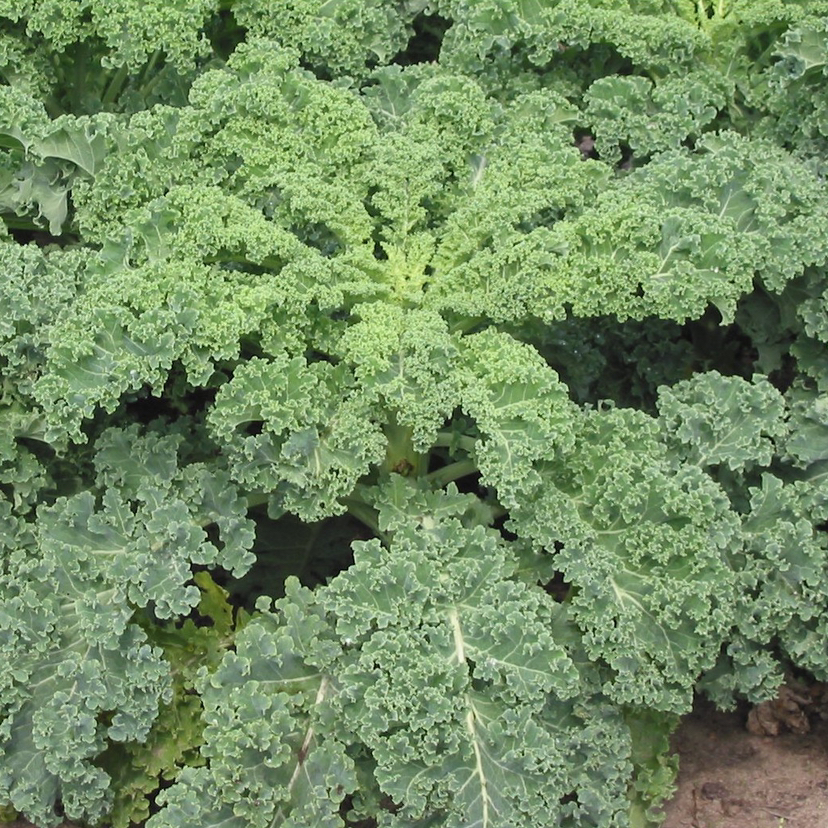
Brassica oleracea 'Sabellica'
Reviewed by Kiersten Rankel M.S.
QUICK ANSWER
Seed starting is the standard method and produces a transplant ready seedling in 4 to 6 weeks indoors. Stem cuttings root in 2 to 4 weeks in water and let you keep a favorite plant going past its prime.
Saving seed from your own plants takes a full second year since kale is biennial and only flowers after a winter chill, but it produces hundreds of seeds per plant.
Saving seed from your own plants takes a full second year since kale is biennial and only flowers after a winter chill, but it produces hundreds of seeds per plant.
Stay on top of plant care
Get seasonal reminders for watering and fertilizing, personalized for your plants.
Try Greg Free
Pick your method
Tap one to jump to the walkthrough.
From seed
Best for the standard quick start
Stem cuttings
Best for keeping a favorite plant going
Saving seed
Best for preserving a favorite open pollinated variety
From seed
Time
4–6 weeks
Level
Beginner
Success rate
High
You'll need
Lacinato or curly kale seeds
Seed starting tray with drainage
Standard seed starting mix
Grow lights or bright sunny window
4 inch pots for transplanting
1
Sow at the right time
Start seeds indoors 6 to 8 weeks before the last spring frost or in midsummer for a fall crop. Kale prefers cool weather and bolts in summer heat, so timing matters more than for warm season vegetables. Fall sowings often produce the sweetest leaves after a frost.
2
Plant a quarter inch deep
Fill a tray with seed starting mix and press one or two seeds per cell a quarter inch deep. Cover lightly with mix and water gently from below until the surface is evenly moist. Kale seeds do not need a humidity dome to germinate.
3
Keep cool and bright
Set the tray in bright indirect light at 60 to 70 degrees. Cooler temperatures match kale's natural preferences and produce sturdier seedlings than typical houseplant warmth. Germination takes 5 to 8 days.
4
Thin to one per cell
Once seedlings have their first true leaves, snip the weaker one in each cell at the soil line with scissors. Pulling can disturb the roots of the kept seedling.
Feed lightly with diluted liquid fertilizer every two weeks to push growth.
Feed lightly with diluted liquid fertilizer every two weeks to push growth.
5
Harden off
About a week before transplanting, harden seedlings off by setting them outside for a few hours daily and increasing exposure each day. This builds tolerance to wind, sun, and cool nights.
6
Plant out and water
Transplant outside when seedlings have four to six true leaves and any threat of hard frost has passed. Space plants 18 inches apart in rich soil with full sun. Water deeply for the first two weeks, then drop to weekly watering.
WATCH FOR
Seedlings stretch tall and floppy with pale stems. This is etiolation from too little light. Move closer to grow lights or to a sunnier window and lower the temperature a few degrees. Brush your hand across the seedlings daily to encourage stocky stems.
Stem cuttings
Time
2–4 weeks
Level
Beginner
Success rate
Moderate
You'll need
Sterile bypass pruners or sharp scissors
Clear glass jar of water
Filtered water (or tap left to sit 24 hours)
4 inch pot with drainage
Standard potting mix
1
Cut a healthy side shoot
Pick a 4 to 6 inch side shoot from a kale plant that has started to bolt or grow tall and leggy. The cutting should have several leaves and a firm green stem. Older woody stems do not root.
2
Strip lower leaves
Pinch off the leaves from the bottom two thirds of the cutting. Leave two or three small leaves at the tip. The bare stem is what makes contact with the water and pushes roots.
3
Place in water
Set the cutting in a clear glass jar with the bottom two inches submerged. Use filtered water or tap water that has sat for 24 hours to dissipate chlorine. Place the jar in bright indirect light, not direct sun.
4
Refresh water weekly
Change the water every five to seven days to prevent stagnation and bacteria buildup. Cloudy water means it needs changing sooner.
White roots usually appear at the submerged nodes within two weeks.
White roots usually appear at the submerged nodes within two weeks.
5
Pot up at 1 inch roots
Once roots reach an inch long, transplant the cutting into a 4 inch pot of standard potting mix. Water deeply right after potting and keep the soil moist but not soggy for the first week as the roots adjust to soil.
6
Move to garden
After two weeks of growing in the pot, harden off the cutting by setting it outside for a few hours daily over a week. Plant out in a sunny spot with rich soil. Cuttings produce a smaller plant than seed grown kale but can extend a favorite variety for a season or two.
WATCH FOR
The submerged stem turns brown and slimy within a few days. This is rot from old water or warm conditions. Recut half an inch above the rotted section with a sterile blade and start over with fresh cool water in a clean jar.
Saving seed
Time
12–14 months
Level
Intermediate
Success rate
High
You'll need
Open pollinated kale plants (not F1 hybrids)
Garden stakes
Mesh isolation bags (if other brassicas nearby)
Paper bags for collection
Airtight container for storage
1
Overwinter the plant
Kale is biennial and only flowers after a winter chill. Leave a few healthy plants in the garden through winter in zones 7 and warmer. In colder zones, mulch heavily over the crowns or dig and overwinter in an unheated garage.
2
Let it bolt in spring
When warm weather returns, the overwintered plants send up tall flower stalks with bright yellow blooms. This is normal and means the plant is ready to set seed. Stake the stalks to keep them upright since they grow four feet tall and flop in wind.
3
Isolate or accept crossing
Kale crosses freely with other brassicas like broccoli, cabbage, and other kales within half a mile. If you grow only one variety and no neighbors grow brassicas, no isolation is needed. Otherwise bag the flower stalks with mesh and hand pollinate.
F1 hybrid kale will not produce true to type seed regardless of isolation.
F1 hybrid kale will not produce true to type seed regardless of isolation.
4
Wait for pods to dry
After flowering, long thin seed pods form along the stalks. Wait until the pods turn from green to papery tan and feel brittle, usually 8 to 10 weeks after flowering. Pods that split open early should be collected immediately.
5
Collect and thresh
Cut whole stalks into a paper bag on a dry day and let them finish drying indoors for a week. Then crush the pods between your hands or roll a rolling pin over them. The small round dark seeds fall out and can be separated from chaff with a sieve.
6
Store seeds dry
Place cleaned seeds in an airtight container with a silica packet and store in a cool dark spot. Properly stored kale seed stays viable for four to five years. Label the container with variety name and harvest year.
WATCH FOR
Seed pods drop their seeds onto the ground before you collect them. Brassicas shatter their pods at random when fully dry. Bag whole stalks with mesh seed bags as soon as the first pods turn tan to catch any seeds that release early.
Stay on top of plant care
Get seasonal reminders for watering and fertilizing, personalized for your plants.
Try Greg Free
About This Article

Kiersten Rankel M.S.
Botanical Data Lead at Greg · Plant Scientist
Editorial Process
Propagation methods verified against Brassica oleracea 'Sabellica' growth data from Greg's botanical database, cross-referenced with USDA hardiness zone data and published horticultural research.
160+ Greg users growing this plant