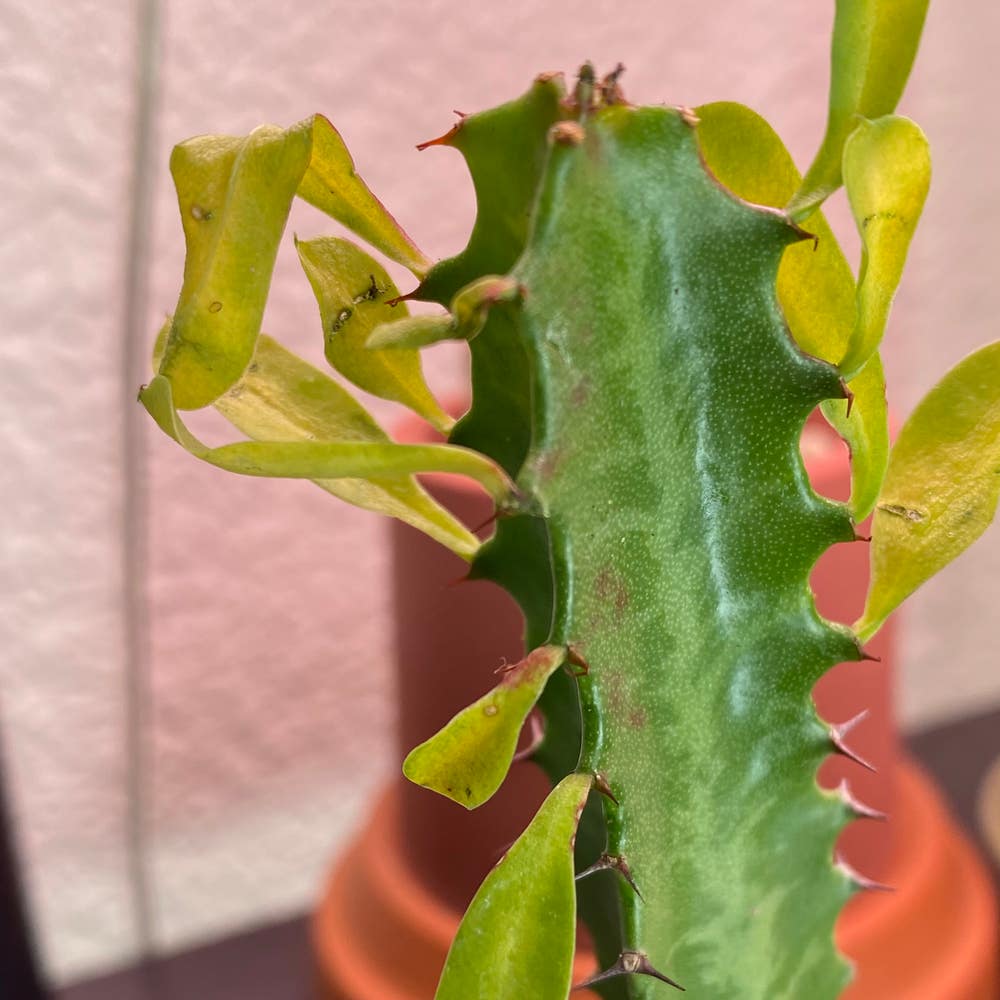
How Do I Propagate My Gopher Plant?
Euphorbia rigida
By the Greg Editorial Team
Mar 01, 2024•4 min read
This article was created with the help of AI so we can cover more plants for you. May contain errors. See one? Report it here.
Propagate your Gopher Plant like a pro 🌿 and watch your garden flourish with these simple steps!
- Choose healthy stems, use sterilized tools, and let cuttings callous.
- Divide in spring, carefully inspect roots, and repot in fresh soil.
- Propagate offsets with care, ensuring good drainage and indirect light.
Snip and Root: Stem Cuttings
🌱 Choosing the Champion: Selecting the Best Stems for Propagation
Vigorous stems are your golden ticket in the propagation game. Look for stems that scream health and vitality, free from the clutches of disease and pests. Timing is everything; spring or early summer is when your plant is in the mood for growth, making it the ideal moment for snipping.
✂️ Making the Cut: How to Properly Cut and Prepare Stems for Rooting
When you're ready to wield your shears, think of it as a precision strike. Sterilize your tools to avoid introducing any nasty microorganisms. Aim for a 4-6 inch cutting, snipping just below a node—a sweet spot for root growth. Strip off the lower leaves to prevent rot, but leave a few up top to keep photosynthesis in business.
🌱 Prepping Your Cuttings for Success
After the cut, let your stem cuttings dry out for a day or two to form a callous. This step is like a mini shield against rot. If you're feeling generous, a dip in rooting hormone can give your cuttings a leg up, but it's not a deal-breaker.
🌿 Rooting Rituals: Creating the Ideal Environment for Stem Cuttings to Take Root
Medium magic is crucial. Opt for a well-draining rooting medium that's a match made in heaven with your plant's future growing conditions. Keep the soil moist but not waterlogged to avoid the dreaded mushy stem syndrome. A bright spot with indirect sunlight will coddle your cuttings without scorching them. And remember, airflow is your silent hero—keep it moving to dodge diseases. When you spot those white, firm roots, it's time to pat yourself on the back.
Divide and Conquer: Division
⏰ When to Divide
Timing is key when dividing your Gopher Plant. Early spring, as new growth emerges, is ideal. This allows the plant to recover during the growing season. If you notice the plant outgrowing its pot or see multiple offsets, it's division time.
💃 The Division Dance
🌱 Step One: Unpotting
Carefully invert the pot and coax the plant out. If roots resist, you may need to cut the pot away.
🔍 Step Two: Root Inspection
Gently shake off soil to expose roots. Identify natural divisions or offsets with sufficient roots.
✂️ Step Three: Making the Cut
Use a sterilized knife to separate sections. Ensure each has roots and foliage. Trim any dead material to focus the plant's energy on new growth.
🌱 Step Four: Repotting
Plant each division in fresh soil, in a pot that comfortably fits the root ball. Water lightly to settle them in.
🌱 Post-Division Care
Monitor your new plants closely. Keep soil moist but not soggy to encourage root development. Place in indirect light and avoid fertilizing until established. With care, your divisions will flourish, multiplying your Gopher Plant bounty.
Baby Steps: Propagating Offsets
🌱 Spotting the Sprouts
Offsets are the Gopher Plant's self-made clones, popping up around the mother like eager understudies. Look for these sprouts with their own roots, a sign they're ready to go solo.
🌿 Gentle Separation
Detach these mini-me's with care, using sterilized tools for a clean cut. Root integrity is vital, so handle with a soft touch to keep the future prospects intact.
🏝️ Offset Oasis
After separation, give the offsets a day to dry out, avoiding the dreaded rot. Plant them in a well-draining mix, and place in a spot with indirect light to avoid a sunburned setback. Water sparingly, as these youngsters despise soggy shoes. Keep an eye out for pests, the uninvited guests that can crash the propagation party. With patience and the right conditions, your offsets will soon be thriving, ready to make their own way in the plant world.
Overcoming Propagation Pitfalls
🌱 Common Culprits
Root rot is a frequent offender in propagation failures, often due to enthusiastic watering. Yellow leaves or soggy roots are distress signals. Overly damp conditions invite fungal infections, which can spell disaster for your cuttings. Sterile tools and clean environments are non-negotiables to prevent these issues.
🦸♂️ Saving the Day
To combat root rot, ensure your soil drains like a champion and your watering is more restrained than a minimalist's color palette. If roots are shy, a warm and well-lit setting can coax them out. Patience is key—propagation isn't a race. If all else fails, sometimes the best move is to start over with the wisdom of past mistakes guiding you.
⚠️ Safety First
This content is for general information and may contain errors, omissions, or outdated details. It is not medical, veterinary advice, or an endorsement of therapeutic claims.
Always consult a qualified healthcare professional before using any plant as food, medicine, or supplement.
Never eat any plant (or feed one to pets) without confirming its identity with at least two trusted sources.
If you suspect poisoning, call Poison Control (800) 222-1222, the Pet Poison Helpline (800) 213-6680, or your local emergency service immediately.
Spotted an error? Please report it here.
Turn your gopher plant propagation into a triumph 🌟 with Greg's tailored care reminders and community advice for every step from cutting to rooting.