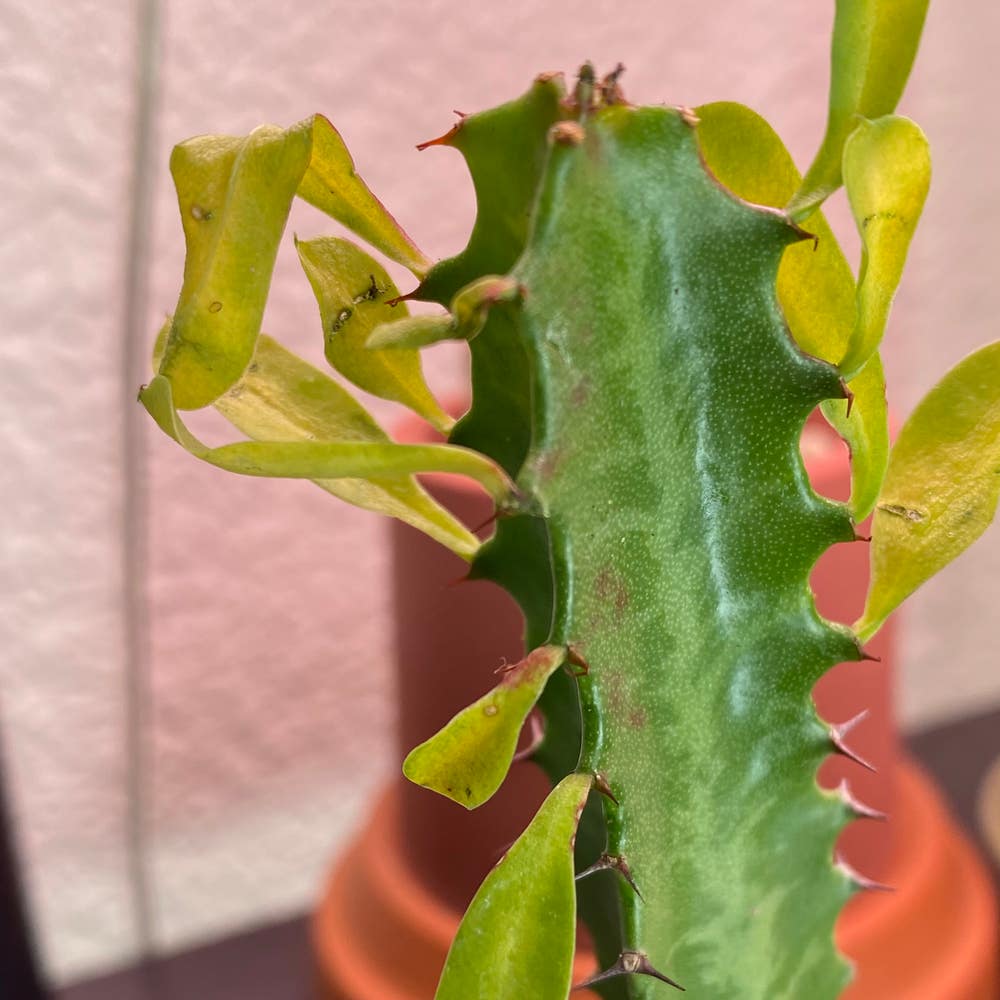
How Do I Propagate My Euphorbia cap-saintemariensis?
Euphorbia cap-saintemariensis
By the Greg Editorial Team
Apr 06, 2024•5 min read
This article was created with the help of AI so we can cover more plants for you. May contain errors. See one? Report it here.
Propagate Euphorbia cap-saintemariensis effortlessly with these expert tips for cuttings and grafting! 🌵✂️
- Choose healthy stems in spring/summer, let callus form before planting.
- Carefully separate offsets with roots, use well-draining soil.
- Grafting success: compatible rootstock, clean cuts, secure cambium alignment.
Snip and Root: Propagating by Stem Cuttings
🌱 Selecting Your Champion Stem
In the quest for the perfect cutting, timing and health are everything. Spring or early summer is your go-to season, when the plant's energy is surging. Look for a stem that screams health—lush, blemish-free, and firm to the touch. Sterilize those shears; it's surgery, not a garden hack job.
🌿 Prepping and Callusing
After making that clean, angled cut below a node, give your stem some air. Let it dry out for a few days to form a callus—think of it as a natural band-aid against rot. Rooting hormone? It's optional but can be the equivalent of a rooting cheerleader.
🌱 Planting and Aftercare
Now, for the cozy bed: a well-draining soil mix in a pot that feels like home, not a mansion. Keep the soil moist but not soggy—nobody likes wet feet. Light is like the plant's coffee; provide bright, indirect sunlight to perk it up. Patience is your new best friend; roots take time to party.
Little Ones: Propagating by Offsets
🌱 Spotting and Separating Offsets
In the quest for new growth, offsets are your best allies. These mini-me's of Euphorbia cap-saintemariensis should be plump and sporting their own roots. Timing is everything; wait until they're just right—neither too clingy nor too independent.
When it's time to separate, think surgeon, not lumberjack. Sterilize your tools and make a clean cut, ensuring each offset keeps its roots. If they resist, a gentle twist might just do the trick.
🌿 Potting and Pampering
Now, let's talk dirt. A well-draining soil mix is non-negotiable—think of it as the offset's first apartment, it should be comfy but not waterlogged. Pot size matters; cozy is good, cramped is bad.
Watering is a delicate dance—too much, and you're drowning them, too little, and they're parched. Aim for moist, not swampy. As for light, bright but indirect is the sweet spot. Think of it as their first job; challenging, yet not soul-crushing.
Remember, these offsets are like young adults moving out. They need support but also the freedom to thrive on their own. Keep an eye out for pests or mold—they're the uninvited party crashers in this propagation shindig.
Joining Forces: Propagating by Grafting
💑 Choosing Your Match
Selecting a compatible rootstock for grafting is like swiping right in the plant world; you're looking for the perfect match. Ensure your rootstock is robust, disease-resistant, and well-suited to your scion.
Preparing the scion and rootstock is akin to prepping for a first date. Sterilize your tools—this is non-negotiable. For the scion, opt for a healthy, vigorous shoot that's similar in diameter to the rootstock or just a smidge thinner.
🌱 The Grafting Procedure
Step 1: Make a clean, vertical cut in the rootstock to create a 'cleft'. This is where precision counts—no room for a shaky hand.
Step 2: Shape the base of the scion into a wedge. It's all about alignment; the cambium layers must be on speaking terms for this relationship to work.
Step 3: Insert the scion into the cleft, ensuring the cambium layers are cozy and close. Secure the graft with rubber bands or grafting tape—think of it as the plant equivalent of holding hands.
Ensuring a successful graft union is about vigilance. Watch for new growth, the ultimate sign of a blossoming relationship. If the graft gives you the cold shoulder, reassess your technique and consider a different rootstock. Remember, it's about creating a thriving partnership, not just sticking two plants together.
Overcoming Propagation Pitfalls
🌱 Troubleshooting Stem Cuttings
Rot is the grim reaper of stem cuttings. If your cutting's base is more mush than firm, you've got rot. Dial back on the water, and make sure your pot's not holding a pool party for unwanted fungi. If you spot rot, it's time to play surgeon—cut away the affected parts and give the cutting a fresh start in dry, well-draining soil.
Poor rooting can be a real head-scratcher. If your cuttings are as lifeless as a doorknob, reassess their living conditions. They crave warmth and indirect light like a cat craves a sunny windowsill. Too cold? They'll sulk. Too wet? They'll drown. Adjust the environment and wait for those roots to pop.
🌿 Offsets Obstacles
Slow growth in offsets can test your patience more than a slow internet connection. If your offsets are growing at a glacial pace, make sure they're snug in the soil—firm contact is key. Inherited issues from the parent plant can also put the brakes on growth, so keep an eye out for any signs of trouble and act swiftly to nip them in the bud.
Detachment issues? It's all about the gentle touch. When separating offsets, think of it as defusing a bomb—steady hands win the game. Use a clean, sharp blade and replant promptly. If they're reluctant to root, double-check the soil mix and moisture levels. Sometimes, they just need a bit more TLC.
🌳 Grafting Glitches
Grafting can feel like trying to solve a Rubik's cube blindfolded. If you're facing graft failure, first check your compatibility—not all plants play nice together. Ensure the scion and rootstock are a match made in heaven. If they're throwing a tantrum and refusing to unite, it might be time to consider other partners.
Incompatibility isn't the only party pooper. If the graft site looks sadder than a forgotten birthday, it could be an infection. Sterilize your tools before you start—clean cuts mean healthy plants. And remember, grafting is like a dance, it takes two to tango, and both partners need to be in sync for it to work.
⚠️ Safety First
This content is for general information and may contain errors, omissions, or outdated details. It is not medical, veterinary advice, or an endorsement of therapeutic claims.
Always consult a qualified healthcare professional before using any plant as food, medicine, or supplement.
Never eat any plant (or feed one to pets) without confirming its identity with at least two trusted sources.
If you suspect poisoning, call Poison Control (800) 222-1222, the Pet Poison Helpline (800) 213-6680, or your local emergency service immediately.
Spotted an error? Please report it here.
Ensure your Euphorbia cap-saintemariensis cuttings and offsets thrive 🌿 with Greg's custom care plans and community support for every step of propagation.