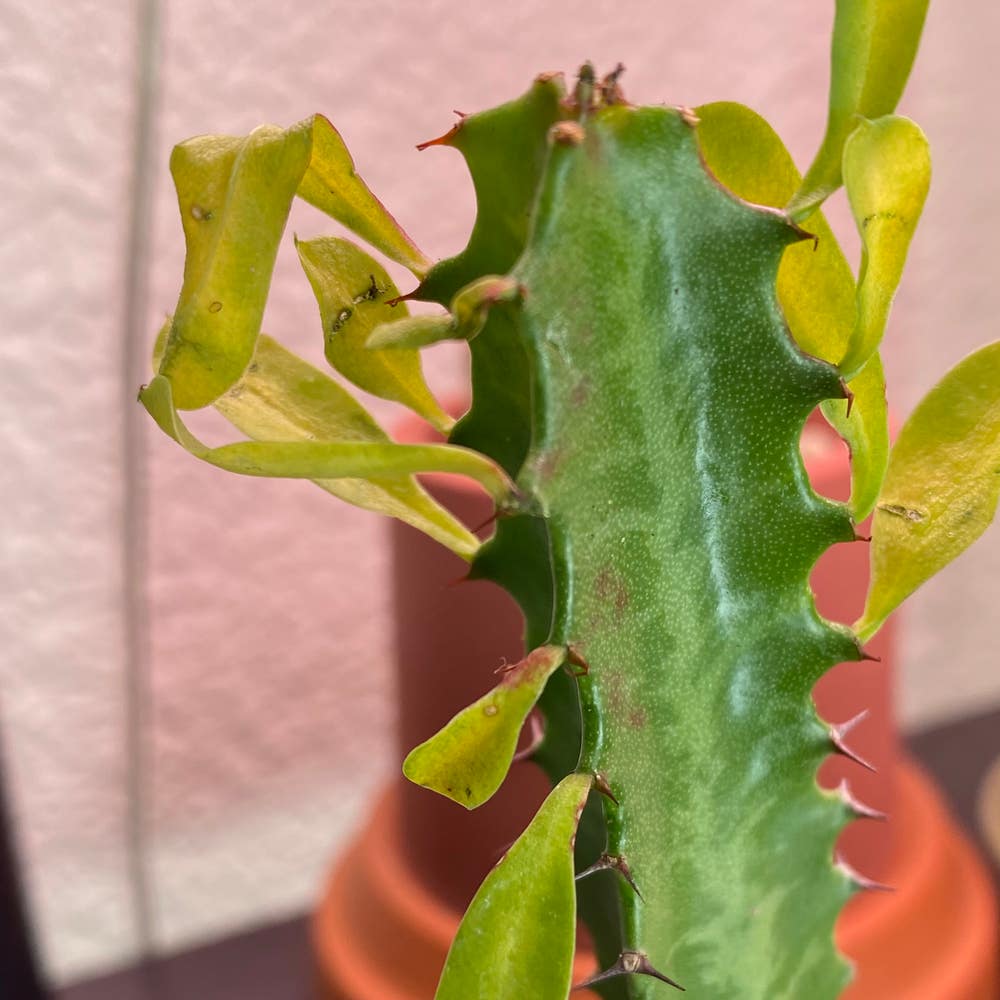
How Do I Propagate My Euphorbia aeruginosa?
Euphorbia aeruginosa
By the Greg Editorial Team
Feb 28, 2024•4 min read
This article was created with the help of AI so we can cover more plants for you. May contain errors. See one? Report it here.
Propagate your Euphorbia aeruginosa 🌵 and watch your green haven thrive with these foolproof techniques!
- Choose healthy stems and use rooting hormone for successful propagation.
- Gently separate offsets and pot in well-draining soil for new plants.
- Harvest and sow seeds patiently, avoiding overwatering to prevent rot.
Snip & Plant: Stem Cuttings
🌱 Choosing Your Champion Stem
In the propagation arena, the healthiest stem is your gladiator. Look for stems that boast vibrant green hues and a robust structure, free from the clutches of disease or pests. The ideal candidate is a non-flowering stem, preferably during the plant's growth spurt in spring or early summer.
✂️ The Cutting Ceremony
With sterilized shears or a knife, aim for a 4-6 inch cut below a leaf node, the sweet spot for root emergence. Strip the lower leaves to minimize moisture loss and direct energy to root development, leaving a few leaves up top for photosynthesis. It's a clean, precise snip—no crushing or tearing allowed.
🌱 Rooting for Roots
Dip the freshly snipped end into rooting hormone to whisper sweet somethings of encouragement to those potential roots. Plant your stem in a well-draining medium, akin to a nurturing nursery, ensuring it's snug but not drowning in moisture. This is where the magic morphs into science.
🌿 After the Cut
Post-cut, your stem cutting needs TLC—keep the soil moist and offer a sheltered spot with indirect sunlight. Unveil the cuttings periodically for a breath of fresh air, preventing the dreaded damp-off. Patience is key; roots take time to strut their stuff. When you see a network of white, firm roots, it's time for a mini celebration.
Little Ones: Offsets or Pups
🌱 Spotting the Babies
Offsets, affectionately known as pups, are your Euphorbia aeruginosa's way of cloning itself. Spotting these little ones is like finding green gold; they're the ticket to expanding your succulent collection. Look for pups nestled at the base of the parent plant, plump and sporting a few roots—a sign they're ready to strike out on their own.
🤲 Gentle Separation
When it's time to separate these babies from their mother, think finesse, not force. Gently wiggle the pup away from the main plant. If it's stubborn, a sterile knife or scissors can make a clean cut. Post-separation, give the pup a day to dry out, preventing rot and giving it a fighting chance in its new abode.
🏡 Potting Pups
Potting your new offsets is like setting them up in a starter home. Choose a container with drainage holes and fill it with a succulent-friendly, well-draining soil mix. Nestle the pup into the soil, ensuring it's stable but not buried too deep. Water sparingly to begin with—these youngsters dislike wet feet. Place them in bright, indirect light, steering clear of the intense midday sun. With a bit of care and a dash of patience, you'll watch these pups grow into independent, spiky beauties.
From Tiny Seeds: Seed Propagation
🌱 Harvesting Potential
Harvesting seeds from your Euphorbia aeruginosa is a bit like a treasure hunt—minus the pirates and the tropical island. Timing is crucial; aim for the end of the flowering season when the seeds are ripe. Gently collect them, ensuring they're clean and free from any plant pulp. This cleanliness is not just about being a neat freak; it's about giving your seeds the best shot at germination.
🌱 Sowing the Seeds of Success
Now, let's talk germination. Patience is your new best friend here because these seeds can take their sweet time—think several months. Start by soaking the seeds for a few hours to improve germination rates. Then, prepare a seed tray with a well-draining growing medium. Sow the seeds on the surface and lightly cover them with more medium. Keep the soil moist but not waterlogged; overenthusiastic watering is the express lane to rot city. Place the tray in a warm, bright spot, and wait for those little green shoots to make their debut. Remember, you're playing the long game; it might be a couple of years before these babies are ready for the big leagues.
Propagation Pitfalls: Troubleshooting Tips
💧 Damp Dilemmas
Overwatering is a common misstep in propagation, leading to a host of issues. To prevent this, water only when the soil is dry to the touch. It's a delicate balance, like watering a desert cactus—too much, and you risk drowning it; too little, and it's parched.
🦠 Avoiding the Rot
Root rot is the silent assassin in the propagation world. Well-draining soil is your first line of defense—think of it as a security system for your plant's roots. If rot does set in, it's surgery time: remove the affected parts and let the healthy roots air out before replanting in fresh soil. Keep the environment cozy, with good airflow to ward off fungal gatecrashers.
⚠️ Safety First
This content is for general information and may contain errors, omissions, or outdated details. It is not medical, veterinary advice, or an endorsement of therapeutic claims.
Always consult a qualified healthcare professional before using any plant as food, medicine, or supplement.
Never eat any plant (or feed one to pets) without confirming its identity with at least two trusted sources.
If you suspect poisoning, call Poison Control (800) 222-1222, the Pet Poison Helpline (800) 213-6680, or your local emergency service immediately.
Spotted an error? Please report it here.
Propagate your Euphorbia aeruginosa successfully by following these steps and using Greg's 🌱 tailored reminders to prevent overwatering and ensure perfect soil moisture for your new plants.