Propagating My Echeveria 'Atlantis': Step-by-Step Guide
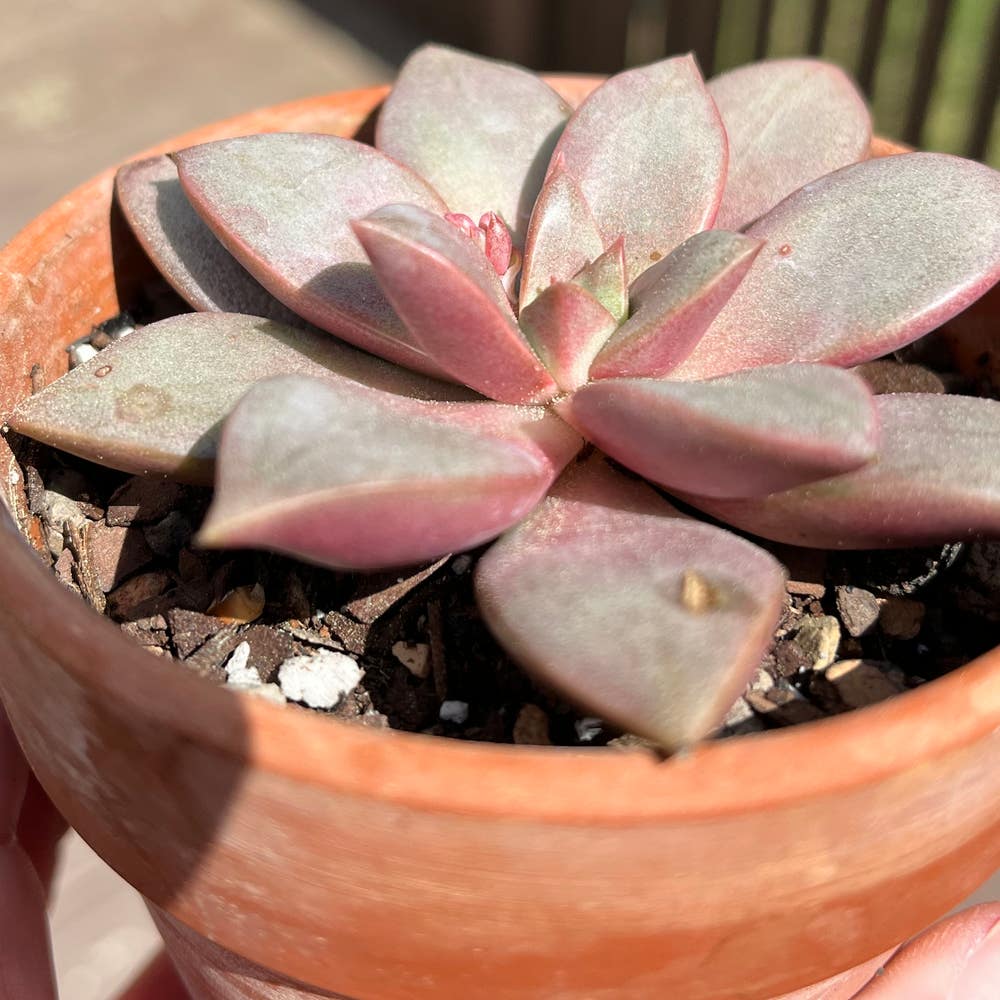
Evheveria 'Atlantis'
By the Greg Editorial Team
Mar 25, 2024•5 min read
This article was created with the help of AI so we can cover more plants for you. May contain errors. See one? Report it here.
Propagate your Echeveria 'Atlantis' effortlessly 🌱 and watch your succulent sanctuary thrive with our expert guide!
- Choose plump, unblemished leaves for successful Echeveria 'Atlantis' propagation.
- Bright, indirect sunlight and 75°-80°F are ideal for rooting and growth.
- Be patient and monitor for weeks to months during the rooting phase.
Choosing Your Propagation Path
🍃 Leaf Cuttings
Selecting the best leaves for propagation is not unlike picking a winning lottery ticket; you want the ones that look plump and unblemished. Twist gently to detach, aiming for a clean break from the stem—this is crucial for successful rooting.
Once removed, let the leaves dry until a callus forms over the cut area. This step is non-negotiable; it's the plant's natural band-aid, preventing rot when you eventually introduce moisture.
🌱 Offsets Division
Offsets, or "pups," are the express lane in the propagation highway. Spot the mature ones: they're usually nestled at the base of the parent plant, looking like mini-me's ready for independence. Separate with a clean, sharp tool, ensuring each offset keeps some roots.
After separation, allow the offsets to callus over before planting. This is like giving them a moment to brace themselves before plunging into new soil. Once they're potted, keep the soil lightly moist and wait for the magic to happen.
Setting the Stage for Success
💡 Ideal Conditions: Light, Temperature, and Soil Mix
Light is the lifeblood of propagation. Your Echeveria 'Atlantis' needs bright, indirect sunlight to thrive. Direct rays are a no-go; they're like overzealous fans that can burn your plant's delicate skin. Temperature should be cozy, around 75° to 80°F – think comfortable spring day vibes. As for soil, it's all about drainage. Mix in some coarse sand or perlite with a standard potting mix to create a well-draining stage for your succulent starlets.
🚰 Watering Do's and Don'ts During Propagation
Watering is a high-stakes game of precision. Moisture levels should be like a perfectly wrung-out sponge – damp but not dripping. Overwatering is the villain in this tale, leading to root rot and a tragic end. Instead, aim for soil that's just moist enough to encourage roots without becoming a swampy mess. Remember, it's better to underdo it than to overdo it; you can always add more water, but you can't take it back once it's there.
The Waiting Game: Monitoring Your Propagation Efforts
🌱 Rooting and Growth Phases
Patience is your best friend during the rooting phase. Expect roots to show up like a guest who's always fashionably late. Roots may take weeks to months to appear, and that's perfectly normal. In water propagation, a tangle of white roots signals success. In soil, if you feel resistance with a gentle tug, your roots are likely in business.
🚦 Common Hiccups
Overwatering is a rookie mistake. It's the fast track to root rot. Keep the soil's top inch dry before you think about watering again. If your offsets are more sloth-like than sprightly, ensure they're basking in warm, bright conditions.
🛠 Troubleshooting Tips
No roots? Don't panic. Check if your lighting and temperature are on point. They're the unsung heroes setting the stage for growth. Stagnant growth or mold? Time to reassess humidity and cleanliness. Remember, it's not a sprint; it's a marathon.
🔧 Quick Fixes
If growth stalls, play detective. Adjust light or temperature and observe. Document your steps; it's your roadmap to solving the puzzle. Rooting hormone can be a pep talk for your cuttings, but it's no substitute for solid care.
📊 Monitoring Progress
Keep an eye on your Echeveria 'Atlantis' like it's the season finale of your favorite show. But avoid hovering; these succulent babies don't appreciate helicopter parenting. Regular root inspections are like health check-ups for your plant. Spot something off? It's TLC time.
Remember, every hiccup is an opportunity to learn and grow—both for you and your Echeveria 'Atlantis'.
Transition Time: Potting Your New Echeveria 'Atlantis'
Choosing the right pot and soil is crucial for your Echeveria 'Atlantis' to thrive after propagation. The ideal pot size is just a tad larger than the plant to avoid any grandiose delusions of growth. Drainage holes? Non-negotiable. They're the escape route for excess water, preventing a pool party at the bottom of your pot.
🌱 Pot Selection
Terracotta pots are the MVPs here, with their porous walls promoting quick soil drying and preventing root rot. Plastic pots can work too, but they're like helicopter parents, holding onto moisture for dear life. Choose wisely.
🌿 Soil Mix
The soil mix should be the succulent equivalent of a bespoke suit—tailored for perfection. Mix cactus or succulent soil with perlite or pumice to create a well-draining paradise. This concoction allows water to flow through like a gossip through a small town, ensuring your plant's roots aren't drowning in sogginess.
🌷 The Transplanting Process
When transplanting, think of yourself as a plant surgeon. Be gentle, be precise. Remove your Echeveria from its current container with the finesse of a cat burglar. Knock away any old, clingy soil from the roots like bad habits.
First Watering
After the transplant, let your Echeveria settle in for about a week—think of it as a housewarming period. Then, introduce water with the subtlety of a secret admirer, misting or lightly watering to avoid soil saturation. Overwatering is the fast lane to an untimely plant demise, so aim for damp, not drenched.
Remember, your Echeveria 'Atlantis' is not just a plant—it's a living testament to your green-thumb prowess. Treat it with respect, and it'll be the crown jewel of your succulent collection.
⚠️ Safety First
This content is for general information and may contain errors, omissions, or outdated details. It is not medical, veterinary advice, or an endorsement of therapeutic claims.
Always consult a qualified healthcare professional before using any plant as food, medicine, or supplement.
Never eat any plant (or feed one to pets) without confirming its identity with at least two trusted sources.
If you suspect poisoning, call Poison Control (800) 222-1222, the Pet Poison Helpline (800) 213-6680, or your local emergency service immediately.
Spotted an error? Please report it here.
Successfully propagate your Echeveria 'Atlantis' by following our guide and let Greg's reminders 🌱 ensure your succulent's thriving journey from leaf to lush.