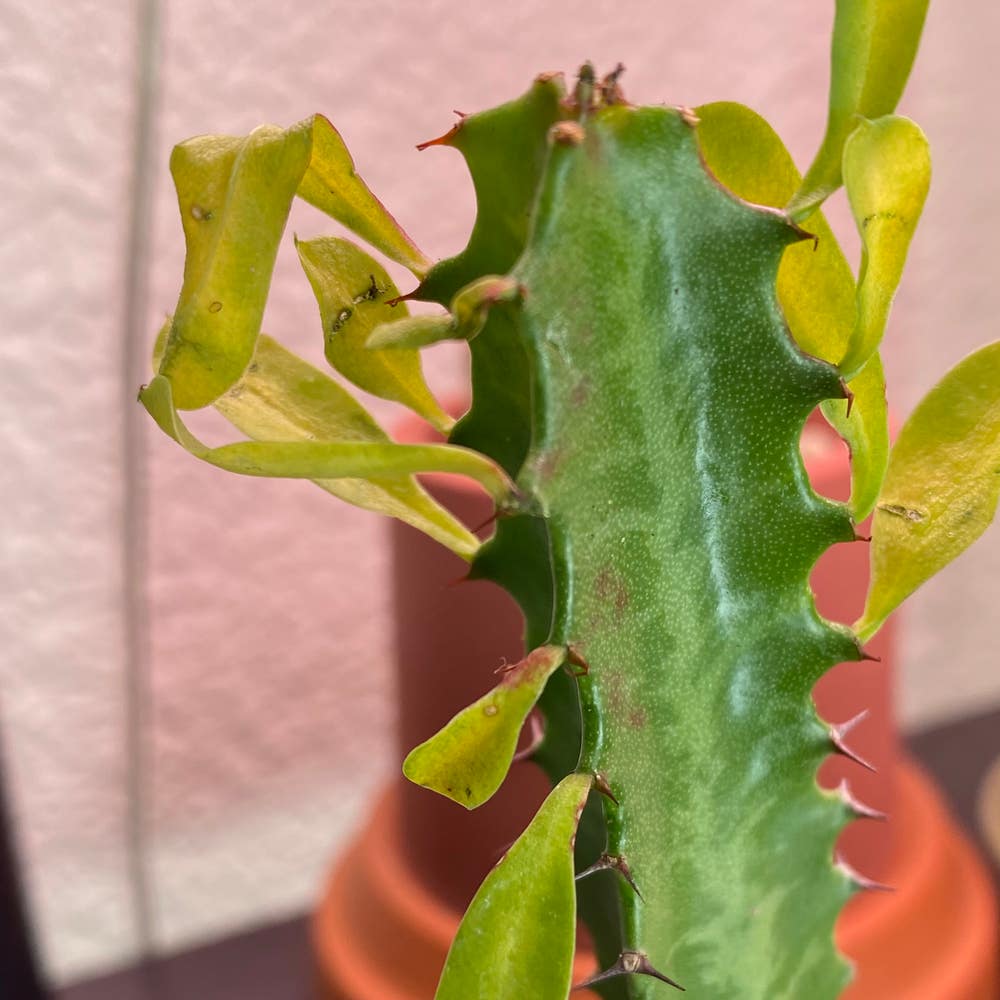
Propagating My Candelilla: Step-by-Step Guide
Euphorbia antisyphilitica
By the Greg Editorial Team
Mar 01, 2024•4 min read
This article was created with the help of AI so we can cover more plants for you. May contain errors. See one? Report it here.
Propagate your Candelilla effortlessly 🌵 and watch your desert garden thrive with our step-by-step guide!
- Healthy stem selection is key for successful Candelilla propagation.
- 🌱 Rooting hormone and proper soil enhance root growth and plant health.
- Monitor growth milestones and address issues like pests and fungus quickly.
Snip & Plant: Stem Cuttings Technique
🌱 Choosing Your Champion Stem
In the quest for propagation success, your first ally is a healthy stem. Scout for stems that boast a robust and pest-free existence. The prime time for snipping is when your Candelilla is in its growth spurt, typically during spring or early summer.
🛠 Prepping Your Cuttings
Once you've selected your stem, it's time for surgery. Sterilize your tools; think of it as pre-op for plants. Aim for a 4-6 inch cutting, making a clean, angled incision just below a leaf node. Strip the lower leaves to prevent rot, leaving the upper ones to keep up with photosynthesis.
✨ Rooting Hormone Magic
Now, let's talk about the secret sauce—rooting hormone. It's not mandatory, but it's like a high-five for your cuttings' roots. Dip the base of your stem into this magical powder or gel to kickstart the rooting process. Then, nestle your cutting into a well-draining medium, and wait for nature to do its thing. Keep the humidity up, think of it as a spa day for your cuttings, to encourage root growth.
Divide & Conquer: Plant Division Method
🌱 When to Divide Your Candelilla
Spring is prime time for plant division. It's the season when Candelilla wakes up and stretches its roots, ready for action. Aim for a day when the soil is not too wet, not too dry—Goldilocks conditions.
🕺 The Division Dance
Step 1: Prep Work
Water your Candelilla a day or two before division. This makes the roots more flexible and less likely to snap during the process.
Step 2: Unpotting
Gently coax the plant out of its pot. Think of it as a courteous invitation rather than an eviction.
Step 3: The Split
Examine the root ball and look for natural separations. Use your hands or a clean knife to divide the plant into sections, each with its own roots and shoots.
Step 4: Potting Up
Place each new plant into its own pot with fresh, well-draining soil. This is not the time to skimp on quality—your Candelilla's future depends on it.
🌱 Potting Your New Plants
Initial Care
Keep the soil moist but not waterlogged. Think of it as a spa day for your plants—they're recovering from a big change.
The Waiting Game
It's a test of patience now. Give your new Candelillas time to establish roots. Hold off on the fertilizer; let them settle in first.
Light & Location
Position your plants in a spot with bright, indirect light. Direct sun might be too intense for these fresh starts.
Creating the Perfect Propagation Pad
🏡 Home Sweet Home
Setting up the ideal environment for Candelilla propagation is crucial. Think of it as crafting a cozy incubator that caters to the specific needs of your plant babies.
📦 The Right Container
Choose a container with drainage holes to prevent waterlogging, a silent killer in the plant world. Mix your soil with ingredients like perlite or sand to create a well-draining, yet supportive bed for your cuttings.
🌡️ Temperature Control
Aim for a steady temperature between 65-75°F. This range is the sweet spot for encouraging root growth without stressing the plant. If you're propagating in cooler months, consider a heat mat for that extra warmth.
💧 Water & Light: The Dynamic Duo
💦 Moisture Mastery
Keep the propagation medium moist, akin to a well-squeezed sponge. Overwatering is a no-go; it's a balancing act to maintain the right level of moisture without creating a swamp for your cuttings.
💡 Light It Right
Bright, indirect light is non-negotiable. It's like the gentle nudge your Candelilla needs to start rooting. Direct sunlight? That's a recipe for crispy, unhappy plantlets.
💨 Humidity Haven
High humidity is your ally in the propagation game. Create a mini greenhouse effect with plastic wrap or a dome to trap moisture in the air, but make sure there's still some airflow to ward off mold.
🌬️ Airflow: The Unsung Hero
Ensure gentle airflow around your propagations to keep the environment fresh and discourage any fungal freeloaders. It's the subtle touch that can make a big difference.
Keeping an Eye Out: Monitoring Growth and Solving Problems
🌱 Growth Milestones
Root check after a month for offsets. Celebrate when you see stable growth. For stem cuttings, the emergence of roots is like a baby's first step—crucial and thrilling.
🚨 Common Propagation Pitfalls
Stagnant growth? Time to reassess your care strategy. Pests like spider mites or mealybugs? A dab of neem oil is your first line of defense. Fungal issues? Adjust watering and ensure good air circulation. Keep a log of these events; it's your roadmap through the propagation journey.
⚠️ Safety First
This content is for general information and may contain errors, omissions, or outdated details. It is not medical, veterinary advice, or an endorsement of therapeutic claims.
Always consult a qualified healthcare professional before using any plant as food, medicine, or supplement.
Never eat any plant (or feed one to pets) without confirming its identity with at least two trusted sources.
If you suspect poisoning, call Poison Control (800) 222-1222, the Pet Poison Helpline (800) 213-6680, or your local emergency service immediately.
Spotted an error? Please report it here.
Propagate your Candelilla successfully 🌿 by following Greg's tailored care reminders and tapping into a community eager to see your cuttings thrive.