How to Repot a Marijuana Plant
If you started Marijuana from seed, pot up from the starter cell to a 1 gallon pot once true leaves form, then to a 5 to 7 gallon final container after the last frost. If you bought a nursery seedling, move straight from the nursery pot to the final container after frost. Use a rich, airy mix with worm castings and perlite, and water deeply after.
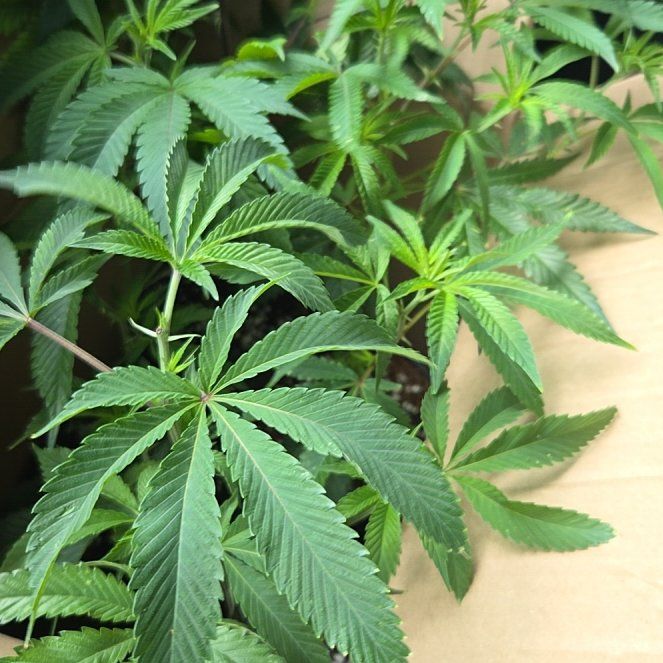
How to Know It's Time to Repot
Marijuana plants grow fast and root hard, so a starter pot fills up within a few weeks. Watch for these signals to know when it's time to move up before the plant gets root-bound.
-
1Roots circle the bottom of the pot or push out through the drainage holes.
-
2The plant has roughly doubled in height since you last potted it up.
-
3Soil dries out within a day of a thorough watering.
-
4New growth at the tops slows down, even with regular feeding.
Catch these signs early, since a root-bound Marijuana plant stalls fast and never fully catches up. Expect one to three repots in a single season, depending on whether you started from seed or from a nursery clone.
The Best Time of Year to Repot
Marijuana is grown as a warm-season annual, and outdoor plants are killed by frost. The final pot-up has to wait until nighttime temperatures stay reliably above 50°F, which lines up with the last spring frost in your region.
Pot-ups for seedlings happen earlier indoors under lights, but the move outside or to the final container is gated by frost. Use the map below to find your last-frost window.

How to Choose a Pot and Soil Mix
Pot Size
If you started from seed, pot up in stages so the roots always have room without sitting in too much wet soil. Move from the starter cell to a 4 inch pot once true leaves form, then to a 1 gallon pot once roots show at the bottom, then to a 5 to 7 gallon final container after the last frost.
If you bought a nursery seedling, skip the intermediate steps and move straight from the nursery pot to a 5 to 7 gallon final container after frost. Photoperiod plants can handle larger finals up to 10 gallons if you want big yields.
Pot Material
Fabric pots are the best choice for outdoor Marijuana. They air-prune the roots and prevent the dense, circling root mass that limits plants in solid containers.
Plastic and ceramic both work, but you'll need to make sure the pot has plenty of drainage holes and don't get caught with a soggy bottom. Whichever material you pick, make sure water can run freely out the bottom. Marijuana hates wet feet.
Soil Mix
Mix two parts standard potting soil, one part compost or worm castings, and one part perlite for the rich, airy blend Marijuana plants thrive in. The compost feeds the heavy-eating plant while the perlite keeps the mix from packing down and suffocating the roots.
Skip moisture-control formulas and dense peat-heavy mixes without added perlite. Both stay too wet for Marijuana roots and invite root rot just when the plant should be exploding with growth.
How to Repot a Marijuana, Step by Step
-
1Water the day before. Give the plant a thorough drink the day before repotting. Moist soil holds the root ball together when you slide it out and protects the fine roots from tearing.
-
2Pick the next pot. If you started from seed, the next step is usually a 4 inch, then a 1 gallon, then a 5 to 7 gallon final pot. If you bought a nursery seedling, go straight to the 5 to 7 gallon final container. All with drainage holes, and a layer of fresh mix in the bottom.
-
3Slide the plant out. Tip the pot onto its side and gently work the root ball loose. Support the base of the stem, not the tops. If it's stuck, run a butter knife around the inside edge of the pot to release it.
-
4Loosen the roots. Gently tease apart any roots that have wound themselves into a tight circle at the bottom. Trim any black, mushy, or smelly sections with a clean knife. Healthy Marijuana roots are firm and pale white or tan.
-
5Set it in the new pot. Center the plant at the same depth it was growing before. Don't bury the stem any deeper. Fill in around the sides with fresh mix, pressing gently as you go to remove air pockets and steady the plant.
-
6Water deeply. Water slowly until you see it run out the drainage holes. Set the plant in bright but indirect light for the first day or two, then return to full sun. Hold off on fertilizer for 4 to 6 weeks if the new mix is rich with compost, otherwise start at half strength once new growth resumes.
What to Expect After Repotting
Day 1 to 3
A little droop right after the move is normal as the roots settle into their new home. The plant usually perks back up within a day or two with a thorough watering.
Keep the soil consistently moist but not soggy, set the plant somewhere bright but out of harsh midday sun, and skip fertilizer for a few days.
Week 1 to 2
Fresh growth at the tops, with leaves clearly bigger than the ones before, is the signal that the roots have taken hold.
Resume full sun and your normal watering rhythm. Start half-strength fertilizer at the first sign of new growth and build up to full strength over the next two or three feedings. Marijuana plants are heavy feeders during the vegetative phase.
Got More Questions?
About This Article

Royal Horticultural Society