How to Plant a Puakenikeni
Plant Puakenikeni outdoors only in USDA zones 10 and 11, where winter lows stay above 40°F. Pick a sheltered site with full sun to light afternoon shade and well-drained soil. Dig a hole twice as wide as the root ball but no deeper, setting the root flare at or just above the soil surface. Water deeply once a week the first year. Expect slow steady growth and first fragrant blooms in two to four years.
When and where to plant
Puakenikeni only grows outdoors year-round in true tropical climates, USDA zones 10 and 11. That means the warm pockets of Hawaii, southern Florida from roughly Miami south, and a few frost-free strips of coastal southern California. If your area sees winter lows below 40°F even once, this tree will be damaged. A hard freeze kills it outright. Anyone outside these zones is better off growing it as a container plant that can shelter indoors for cool nights.
Within a suitable zone, pick a spot with full sun to partial afternoon shade. Six or more hours of direct light brings the heaviest flower flush, while a little shade in the hottest part of the day keeps young trees from scorching. The site needs well-drained soil. Heavy clay or low spots that collect water lead to root rot in this species, so on poorly drained ground, plant on a slight mound or in a raised bed. Puakenikeni handles a range of soil pH from slightly acidic to slightly alkaline and does well in the volcanic and coral-derived soils common across Hawaiian and south Florida gardens.
Give a young tree at least eight to ten feet of clearance from buildings, fences, and other trees. A mature tree reaches fifteen to twenty feet tall and ten to fifteen feet wide. Choose a site sheltered from strong trade winds, which can shred the leaves and rock the root ball before establishment.
Planting a container-grown tree
The single most important rule for Puakenikeni, like any tree, is the root flare. The point where the trunk widens into the surface roots must sit at or just above the finished soil level. Trees buried below the flare slowly suffocate over two to five years, often without visible warning until decline is well underway. The second rule for this species is cold protection through the first year, when even brief exposure below 40°F can damage tender new growth.
-
1Pick a planting day in spring Aim for a warm settled stretch in spring once nighttime temperatures stay reliably above 60°F. Planting into cool soil slows root activity and leaves the tree sitting in moisture it cannot use, which invites rot. A mild overcast morning is ideal because it reduces transplant stress on the foliage.
-
2Dig the hole twice as wide Measure the root ball, then dig a hole twice as wide and the same depth, not deeper. A wide loose hole lets the new roots push out laterally into the native ground instead of circling. Digging too deep is the more common mistake, since backfill settles and pulls the tree below grade over the first few weeks.
-
3Find and set the root flare Brush soil away from the top of the root ball with your fingers until you can see where the trunk widens into the major surface roots. Position the tree so this flare sits at or just above your finished soil level, propping the root ball on undisturbed soil at the bottom of the hole. Sinking the flare below grade is the leading cause of slow tree decline in Hawaiian and south Florida landscapes.
-
4Score circling roots and backfill Lift the tree out of the container and check the sides of the root ball for roots wrapping in a spiral. If you see circling, use a clean knife to make three or four shallow vertical cuts down the sides, about a half inch deep, which prompts the roots to branch outward. Hold the tree upright as you backfill with the same native soil you removed, firming gently to close large air pockets without compacting.
-
5Water in deeply and mulch Soak the planting hole slowly until the soil settles around the root ball, then top with two to three inches of organic mulch in a wide ring out to the drip line. Keep the mulch pulled back four inches from the trunk because mulch piled against the bark holds moisture against living wood and causes the same rot the root flare rule is meant to prevent. A deep first watering matters more than light frequent sprinkling.
The first year
The first year for a newly planted Puakenikeni is mostly an underground story. The tree is moving energy from new top growth into pushing roots out into native soil, building the foundation that supports decades of fragrant lei flowers. You should not expect much visible size change above ground during this period, and that is normal for a slow-growing tropical tree.
The most common mistake is reading slow above-ground growth as a sign of trouble and overcompensating with extra water or fertilizer. Both can cause real problems. Soggy roots invite the rot this species is most vulnerable to, and pushing fertilizer drives leafy growth before the root system can support it. Stick to one deep watering a week through dry stretches, hold off on fertilizer until month four, and pay close attention to any forecast cool night through the first winter.
Healthy first-year growth looks like a small flush of new leaves in late spring, glossy dark green color, and no significant leaf drop beyond a few older leaves shedding naturally as the tree balances itself.
What can go wrong
-
Browning leaf edges after a cool night
Cold damage shows up first as browning along the leaf margins after any night below 40°F. Puakenikeni has almost no cold tolerance, so even a single cool snap can mark the foliage. Cover young trees with frost cloth when a cool front is forecast and rinse off the cloth in the morning before the sun heats it. Damaged leaves rarely recover, but the tree will push fresh growth in spring as long as the wood was not frozen. -
Mushy roots and a leaning trunk
Waterlogged soil starves the roots of oxygen and leads to root rot, which is the most common way a young Puakenikeni dies. Heavy clay, low ground, or a planting hole that holds water like a bowl are the usual setups. Lift the tree if the ground stays saturated for more than a day after rain and replant on a six-inch mound or in better-drained soil. Going forward, water based on whether the soil feels dry an inch down, not on a fixed schedule. -
Yellowing leaves across the whole canopy
Uniform yellowing usually points to drainage trouble or to nutrient lockout when the soil stays too wet. Check the soil two inches down before watering, and if it feels damp, skip the session. If drainage is genuinely poor, the long-term fix is a raised bed or a mound. A light feeding with a balanced slow-release fertilizer in spring also helps once month four has passed. -
Buried root flare with slow decline
If the flare disappeared into the planting hole or under added mulch, the trunk is slowly suffocating. Gently excavate the area around the trunk with your hands until you can see the trunk widening into the major roots, then pull soil and mulch back from that point out to a wide ring. Caught within the first year, recovery is usually full. Caught after several years, the decline is often too far along to reverse. -
Very slow growth in the first year
Slow above-ground change is normal for Puakenikeni during establishment. A healthy newly planted tree often adds only a few inches of new shoot growth in year one because energy is going to root development. As long as leaf color holds and there is no major leaf drop, the tree is doing what it should. Visible growth and the first scattered flower buds usually arrive in year two or three. -
Shredded or browned leaves after wind
Strong trade winds and tropical storm gusts can tear young Puakenikeni leaves and rock the root ball before establishment. A temporary windbreak through the first year, even simple stakes with shade cloth on the windward side, makes a real difference. Stake the trunk loosely if the tree is wobbling in the ground, but remove the stakes after a year so the trunk strengthens. -
Sticky black coating on leaves
Black sooty mold growing on the upper leaf surface is a sign of sap-sucking insects like scale, mealybugs, or whitefly feeding underneath. The mold itself does not harm the tree, but the pests do, and they thrive on stressed transplants. Rinse the leaves with a strong spray of water and treat the underside with insecticidal soap or horticultural oil every five to seven days until populations crash. Healthy established trees rarely have this problem. -
No flowers two years in
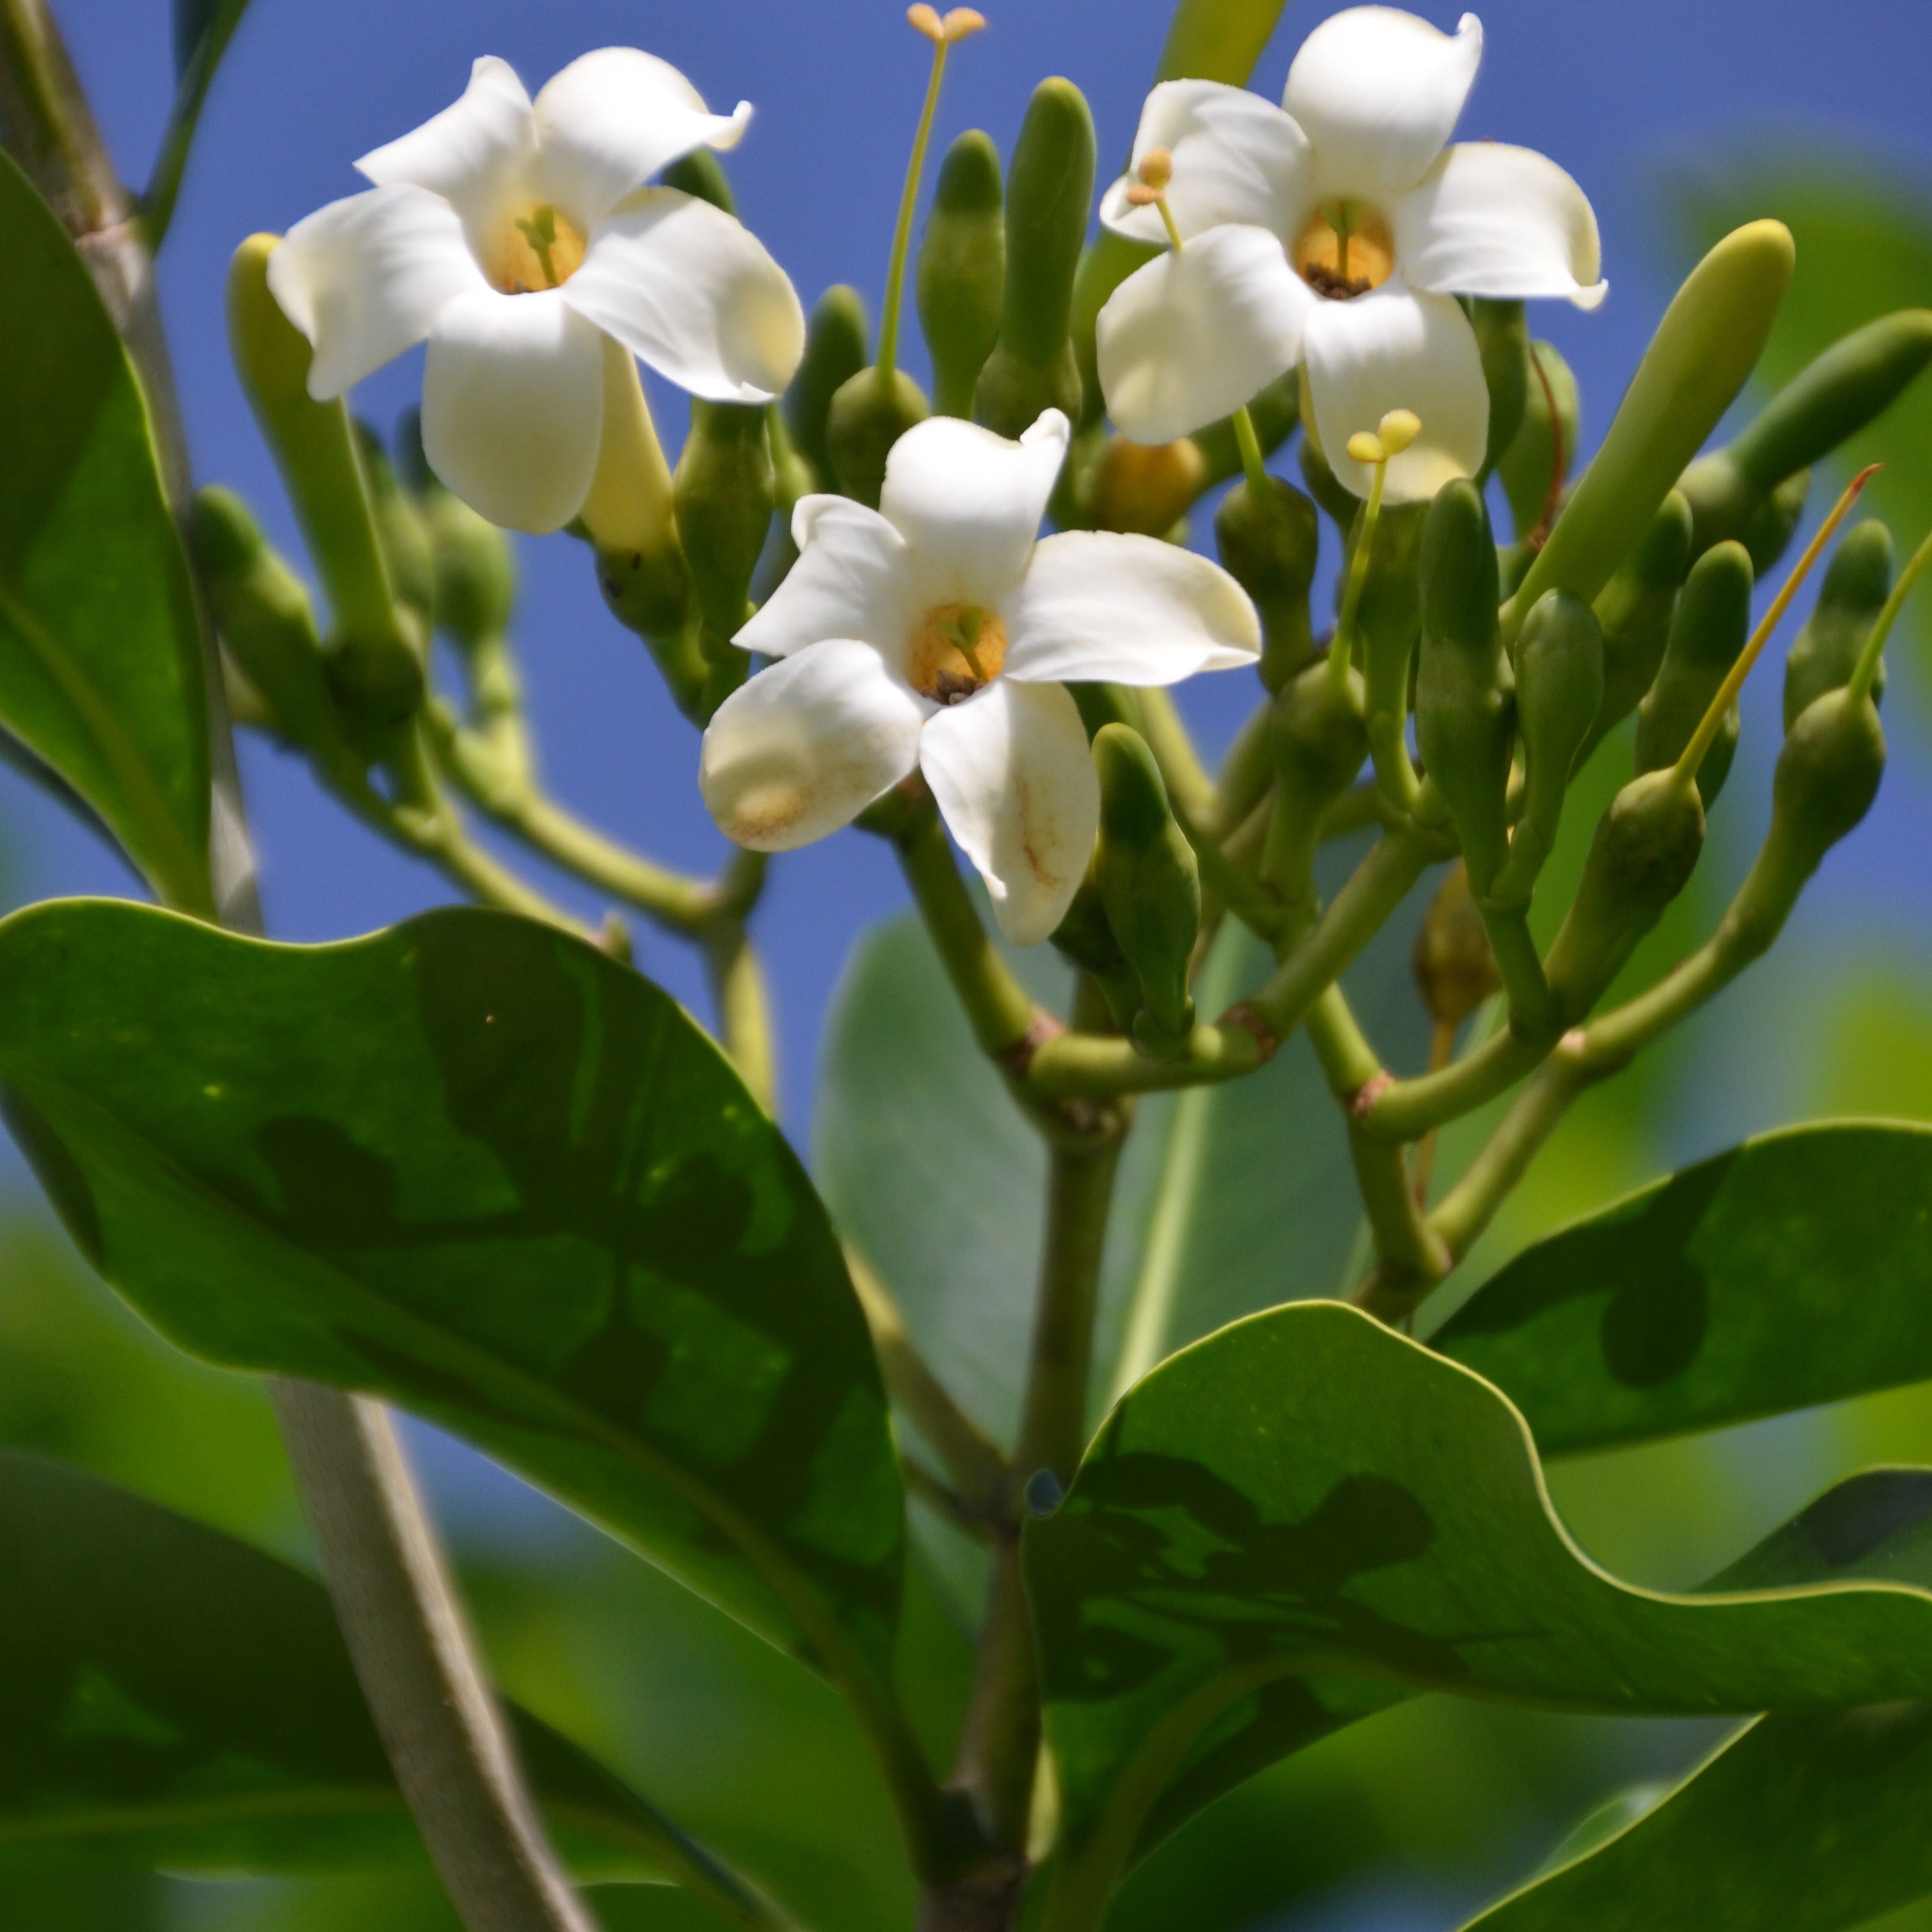
Puakenikeni is a slow bloomer and typically does not produce its first cream-yellow lei flowers until year two, three, or even four after planting. Too much shade, too much nitrogen-heavy fertilizer, and not enough heat are the three things that delay flowering further. Move the tree into a sunnier spot at the next planting window if it sits in deep shade, and switch any feeding to a balanced or bloom-formula fertilizer rather than a high-nitrogen lawn product.
About This Article
