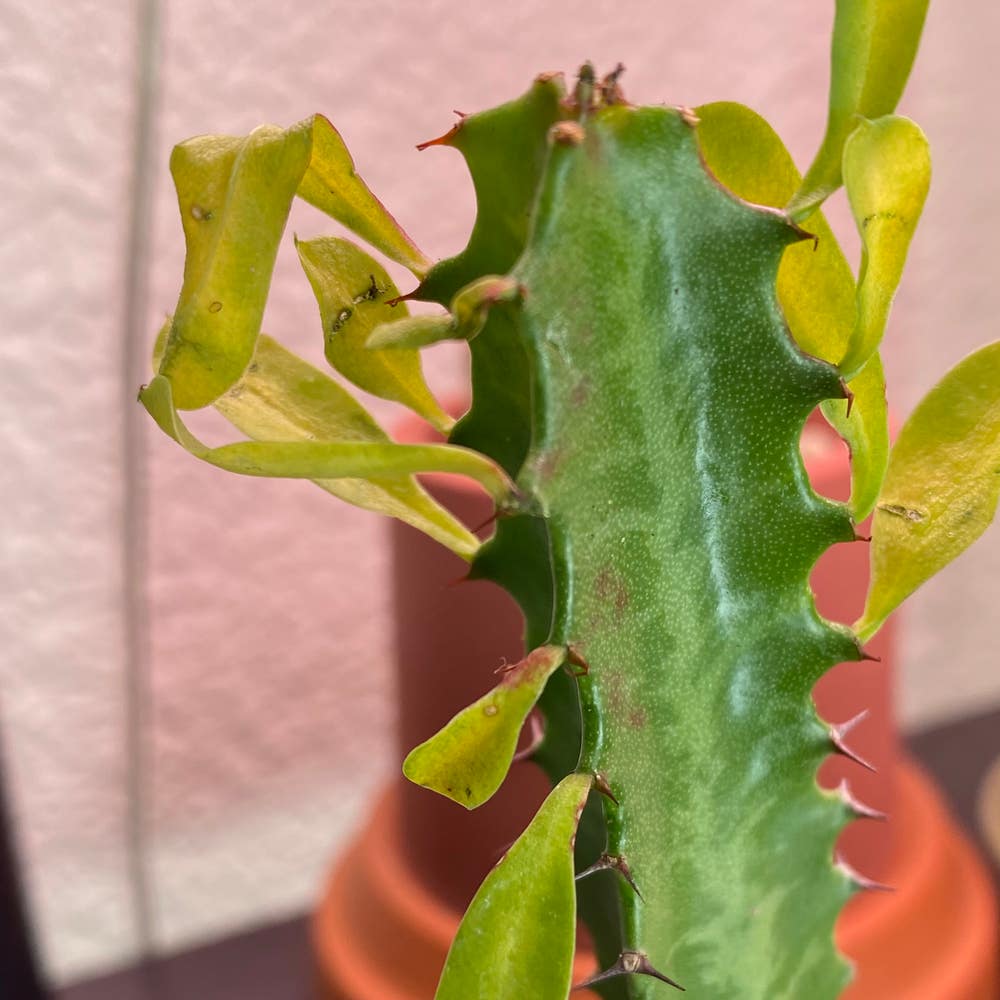
10 Tips for How to Plant Your Gottlebe's Spurge 🥄
Euphorbia gottlebei
By the Greg Editorial Team
Sep 28, 2024•4 min read
This article was created with the help of AI so we can cover more plants for you. May contain errors. See one? Report it here.
Choose wisely between new or established Gottlebe's spurge 🌱 to ensure your garden thrives beautifully!
- 🌱 Choose between new or established plants for optimal gardening results.
- 🌞 Plant in spring or early fall for best root establishment.
- 💧 Water before transplanting to reduce shock and ensure healthy growth.
Planting New vs. Transplanting Established Spurge
Key Considerations 🌱
When deciding between planting new Gottlebe's spurge or transplanting established ones, cost is a significant factor. New plants are usually cheaper upfront but take longer to establish, while established plants require a higher investment but deliver quicker results.
Time to maturity is another crucial aspect. New plants may take 1-2 growing seasons to reach their full potential, whereas established plants mature much faster, allowing you to enjoy their beauty sooner.
Adaptability also plays a role in your decision. New plants often need time to acclimatize to their environment, while established plants are typically better suited to local conditions, making them a more reliable choice.
In summary, weigh the costs, maturity timelines, and adaptability of each option to determine the best approach for your gardening goals. This foundational understanding will set you up for success as you move forward with planting or transplanting your spurge.
Planting New Gottlebe's Spurge
🌱 Optimal Timing for Planting
The best time to plant your Gottlebe's Spurge is during spring or early fall. This timing allows the plants to establish roots before facing extreme weather conditions.
🪴 Selecting the Right Soil Mix and Containers
For optimal growth, use a well-draining soil mix with a pH between 6.0 and 7.5. If you're container gardening, choose pots that are at least 6-8 inches deep and have drainage holes to prevent waterlogging.
📏 Proper Depth and Spacing for Planting
When planting, ensure the depth is around 2-3 inches. Space your plants 12-18 inches apart to promote healthy growth and airflow.
☀️ Maintaining Ideal Growing Conditions
Gottlebe's Spurge thrives in full sun, requiring 6-8 hours of sunlight daily. After planting, water thoroughly and then allow the soil to dry out between waterings to prevent root rot.
🌳 Hardening Off Process
To help your new plants acclimate, follow these steps over 7-10 days:
- Gradually expose them to outdoor conditions.
- Start with a few hours of sunlight, increasing exposure each day.
- Keep an eye out for signs of stress and adjust their exposure accordingly.
This process is crucial for ensuring your plants thrive in their new environment.
With these tips, you’ll set your Gottlebe's Spurge up for success. Next, let’s explore how to transplant established spurge for optimal growth.
Transplanting Established Gottlebe's Spurge
🌱 Optimal Timing for Transplanting
The best time to transplant your Gottlebe's Spurge is during early spring or fall. This timing helps you avoid extreme weather conditions that can stress the plant.
🛠️ Step-by-Step Instructions for Transplanting
Prepare the New Planting Site: Ensure the area has well-drained soil and receives full sun exposure.
Water the Established Plant: A day before transplanting, give the plant a good drink to hydrate it.
Dig Around the Root Zone: Carefully dig around the roots, keeping the soil intact to minimize shock.
Lift and Place the Plant: Gently lift the plant and place it in the new location at the same depth it was previously growing.
💧 Watering, Mulching, and Support Tips
Immediately after transplanting, water the plant to help settle the soil around the roots.
Applying a layer of mulch, about 2-3 inches thick, will help retain moisture and suppress weeds.
If you're in a windy area, consider using stakes or supports to keep your spurge upright and stable.
Transplanting can be a rewarding experience, ensuring your Gottlebe's Spurge thrives in its new home. Next, let’s explore how to troubleshoot common issues that may arise during this process.
Troubleshooting Common Issues
🌱 Identifying and Addressing Transplant Shock
Transplant shock can be a frustrating experience for gardeners. Symptoms often include wilting, yellowing leaves, and stunted growth.
To combat these issues, ensure proper watering. Avoid over-fertilization, as this can exacerbate stress. Regularly monitor for pests and diseases, as they can hinder recovery.
🌿 General Care Tips for Recovery
Maintaining consistent moisture is crucial, but be careful not to waterlog the soil.
During extreme heat, providing shade can significantly reduce stress on your plants. This simple step can make a world of difference in their recovery.
By addressing these common issues, you can help your Gottlebe's Spurge thrive after transplanting. With the right care, your plants will bounce back and flourish in their new environment.
⚠️ Safety First
This content is for general information and may contain errors, omissions, or outdated details. It is not medical, veterinary advice, or an endorsement of therapeutic claims.
Always consult a qualified healthcare professional before using any plant as food, medicine, or supplement.
Never eat any plant (or feed one to pets) without confirming its identity with at least two trusted sources.
If you suspect poisoning, call Poison Control (800) 222-1222, the Pet Poison Helpline (800) 213-6680, or your local emergency service immediately.
Spotted an error? Please report it here.
Plant your Gottlebe's Spurge with confidence 🌱 by using Greg's tailored watering reminders and expert tips to help your garden flourish!