Propagating My Variegated Monstera: Step-by-Step Guide
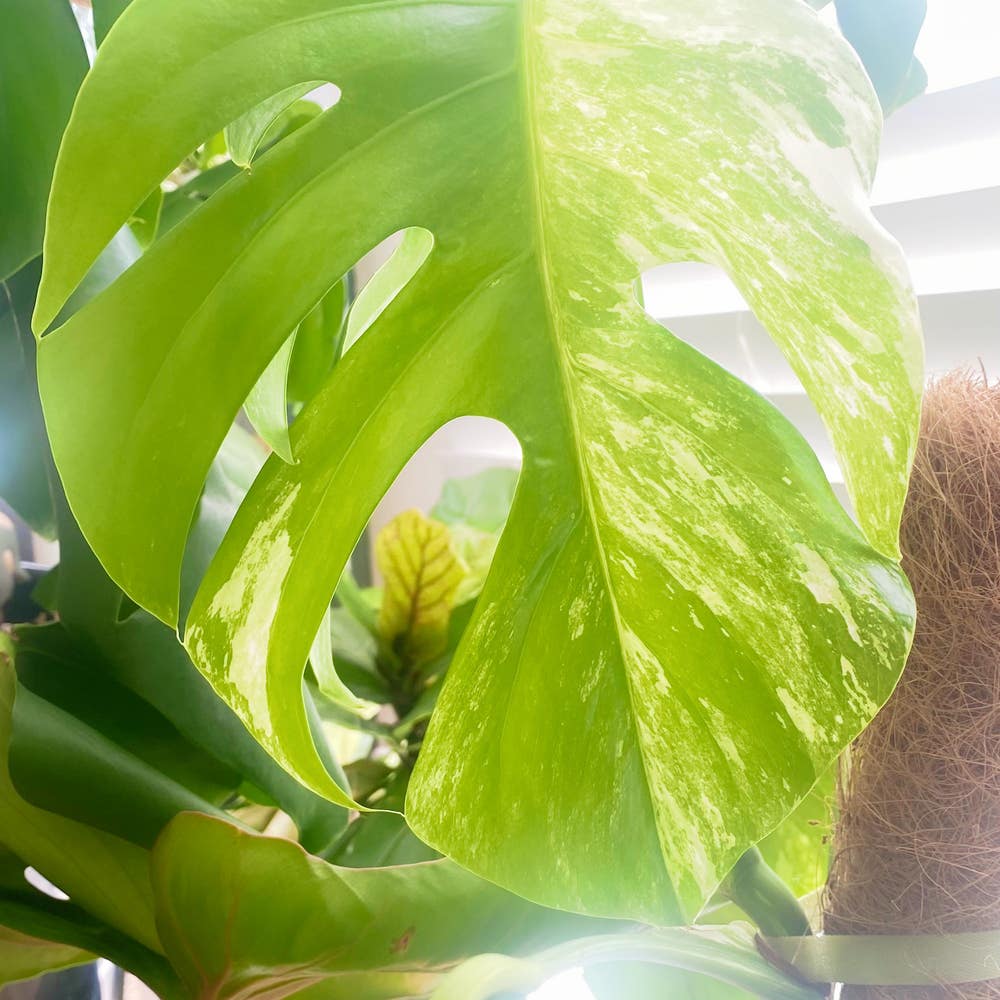
Monstera deliciosa var. borsigiana 'Albo Variegata'
By the Greg Editorial Team
Jun 18, 2024•4 min read
This article was created with the help of AI so we can cover more plants for you. May contain errors. See one? Report it here.
Propagate your unique Variegated Monstera 🌱 and watch your indoor jungle thrive with our expert guide!
- Choose healthy roots or nodes: White aerial roots, vibrant green nodes.
- Patience and care are key: Monitor moisture, light, and use rooting hormone optionally.
- Transition carefully to soil: Use well-draining mix, monitor growth, and prune as needed.
Aerial Root Propagation: Let's Get Airborne!
🌱 Choosing the Right Aerial Root
In the quest for aerial root propagation, your Monstera's health is paramount. Look for robust aerial roots—they should be firm and white, signaling readiness for a new life.
🌿 The Propagation Process
Snip with confidence; choose an aerial root close to a node. Ensure your cutting includes a segment of stem and at least one leaf to sustain growth. Rooting hormone? Optional, but it's like a pep talk for your cutting. Place in moist soil, and maintain a balance—moist, not drenched.
🌱 Overcoming Aerial Root Propagation Challenges
Overwatering is the root of all evil here—keep it moist, not a swamp. Stagnant growth? It's a sign—perhaps more light or a slight tweak in temperature. Ventilation is key; a gentle breeze can prevent a myriad of fungal woes. Remember, patience is not just a virtue, it's a necessity.

Node Cutting Propagation: Making the Cut
🍀 Spotting the Perfect Node
Identifying the ideal node is like finding a four-leaf clover; it's a sign of good fortune in propagation. Look for a section on the stem where a leaf attaches, which is the node. Vibrant green nodes are your targets, as they indicate health and potential for growth.
✂️ Cutting and Planting with Care
Sharp tools are non-negotiable. Sterilize your shears or knife to prevent introducing pathogens. Make your cut just below a node at a 45-degree angle, which increases the surface area for roots to develop. Remove any lower leaves to prevent rot and dip the cut end into rooting hormone to give it a head start. Plant the cutting in moist soil, ensuring at least one node is buried.
🚧 Navigating Node Propagation Hurdles
Patience is your ally when dealing with slow growth. If you notice rot on the stem or node, it's a red flag—act swiftly by cutting away the affected parts. Ensure your cutting has ample light and warmth, but avoid direct sunlight that can scorch it. Remember, rooting takes time, so resist the urge to tug on your cutting to check for roots.

Water Propagation: Dive into Rooting
💦 Preparing Your Cuttings for a Swim
Before you let your Monstera cuttings take the plunge, sanitize your tools. A clean cut is crucial; use sharp scissors or a knife. Snip just below a node—this is where the magic happens. Submerge the node in room temperature water in a transparent vessel. This setup isn't just for aesthetics; it lets you spy on those shy roots as they develop.
🚰 Water Quality and Change Schedule
Your cuttings are picky bathers. The water should be as pristine as a mountain spring. Okay, tap water will do, but let it sit overnight to off-gas any chlorine. Change the water every 3-5 days to prevent a slimy situation. If you notice a film on the roots, give them a gentle rub during the water swap. It's like a mini spa day for your plant.
🛠 Troubleshooting Water Propagation Woes
No roots yet? Keep calm and carry on. Sometimes roots are more of a slow burn than a fireworks show. If your cutting looks healthy, it's probably just taking its sweet time. Ensure the water is clean and the cutting isn't in a spot that's too cold or drafty. If you've ticked all the boxes and still no luck, consider a rooting hormone. But remember, it's not a miracle cure—more like a gentle nudge.

Post-Propagation Care: From Water to Soil
🌱 Potting Your New Plant Babies
After your variegated Monstera cuttings have sprouted roots, it's time to transition them to soil. Choose a pot with drainage holes to prevent waterlogging. Line the bottom with a coffee filter or newspaper to keep the soil from escaping. Gently place the cutting in the pot, ensuring it's not too deep. Fill around the roots with a well-draining potting mix, lightly tamping down to remove air pockets. Water immediately to settle the roots into their new home, aiming for a soil consistency like a well-wrung sponge.
Growth Monitoring and Adjustments
Keep a close eye on your new Monsteras as they adjust. Signs of transplant shock, like yellowing leaves, call for consistent soil moisture and possibly pruning to focus energy on root development. Ensure they receive bright, indirect light; direct sun is a no-go for these tender plants. Water when the top inch of soil feels dry, and resist fertilizing for the first few weeks. As your plants grow, prune as needed to encourage a bushy, healthy appearance. Remember, each plant is an individual—adjust care based on its unique responses.
⚠️ Safety First
This content is for general information and may contain errors, omissions, or outdated details. It is not medical, veterinary advice, or an endorsement of therapeutic claims.
Always consult a qualified healthcare professional before using any plant as food, medicine, or supplement.
Never eat any plant (or feed one to pets) without confirming its identity with at least two trusted sources.
If you suspect poisoning, call Poison Control (800) 222-1222, the Pet Poison Helpline (800) 213-6680, or your local emergency service immediately.
Spotted an error? Please report it here.
Turn your Monstera propagation into a success story 🌟 with Greg's tailored reminders and community insights that nurture every cutting's potential.