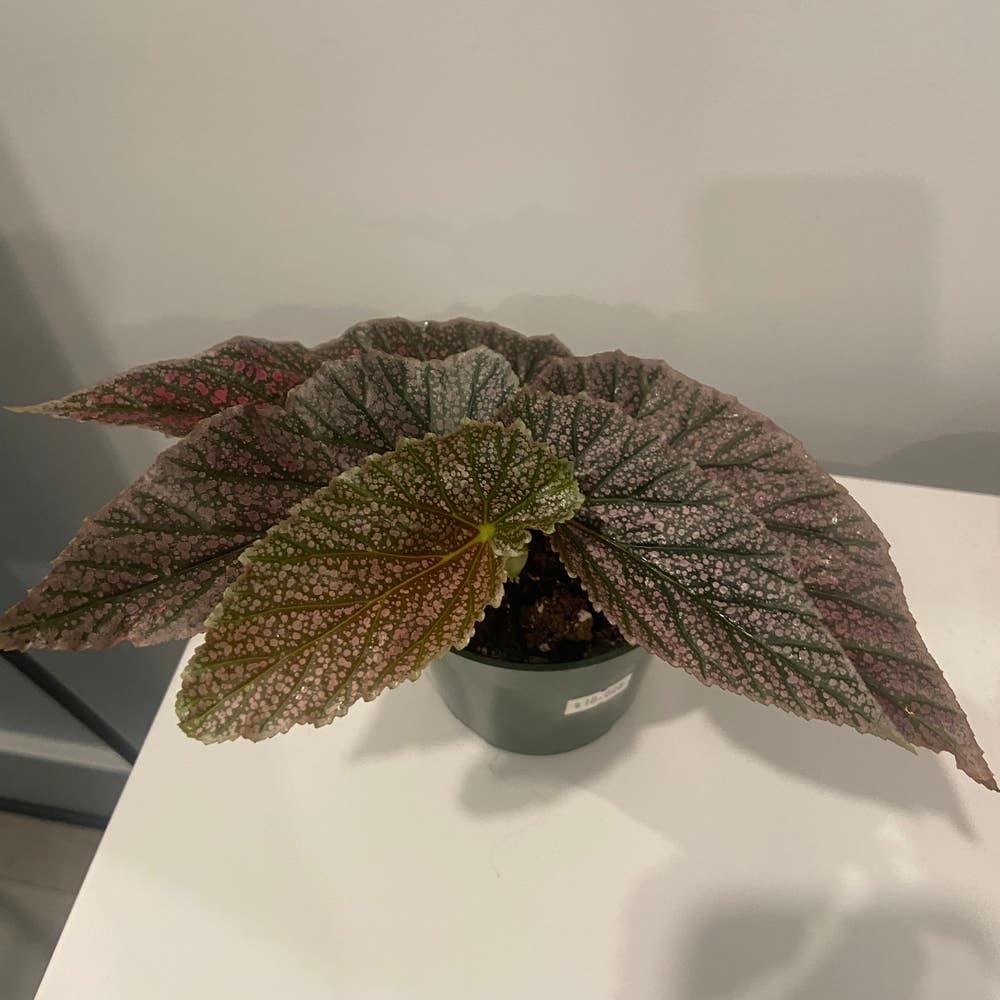
Propagating Your Hardy Begonia: Step-by-Step Guide
Begonia grandis
By the Greg Editorial Team
Apr 02, 2024•5 min read
This article was created with the help of AI so we can cover more plants for you. May contain errors. See one? Report it here.
- 🌱 Early spring or fall best for division; early spring/summer for stem cuttings.
- 💧 Water before dividing, and keep cuttings humid for root growth.
- 🌡️ 65-75°F and consistent humidity needed for new Begonias; transplant after a month.
Choosing Your Propagation Adventure
🌱 Division: Multiplying Your Begonias
Timing is crucial when dividing your Hardy Begonias. Early spring or fall are the best times, as the plant is either emerging from or preparing for dormancy. Overcrowding or roots escaping the confines of their pot are your cues to get dividing.
The Division Dance
- Hydrate your Begonia to make the soil more cooperative.
- Gently dig around the plant, avoiding damage to the central rootball.
- Lay the plant on its side and tease apart the rootball into sections, each with a mix of roots and shoots.
- If necessary, use a clean, sharp tool to help divide.
- Replant the divisions at the same depth they were growing before, in well-draining soil.
- Water the new plants to settle the soil without overdoing it.
🌿 Stem Cuttings: Cloning Your Favorites
For stem cuttings, early spring or summer is your window. This is when your Begonias are in active growth mode, making them more likely to root successfully.
Snip and Dip
- Select a healthy stem, ideally with aerial roots, and cut a 4-6 inch section with a clean, sharp instrument just above a node.
- Remove the lower leaves to expose the nodes, as these will be your rooting sites.
Rooting for Success
- Place the cutting in a humid environment with plenty of indirect light.
- Keep the soil consistently moist but not soggy to encourage root growth.
- Patience is key—roots can take a few weeks to develop.
Remember, propagation is as much an art as it is a science. Keep a close eye on your Begonia babies and adjust care as needed.
After the Cut: Caring for Your Begonia Babies
🌡️ The First Few Weeks
🌡️ Temperature and Humidity
Begonia babies need a steady climate. Aim for a cozy 65-75°F (18-24°C)—no sudden temperature drops or spikes. They're not fans of the unexpected. Humidity is their comfort blanket; keep it consistent, but don't drown them in moisture. Think comfortable, not a tropical storm.
💧 Watering
Watering is a balancing act. Let the top inch of soil dry before going in with the watering can. Overwatering is the fast track to root rot, and under-watering will leave your begonias thirsty. It's like walking a tightrope—focus and precision are key.
🌱 Transitioning to Independence
🕰 When to Transplant
After about a month, your begonias will show signs of new roots. That's your cue. They're ready to move out of the nursery and into their own space. But don't rush—transplanting is a delicate process.
🏡 The Transplanting Process
Choose a pot that's like a cozy studio apartment—enough room to grow, but not too spacious. Ensure it has drainage holes; begonias hate wet feet. When transplanting, handle with care. You're not just moving a plant; you're setting the stage for its future.
Oops, Did Something Go Wrong?
🌱 Common Propagation Pitfalls
🍂 Droopy Leaves and Other Sad Signs
Droopy leaves are the white flags of your Begonia, signaling distress. This isn't just a case of underwhelming aesthetics; it's a cry for help. Root rot or dehydration could be the culprits. Check the soil moisture—your Begonia isn't a fan of wet feet. If the soil feels more like a swamp than a moist sponge, you've probably overdone it with the watering can.
🦠 Root Rot and Pests: Keeping Your Baby Begonias Safe
Root rot is like the silent assassin of the plant world, often going unnoticed until it's too late. If your Begonia's roots look like they've been through a horror movie, it's time for some triage. Trim away the mush, let the healthy roots dry, and repot in well-draining soil. Pests, on the other hand, are the party crashers. They show up uninvited and wreak havoc. Keep an eye out for these tiny troublemakers and show them the door with insecticidal soap or neem oil. Remember, good air circulation and avoiding soggy conditions are your best defenses.
The Waiting Game: What to Expect After Propagation
🌱 Division and Stem Cuttings Timeline
After you've divided or snipped your begonias, it's time for the patience game. Here's what to expect.
Week 1-3: The Silent Hustle
In the first few weeks, don't expect a Broadway show above the soil. Roots are forming their network underground, and it's a stealth operation.
Week 4-8: The First Hello
By the end of the first month or two, you might spot the first signs of growth. It's like the plant's way of saying, "I'm alive, and I've got this."
Month 2-6: The Growth Spurt
If you've played your cards right, your begonias will start to show more vigorous growth. This is the stretch where they really start to come into their own.
Beyond 6 Months: The Slow Burn
For some, the real growth kicks in after half a year. It's a slow burn, but the payoff is a fuller, more mature plant.
Remember, these timelines are ballpark figures. Factors like light, temperature, and the health of the parent plant can speed up or slow down the process. Keep a watchful eye, but avoid hovering. Your begonias need room to breathe and grow at their own pace.
⚠️ Safety First
This content is for general information and may contain errors, omissions, or outdated details. It is not medical, veterinary advice, or an endorsement of therapeutic claims.
Always consult a qualified healthcare professional before using any plant as food, medicine, or supplement.
Never eat any plant (or feed one to pets) without confirming its identity with at least two trusted sources.
If you suspect poisoning, call Poison Control (800) 222-1222, the Pet Poison Helpline (800) 213-6680, or your local emergency service immediately.
Spotted an error? Please report it here.
Propagate your Hardy Begonia with ease 🌿 - let Greg track the perfect timing and provide the right care insights from this guide, so you can watch your cuttings flourish at their own pace.