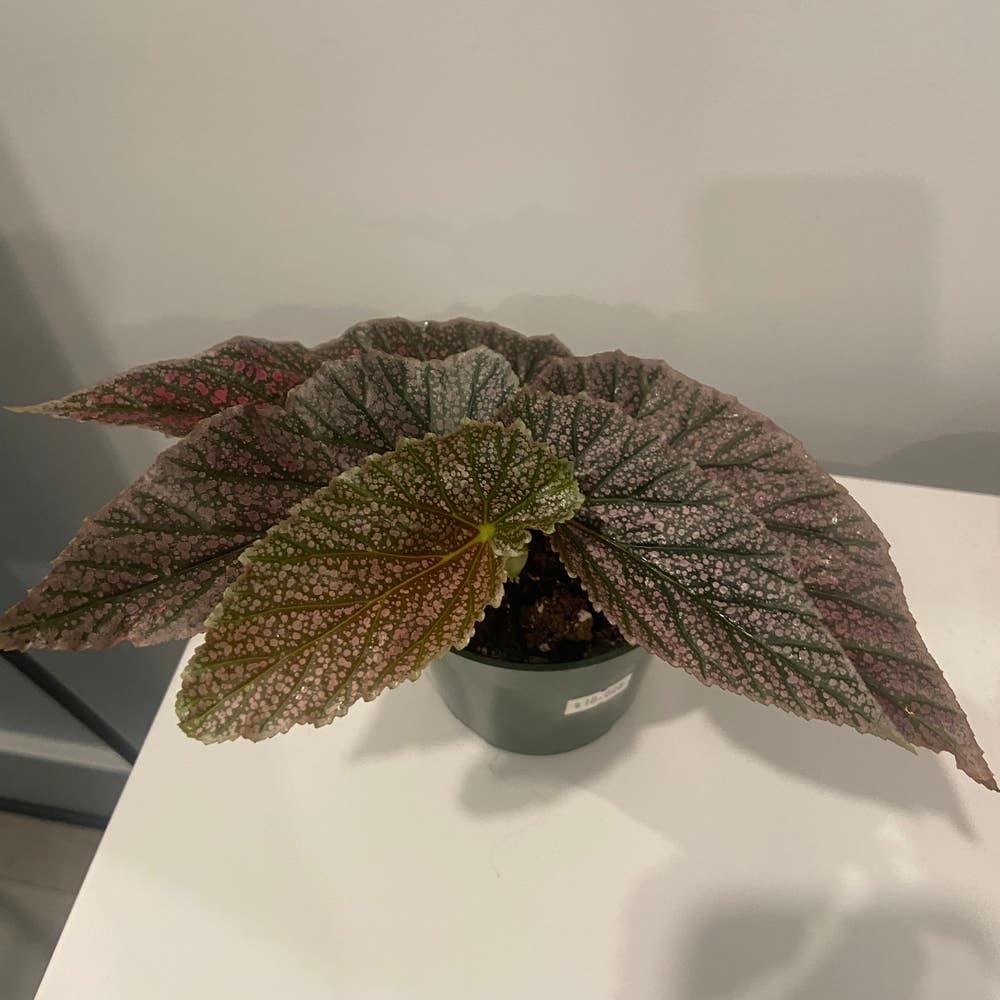
How Do I Propagate My Begonia socotrana x tuberhybrida?
Begonia socotrana x tuberhybrida
By the Greg Editorial Team
Mar 08, 2024•4 min read
This article was created with the help of AI so we can cover more plants for you. May contain errors. See one? Report it here.
Thrive in propagating the unique Begonia socotrana x tuberhybrida with our step-by-step guide for every cutting type! 🌿✂️
- 🌱 Choose healthy leaves and stems for successful leaf and stem cuttings.
- 🌞💧 Provide the right conditions: indirect light, warmth, and moist soil.
- 🕰️ Patience is essential; roots take time to develop in propagation.
Propagating with Leaf Cuttings
🍃 Choosing the Right Leaves
To kickstart propagation, select leaves that are the picture of health: robust, unblemished, and full of life. Ensure they're free from pests and diseases, as these are the building blocks for new growth.
✂️ Preparing and Planting Leaf Cuttings
Cutting should be done with sterilized scissors or a knife to avoid infection. Snip near the base, and let the cutting callus for a day or two to prevent rot.
Planting is next. Lay the callused cutting on well-draining soil, callus side down. Don't bury it; think of it as laying an egg in a nest.
🌱 Aftercare for Leaf Cuttings
Watering should be minimal at first—treat it like a rare vintage wine, sparingly poured.
Light and temperature are crucial. Provide bright, indirect sunlight and maintain a warm environment, ideally between 75° to 80°F. This cozy setup encourages rooting without scorching your plant baby.
Stem Cuttings: Another Path to New Plants
🌱 Selecting and Preparing Stems
To kick-start your propagation, choose stems that are vigorous and disease-free. Opt for non-flowering stems, as they channel more energy into root development. Cut below a leaf node—this is where roots will emerge. Use sharp, sterilized scissors or pruners to avoid damaging the plant tissue. Remove the lower leaves to prevent rot, but keep a few at the top to sustain photosynthesis.
🌱 Planting and Caring for Stem Cuttings
Rooting hormone isn't mandatory, but it's a game-changer for boosting root growth. Stick the cut end into a well-balanced mix of perlite, vermiculite, or a sand-soil concoction. This ensures the right mix of moisture and aeration.
Humidity is your new best friend; aim for the high end to keep cuttings from drying out. A plastic bag or dome can help, but don't seal it shut—cuttings appreciate a little fresh air. No direct sunlight; instead, provide bright, indirect light to encourage growth without scorching your baby begonias.
Once roots show up, it's time for a gentle move to soil that drains well. Remember, these cuttings are mini versions of their parent—treat them to the same balance of light, air, water, and nutrients. Patience is key; roots take time to develop, but the reward is a brand-new begonia.
Division: Multiplying Your Begonias
🌱 When and How to Divide
Spring is showtime for dividing your Begonia socotrana x tuberhybrida. As the plant shakes off winter dormancy, it's primed for a split. Early spring is your golden window, just as new growth peeks out. Here's the lowdown:
- Gently unpot your begonia, shaking off excess soil to reveal the root structure.
- Identify natural divisions or clumps with at least one growth point each.
- With a clean, sharp knife, slice through the roots to separate the sections.
- Ensure each new plant has a healthy chunk of roots to call its own.
🏥 Post-Division Care
Post-op care is crucial. Your begonias are now in the ICU of your plant ward. Moist soil is their lifeline, but don't drown them – root rot is a silent killer.
- Bright, indirect light is the sweet spot for these recovering green patients.
- Hold off on the fertilizer; it's like feeding steak to a baby. Wait for the first signs of growth.
- If you've got a helicopter parent streak, resist the urge to fuss. Let the soil's surface dry slightly between waterings.
Remember, patience is not just a virtue; it's a necessity in the plant propagation game.
Rhizome Division: A Step-by-Step Guide
🌱 Dividing Rhizomes Properly
Rhizome division is like a plant's version of moving out—independence is key. Each section needs at least one shoot and a healthy root system to thrive.
🛠 Preparation
Sterilize your tools; think of it as pre-surgery for plants. A sharp knife or scissors will do the trick.
Step 1: Unpotting
Gently remove the Begonia from its pot. If it's stubborn, a little encouragement goes a long way.
Step 2: Rhizome Inspection
Examine the rhizome network. Look for vigorous sections, those with a healthy fan of leaves and a robust root system.
Step 3: The Cut
With precision, slice through the rhizome. Ensure each piece has its own starter kit—a shoot and roots.
🌿 Ensuring Successful Rhizome Propagation
After division, it's all about the right environment.
Planting
Plant each section at the same depth it was growing. Choose a well-draining medium to avoid soggy situations.
Aftercare
Keep the soil moist, but not waterlogged. Bright, indirect light is your friend here.
Humidity
Create a humid microclimate to help your new divisions settle. This can be as simple as a plastic bag tent.
Patience
Finally, give it time. Watch for signs of new growth, which means you've nailed it.
⚠️ Safety First
This content is for general information and may contain errors, omissions, or outdated details. It is not medical, veterinary advice, or an endorsement of therapeutic claims.
Always consult a qualified healthcare professional before using any plant as food, medicine, or supplement.
Never eat any plant (or feed one to pets) without confirming its identity with at least two trusted sources.
If you suspect poisoning, call Poison Control (800) 222-1222, the Pet Poison Helpline (800) 213-6680, or your local emergency service immediately.
Spotted an error? Please report it here.
Embrace the art of patience and watch your Begonia cuttings flourish with Greg's 🌱 tailored care reminders, ensuring your propagation journey is as rewarding as it is successful.