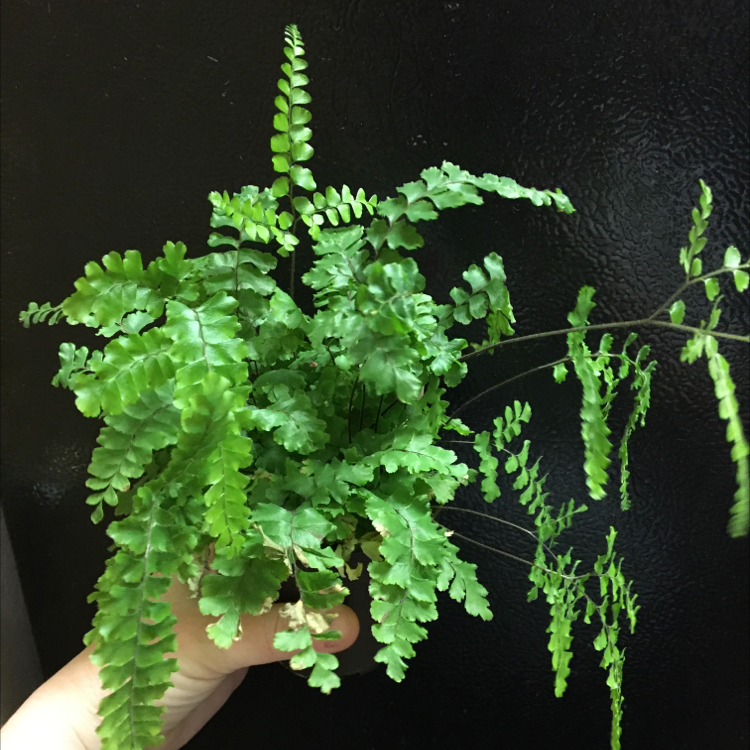
When to Repot a Boston Fern
Boston Ferns want a fresh pot every one to two years. Move into a container one to two inches wider than the current one in spring, and use a moisture-retaining blend of two parts houseplant mix to one part peat moss or coconut coir with a handful of perlite.
How to Know It's Time to Repot
Every Boston Fern is a little different, so the one-to-two-year cadence is a starting point rather than a strict rule. This is a fast grower with thirsty roots that fill a pot quickly, and the plant itself gives you a few clear signals when it's running out of room.
-
1Roots are visible at the drainage holes or have started lifting the plant out of the pot.
-
2The plant has roughly doubled in size since the last time it was potted up.
-
3Soil dries out within a day of watering, and the fronds wilt between drinks.
-
4Brown crispy fronds appear more often than usual, and new growth has slowed to a crawl.
Acting on even one or two of these signs is usually enough to know it's time. A vigorous Boston Fern in a humid spot can outgrow its pot within a single growing season, so it's worth checking the roots each spring even when nothing looks obviously off. Constant leaflet shedding is normal for Boston Fern and not a sign on its own.
The Best Time of Year to Repot
Spring through early summer is the sweet spot for repotting Boston Fern, since longer days and warmer indoor temperatures help the plant push out fresh fronds while it recovers from the disturbance. Try to avoid the depths of winter, when growth slows almost to a stop and recovery drags on for weeks. The exact window shifts a bit depending on your latitude, so use the map below to find yours.

How to Choose a Pot and Soil Mix
Pot Size
Move up by one to two inches in diameter, no more than that. Boston Fern has a dense fibrous root system that fills space quickly, but a much larger pot holds too much wet soil around small roots and quickly leads to rot. A 6-inch pot suits a young fern nicely, while a 10 to 12-inch pot fits a mature plant for two seasons. Hanging baskets of the same diameter work beautifully too, since they let the cascading fronds spill over the edges the way the plant naturally wants to grow.
Pot Material
Plastic and glazed ceramic both work well for Boston Fern because they hold moisture longer, which suits this thirsty plant nicely. Terracotta dries the soil too fast for a fern unless you can water twice a day in summer, so it's the least convenient option here. Whichever you pick, the pot needs drainage holes. Self-watering pots also tend to work better for Boston Fern than for most houseplants, as long as you let the reservoir empty fully between fills.
Soil Mix
A simple blend of two parts standard houseplant mix to one part peat moss or coconut coir, with a handful of perlite stirred in, hits the sweet spot for Boston Fern. The peat or coir keeps the moisture this plant craves, the perlite stops the roots from sitting in soggy soil, and the houseplant mix carries the nutrients. Skip dense garden soil and moisture-control formulas, since both compact within a few months and smother the fine roots.
How to Repot a Boston Fern, Step by Step
-
1Water the day before. Give the plant a thorough drink the day before you plan to repot. Moist soil releases the dense root ball cleanly as a single piece, instead of crumbling and tearing the fine roots that make up most of the plant's underground structure.
-
2Lay it on its side. Boston Ferns are top-heavy with cascading fronds, so working on the floor with the pot tipped sideways saves a lot of frond breakage. Gather the fronds gently to one side of your work surface, then squeeze or tap the pot to loosen the root ball.
-
3Ease the plant out. Slide the plant free by holding the base of the fronds where they meet the soil, working a butter knife around the inside rim if the roots have molded themselves to the pot. Never pull on individual fronds, since they snap right at the soil line and you'll lose the whole length.
-
4Inspect the runners. Boston Ferns send out wiry underground runners that produce baby plantlets, and you'll often see small rounded nodules along them. Leave the runners and nodules intact, since they're how the plant spreads. Trim only roots that are dark, mushy, or clearly dead.
-
5Divide if it's huge. A mature Boston Fern that has filled its pot can be split into two or three smaller plants. Cut straight through the root ball with a clean serrated knife, making sure each section has both fronds and a healthy chunk of roots. Skip this step if you want one fuller plant.
-
6Set, fill, water deeply. Add an inch or two of fresh mix to the bottom of the new pot, then settle the plant in so the soil line sits at the same level as before, with the crown of the plant right at the soil surface. Fill more mix around the roots, press gently to remove air pockets, and water until it drains through the holes.
What to Expect After Repotting
Week 1
Some yellowing fronds and a shower of dry leaflets are completely normal in the first week. Boston Fern is famously dramatic after any move, but the plant itself is busy rebuilding its root system rather than failing. Keep it in bright, indirect light, water deeply when the top inch of soil feels dry, and mist or set the pot on a pebble tray to raise the humidity around it.
Weeks 2 to 4
New fronds should start unfurling from the center of the crown, often coiled into small fiddleheads at first. Resume normal watering once the top inch of soil dries between sessions, and a balanced liquid fertilizer at quarter strength every two weeks supports the fast frond production Boston Ferns are known for. Snip any persistently brown fronds at the base to redirect the plant's energy into the fresh growth.
Got More Questions?
About This Article
