How to Grow a Japanese Eggplant
Plant Japanese Eggplant in full sun after nights stay above 60 F, space plants 18 to 24 inches apart, and water deeply twice a week. The slender fruit ripens 60 to 75 days from transplant and is best picked at 6 to 10 inches long while the skin still shines.
Container vs garden bed
Japanese Eggplant grows in either a sunny garden bed or a large container with equal success. The choice usually comes down to climate and space rather than yield. In cool-summer regions, a black pot on a hot patio outperforms a cool open bed.
Garden bed
A garden bed gives the roots more room to chase moisture and produces taller bushier plants. The slim fruit yields are heaviest from in-ground plants in long warm summers. Pick a bed that gets at least 8 hours of direct sun and has been amended with two to three inches of compost.
Crop rotation matters here. Do not plant Japanese Eggplant where any nightshade family member grew in the previous two years, since soil-borne wilts persist for that long.
Pot
A 5-gallon or larger container suits one plant for the season. Black or dark containers warm faster than light ones and produce earlier fruit in cool-summer regions. The container must drain freely from the bottom.
Container plants need water and feeding more often than in-ground ones. Plan to water daily in July heat and feed weekly with a half-strength liquid fertilizer.
Where to plant
Japanese Eggplant is a tender annual treated like tomato or pepper. It needs heat to set fruit and sulks in cool weather. Pick the warmest sunniest spot available, sheltered from cold winds.
Sun
Eight or more hours of direct sun produces the heaviest crop. Six hours is the practical minimum and yields a lighter harvest with smaller fruit.
A south-facing exposure with reflected warmth from a wall or paved patio adds heat that speeds fruit set in cooler regions.
Drainage
Well-drained soil is essential. The roots rot quickly in soggy conditions. Raised beds and large containers both excel here, since drainage is built in. Heavy clay yards benefit from a raised mound or extensive amendment with coarse compost.
Soil
Rich loamy soil with plenty of organic matter is what the plant wants. Work two to three inches of compost into the planting area before setting out the transplants. Slightly acidic soil is ideal.
Crop rotation
Do not plant Japanese Eggplant where any nightshade crop grew in the previous two years. Verticillium and Fusarium wilts persist in the soil and reduce vigor across the family. The clean rotation runs nightshades, then legumes, then leafy greens, then root crops over four years.
How to plant
Set out transplants two to three weeks after the last frost, once nights stay above 60 F and the soil has warmed to at least 65 F. Cold soil shocks the plant and delays the first fruit by weeks. Start seeds indoors 8 to 10 weeks before the planned transplant date.
-
1Harden off the transplants Move trays outdoors for a few hours in dappled shade on a mild day, then add an hour each day for a week. Skipping this step leads to sunburn and stalled growth after planting out.
-
2Dig the planting hole Twice as wide as the root ball and just as deep. The roots spread sideways close to the surface, so a wide hole helps establishment faster than a deep one.
-
3Set the transplant at the same depth Unlike tomato, eggplant does not benefit from deep planting. The crown belongs at the same level as it was in the nursery pot. Burying the stem invites stem rot.
-
4Backfill with native soil and a handful of compost Use the dug soil mixed with a few handfuls of compost. Press the soil down around the base with your palms to remove air pockets.
-
5Water in deeply Soak the root zone until the top six inches feel uniformly damp. This first watering settles the soil around the roots and starts the plant growing.
-
6Mulch and add a stake Spread 2 inches of straw or shredded leaves around the base, kept a few inches off the stem. Push a 3-foot stake into the ground a few inches from the stem now so the plant can be tied to it later without damaging the roots.
Watering and feeding
Watering
Water deeply twice a week through the growing season, soaking the root zone rather than splashing the foliage. Drip irrigation or a slow hose at the base prevents fungal leaf diseases.
Containers dry fast in summer heat and may need water daily in July. Consistent moisture during fruit set prevents the misshapen fruit and blossom-end rot that follow swings between dry and wet. Mulch helps even out soil moisture.
Feeding
Start with a balanced fertilizer every two weeks until the first flowers appear. Once flowers open, switch to a low-nitrogen vegetable fertilizer or one labeled for tomato. Too much nitrogen produces lush leaves at the expense of fruit.
Container plants need a half-strength liquid feed weekly to keep up with the limited soil volume. Yellow leaves between green veins call for a magnesium boost with a teaspoon of Epsom salt dissolved in a gallon of water and watered in around the base.
Pruning and support
Japanese Eggplant produces long slender fruit on a bushy plant that easily tips over under a heavy crop. The job is mostly tying the stems to a stake, removing the lowest leaves for airflow, and pinching the very first flowers off a young plant.
Staking and tying
Tie the main stem to the stake loosely with soft twine or a strip of cloth, adding new ties every 8 to 10 inches as the plant grows. The slender fruit weighs down the side branches and the plant tips without support. A small tomato cage works in place of a stake.
Lower leaf removal
Remove the lowest few leaves once the plant is a foot tall and the main stem has thickened. Lower leaves often touch the soil and pick up fungal spores. The opening improves airflow and reduces leaf-spot pressure.
Pinching the first flowers
Pinch off the very first one or two flowers that appear before the plant is at least 18 inches tall. The early flower drains the plant before it has the size to support fruit. After that, leave all flowers in place and the plant settles into its summer rhythm.
Harvest
Japanese Eggplant produces slender fruit 60 to 75 days from transplant. The fruit holds best on the plant for only a few days at peak quality, so check the plant every other day through the harvest window. A healthy plant produces 10 to 15 fruits over the season.
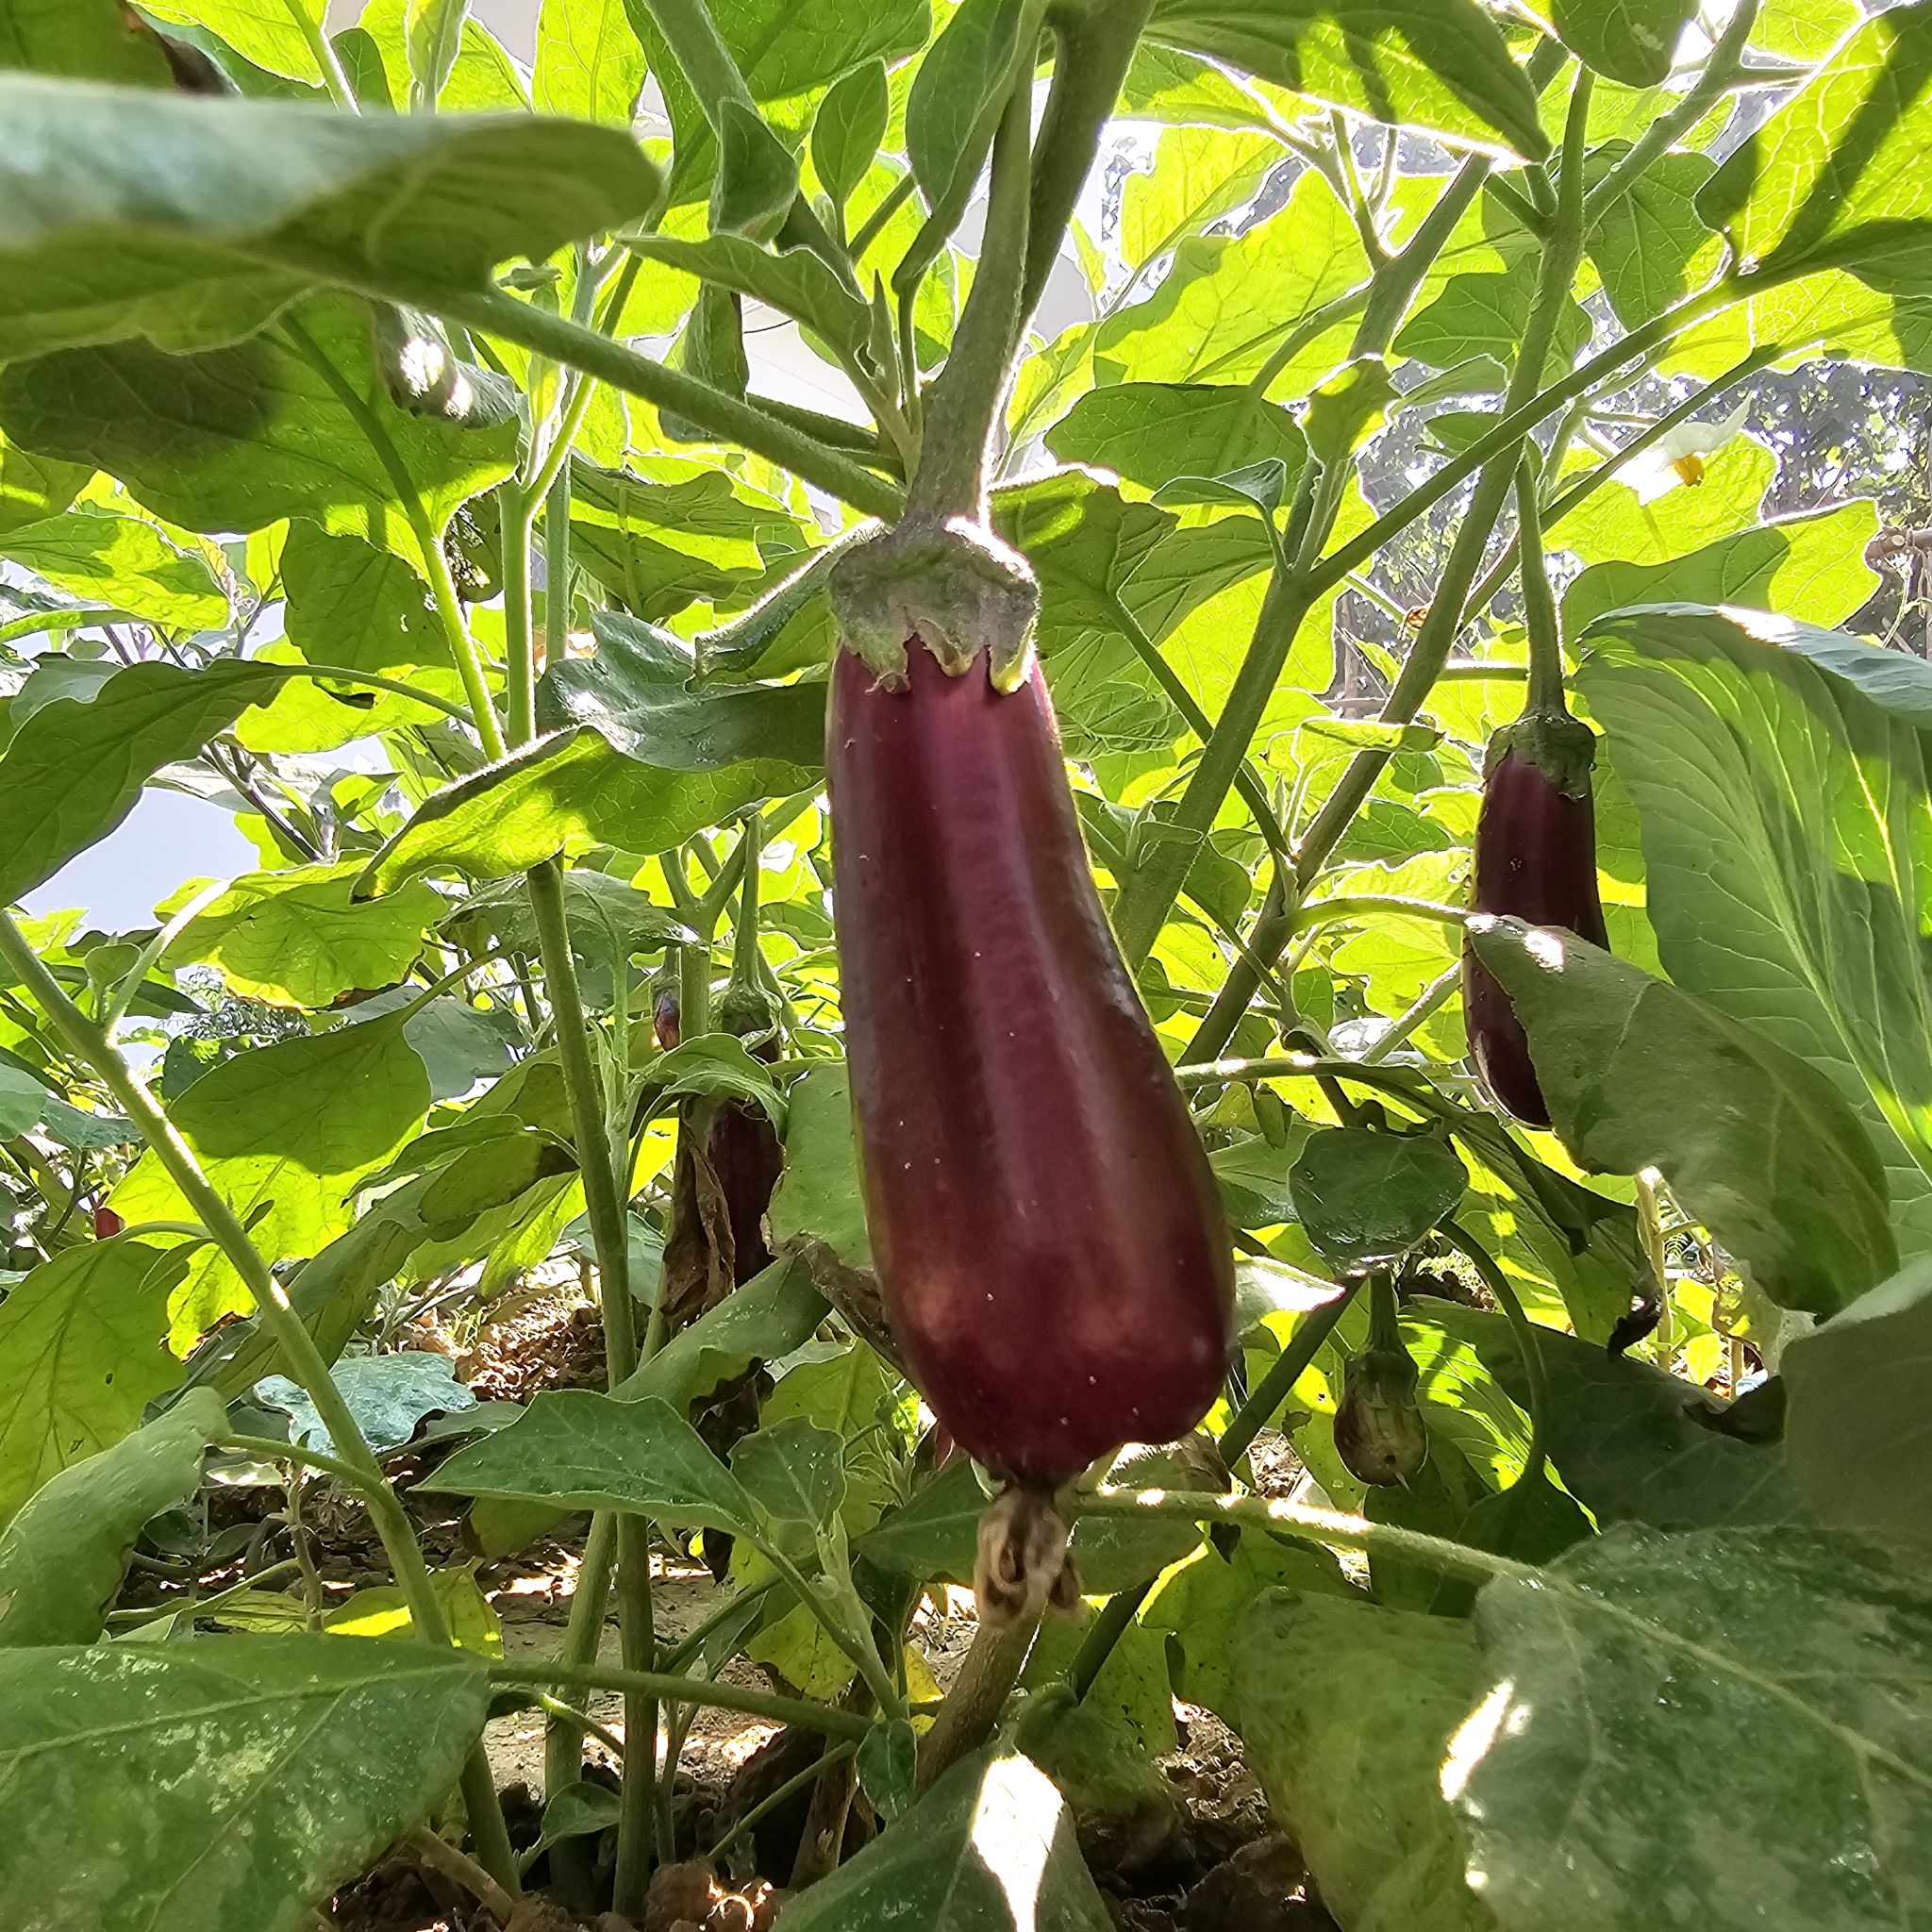
When it's ready
Pick the fruit at 6 to 10 inches long while the skin still shines and the flesh feels firm with light give when pressed. Dull skin and a softer feel signal an over-ripe fruit that has turned seedy and bitter.
The fruit can be picked smaller than 6 inches if the plant is loaded and you want to encourage more set. Smaller fruit is more tender but yields less per plant overall.
Picking and storing
Cut the stem with hand pruners about half an inch above the fruit. Pulling the fruit off tears the calyx and shortens storage life. The calyx and stem can be lightly prickly, so wear gloves if the variety is thorny.
Stored at cool room temperature, fresh fruit keeps for three to five days. Refrigeration extends that to a week but cold below 50 F causes pitting on the skin, so the crisper drawer is the right spot if storing cool.
End of season
Pinch off any newly forming flowers six weeks before the first expected frost so the plant puts its energy into ripening existing fruit. Harvest all reachable fruit before the first hard frost, since cold-damaged fruit turns mushy fast.
Common problems and pests
Most Japanese Eggplant troubles trace back to cool weather, inconsistent watering, or the family-specific pests that target nightshades.
No fruit despite flowers
Nighttime temperatures below 60 F or above 90 F prevent pollination. Once nights settle into the 65 to 80 F range, fruit sets reliably. A daily gentle tap on the stem during open-flower hours improves self-pollination in still-air gardens.
Tiny holes all over young leaves
Flea beetles, the family's signature pest. The tiny black or bronze beetles jump when disturbed and skeletonize new foliage. Cover young transplants with floating row cover until the plant is large enough to outgrow damage. A neem or spinosad spray helps heavy infestations but timing matters since the beetles hop fast.
Yellowing wilting plant
Verticillium or Fusarium wilt, soil-borne fungal diseases common in poorly rotated nightshade beds. Yellowing starts on one side of the plant and progresses upward. Once present, no spray helps. Pull infected plants and grow in a different bed for at least three years.
Brown spots with concentric rings on leaves
Early blight or a related fungal leaf spot, especially after a wet week. Remove infected leaves and discard. Improve airflow by removing lower leaves and avoid overhead watering. A copper fungicide every 7 to 10 days during humid weather helps in severe cases.
Curling distorted new growth
Aphids on the underside of new leaves, or thrips feeding inside the buds. Knock aphids off with a strong water spray and follow with insecticidal soap if needed. Thrips are harder to spot and respond to a spinosad spray on the new growth flush.
Black sunken end on the fruit
Blossom-end rot from uneven watering and calcium uptake issues. The fruit cannot draw calcium when soil moisture swings. Mulch the root zone two inches deep and water on a regular schedule. The next round of fruit usually comes in clean.
Spider mites on leaves
Fine pale stippling on the upper leaf surface from tiny mites on the underside. Hot dry weather brings them on fast. Shower the plant with a strong water spray every few days. Insecticidal soap helps heavy infestations. Misting around the plant raises local humidity and slows mite reproduction.
Whitefly clouds when leaves are brushed
Tiny white insects rise off the plant in a cloud when disturbed. The young larvae feed on the underside of leaves. Yellow sticky traps catch adults. Knock larvae off with a strong water spray every few days. Heavy infestations respond to insecticidal soap.
Misshapen pale fruit
Inconsistent watering or low temperatures during fruit development. The first fruit of the season often looks rough, with later fruit coming in more shapely as the weather warms and the plant settles in. Mulch the root zone and maintain steady moisture to even out development.
Hornworms stripping leaves overnight
Large green caterpillars with horns on the tail end strip leaves and chew on fruit. Hand-pick at dawn or dusk when they are most visible. A Bt spray applied while caterpillars are small kills them within a few days. Wasp larvae on the back of a hornworm are a good sign and call for leaving that hornworm alone.
About This Article
