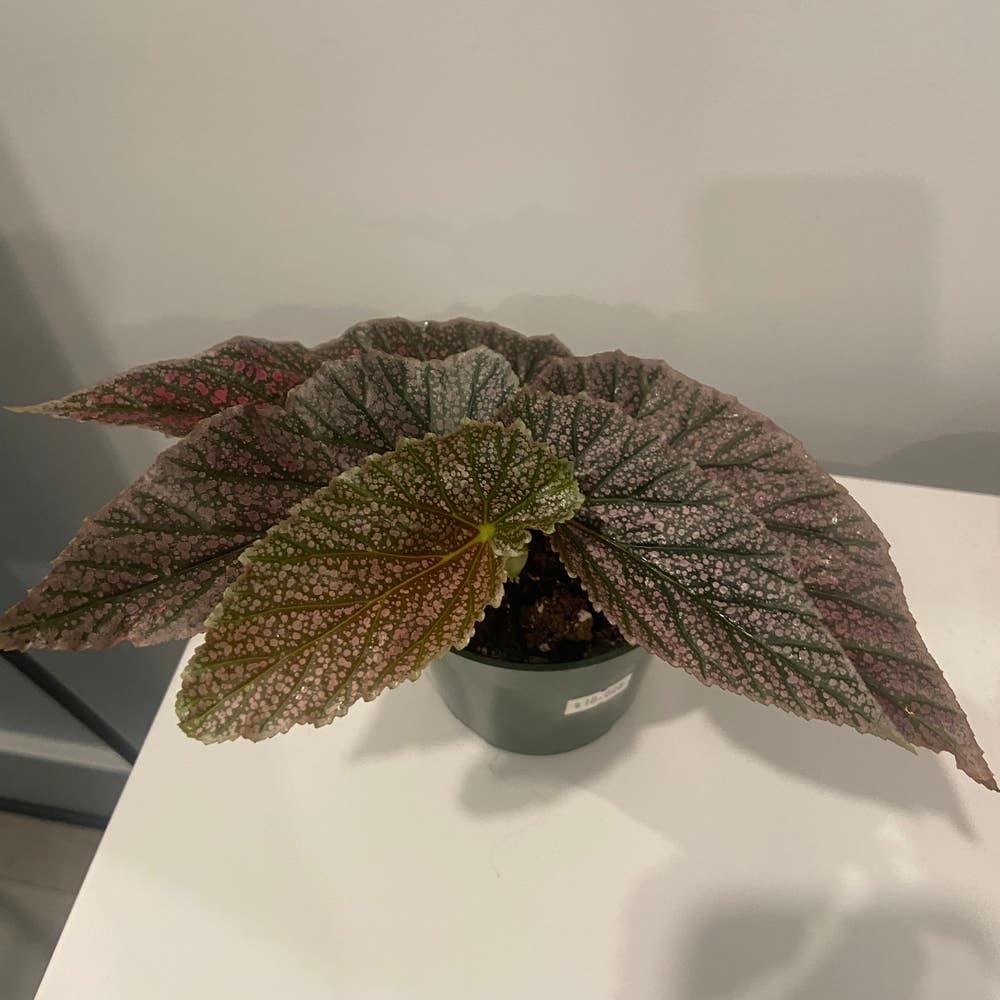
🐉 Ultimate Guide to Repotting Dragon Wing Begonia
Begonia 'Dragon Wing'
By the Greg Editorial Team
Oct 09, 2024•7 min read
This article was created with the help of AI so we can cover more plants for you. May contain errors. See one? Report it here.
- 🌱 Signs to repot include root-bound symptoms and stunted growth.
- 🌼 Best time to repot is spring or early summer for optimal growth.
- 🪴 Healthy roots should be white; dark roots indicate rot and need pruning.
Signs That Your Dragon Wing Begonia Needs Repotting
🌱 Physical Indicators
Recognizing when your Dragon Wing Begonia needs repotting is crucial for its health. One clear sign is root bound symptoms, where roots start growing out of drainage holes or circling the pot.
Another indicator is stunted growth. If you notice a lack of new leaves or flowers despite providing proper care, it’s time to assess the situation.
Additionally, pay attention to the soil condition. If it dries out too quickly or retains too much moisture, your plant may be signaling that it needs a new home.
⏰ Timing Considerations
Timing is everything when it comes to repotting. The best seasons for this task are spring or early summer, as the plant is actively growing during these times.
Also, keep an eye on growth patterns. Observing growth spurts or slowdowns can help you determine the right moment to repot your Dragon Wing Begonia.
With these signs in mind, you’ll be well-equipped to ensure your plant thrives. Next, let’s dive into how to assess root health before repotting.
How to Assess Root Health Before Repotting
Root Inspection 🌱
Before repotting your Dragon Wing Begonia, it's crucial to assess the health of its roots. Gently remove the plant from its pot, taking care not to damage the delicate roots.
Healthy roots should feel firm and display a white or light tan color. If you notice dark, mushy, or foul-smelling roots, these are signs of rot and need immediate attention.
Root Pruning ✂️
Once you've inspected the roots, it's time to prune if necessary. Trim away any dead or damaged roots to promote healthier growth.
For this task, use clean, sharp scissors or pruning shears. This simple step can make a significant difference in your plant's recovery and overall health.
With the roots assessed and pruned, you're ready to move on to choosing the right pot for your Dragon Wing Begonia.
Choosing the Right Pot
🌱 Best Materials for Pots
Ceramic Pots
Ceramic pots are not just pretty; they offer stability due to their weight. However, they can retain moisture and may crack in extreme temperatures, so keep that in mind.
Plastic Pots
Lightweight and affordable, plastic pots are a practical choice. They provide good drainage options but might not win any beauty contests and can heat up quickly in the sun.
Terracotta Pots
Terracotta pots excel in drainage and are breathable, making them a favorite among many plant lovers. Just be cautious, as they can dry out quickly, requiring more frequent watering.
🚰 Importance of Drainage Holes
Drainage holes are crucial for preventing root rot. Always ensure your pots have adequate drainage; multiple holes are ideal for optimal water flow.
Choosing the right pot is essential for the health of your Dragon Wing Begonia. With the right materials and proper drainage, your plant will thrive and flourish. Next, let’s dive into the potting soil and amendments that will give your plant the best foundation.
Potting Soil and Amendments
🌱 Recommended Soil Types for Dragon Wing Begonia
For your Dragon Wing Begonia, a well-draining potting mix is essential. Opt for a commercial mix specifically designed for begonias or general houseplants.
Adding amendments can significantly enhance drainage. Consider incorporating perlite or orchid bark to create a more breathable environment for your plant's roots.
🧪 Creating a Well-Draining Potting Mix
Creating your own potting mix is straightforward. Follow these steps for a balanced blend:
- Base mix: Start with 2 parts potting soil.
- Additives: Mix in 1 part perlite and 1 part orchid bark.
- Mix thoroughly: Ensure even distribution for optimal drainage.
This combination will help prevent root rot while providing the necessary nutrients.
⚖️ Importance of pH Levels
Maintaining the right pH level is crucial for your Dragon Wing Begonia's health. Aim for an optimal pH range of 5.5 to 6.5.
To ensure accuracy, test your soil pH using a soil pH meter or test kit. This simple step can make a significant difference in your plant's growth and vitality.
With the right soil and pH balance, your Dragon Wing Begonia will thrive. Next, let’s explore the step-by-step process for repotting your plant effectively.
Step-by-Step Repotting Process ((difficulty:moderate))
🛠️ Tools Needed for Repotting
Before you dive into repotting your Dragon Wing Begonia, gather your tools. You'll need clean potting soil, a new pot with drainage holes, pruning shears or scissors, a trowel or small shovel, and a watering can or spray bottle.
📋 Step-by-Step Instructions for Repotting
- Prepare the new pot: Start by adding a layer of potting mix to the bottom of your new pot.
- Remove the plant: Gently slide the plant out of its old pot, taking care not to damage the roots.
- Inspect and prune roots: Check the roots for any damage or rot, and trim away any unhealthy sections.
- Position the plant: Place the plant in the center of the new pot, ensuring it’s upright.
- Fill with soil: Add potting mix around the roots, making sure to eliminate any air pockets.
- Water thoroughly: Moisten the soil to help it settle around the roots, ensuring good contact.
🌱 How to Handle the Roots During Repotting
Be gentle when handling the roots. Avoid excessive pulling or tugging, as this can stress the plant.
Support the root ball by holding the base of the plant while repotting. This minimizes stress and helps your Dragon Wing Begonia transition smoothly to its new home.
With these steps, your plant will be well on its way to thriving in its new environment. Next, let’s explore how to care for your Dragon Wing Begonia after repotting.
Post-Repotting Care
💧 Watering Guidelines After Repotting
After repotting your Dragon Wing Begonia, it's crucial to water it lightly. This helps avoid waterlogging, which can lead to root rot.
Follow up by allowing the top inch of soil to dry out before your next watering. This balance keeps the roots healthy while preventing excess moisture.
☀️ Light Requirements Post-Repotting
For optimal recovery, place your plant in bright, indirect light. This environment supports its adjustment without overwhelming it.
Avoid direct sunlight during this period to prevent leaf scorch. Your begonia needs time to acclimate to its new home.
👀 Monitoring for Transplant Shock
Keep an eye out for signs of transplant shock, such as wilting, yellowing leaves, or slowed growth. These indicators can signal that your plant is struggling to adapt.
Typically, recovery takes about 1-2 weeks. Monitor closely during this time to ensure your Dragon Wing Begonia bounces back strong.
As you nurture your plant through this transition, you'll be well-prepared for the next steps in its care journey.
Common Issues and Solutions
Problems with Overpotting or Underpotting 🌱
Overpotting can be a sneaky trap for plant parents. When you use a pot that's too large, excess soil retains too much moisture, which can lead to root rot.
On the flip side, underpotting creates its own set of problems. If the pot is too small, the roots can become cramped, causing stress and stunted growth.
Signs of Stress After Repotting 🚨
After repotting, keep an eye out for signs of stress. Leaf drop, yellowing leaves, or stunted growth are all red flags that something might be off.
If you notice these symptoms, it’s time to take action. Adjust your watering schedule, check the light conditions, and ensure your pot has proper drainage.
How to Troubleshoot Repotting Issues 🛠️
To troubleshoot any repotting issues, start by assessing environmental factors. Look at the light, humidity, and temperature around your plant.
Next, re-evaluate the soil moisture. Adjust your watering frequency based on how your Dragon Wing Begonia responds. Monitoring these factors will help your plant thrive after its big move.
With these tips in hand, you're well-equipped to tackle any challenges that arise during the repotting process. Now, let’s dive into the post-repotting care to ensure your plant continues to flourish!
⚠️ Safety First
This content is for general information and may contain errors, omissions, or outdated details. It is not medical, veterinary advice, or an endorsement of therapeutic claims.
Always consult a qualified healthcare professional before using any plant as food, medicine, or supplement.
Never eat any plant (or feed one to pets) without confirming its identity with at least two trusted sources.
If you suspect poisoning, call Poison Control (800) 222-1222, the Pet Poison Helpline (800) 213-6680, or your local emergency service immediately.
Spotted an error? Please report it here.
Transform your Dragon Wing Begonia with thriving roots 🌿 by using Greg's tailored reminders and expert tips to make repotting a breeze!