🎈 Should I Repot My Balloon Cactus And If So, How?
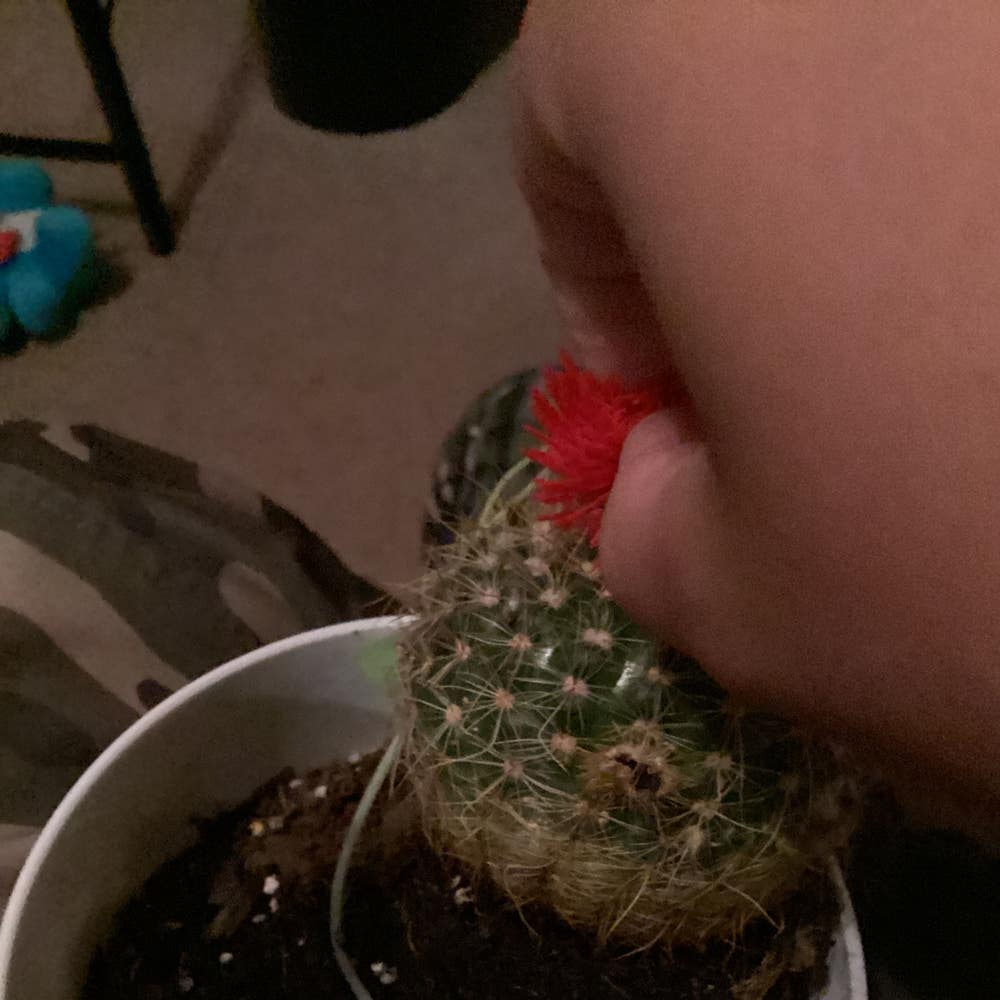
Parodia magnifica
By the Greg Editorial Team
Jun 18, 2024•5 min read
This article was created with the help of AI so we can cover more plants for you. May contain errors. See one? Report it here.
Boost your Balloon Cactus's zest for life with the perfect repotting strategy! 🌵✨
- Roots escaping, quick drainage, slow growth? Time to repot your cactus.
- 🌵 Terracotta pots are best for Balloon Cactus health and growth.
- Repot before growing season, and wait a week before watering post-repot.
Spot the Signs: Is It Time to Repot?
🌵 Roots on the Run: Recognizing a root-bound cactus
Roots making a jailbreak through drainage holes? Time’s up. Your Balloon Cactus is root-bound. It's like the plant version of outgrowing your favorite jeans – it needs a new pot, stat.
💧 Thirsty Much? How quick drainage might signal the need for more space
Water passing through your cactus pot faster than a rumor in a small town? Red flag. It's not just thirsty; it's parched because there's more root than soil. The soil should hug water, not shoo it away.
🌱 Growth Spurt Stalled: When your cactus is craving a new home
Is your cactus's growth slower than a snail on a leisurely stroll? Not lazy; it's cramped. If your green amigo hasn't moved up in the world for a while, it's probably dreaming of a spacious new pot.

Picking the Perfect Pot
🏺 Material Matters
Terracotta, ceramic, or plastic? Terracotta is the breathable choice, letting soil dry quickly and preventing root rot. Ceramic is less porous but still offers good airflow. Plastic, the least breathable, retains moisture, making it a risky business for overwatering.
Ceramic pots are a stylish middle ground, offering a balance between breathability and moisture retention. They're the go-to for those who forget to water. But remember, no matter how chic, it's the plant's health that's the real star of the show.
🏅 The Verdict
For your Balloon Cactus, terracotta reigns supreme. It mimics the cactus's natural, arid conditions by wicking away excess moisture and allowing the roots to breathe. Just ensure there's a drainage hole to prevent soggy soil parties.
Size It Up
The Goldilocks Zone: aim for a pot 1-2 inches larger in diameter than the current one. It's the sweet spot that gives your cactus room to grow without drowning in a sea of soil.
Overpotting is a no-no. A pot too large can lead to waterlogging, a fast track to root rot. It's like throwing a cactus pool party with no way to drain the pool. Not cool.
The dangers of overpotting
Bigger isn't always better. A cavernous pot may look impressive, but it's a recipe for stagnant moisture and a sad, soggy cactus. Keep it cozy—just enough space to grow without excess soil hoarding water.

The Repotting Rundown
🌵 Prepping for the Move
Timing is crucial when it comes to repotting your Balloon Cactus. The best time is just before the growing season kicks in, usually early spring. This ensures the plant is at its peak strength to handle the stress of moving.
Prepare your pot and soil ahead of time. Opt for a well-draining succulent mix and a pot that's just a size up from the current one. Ensure the pot is clean and the soil is free from pests or contaminants.
🎉 The Main Event
Step 1: Gently removing your cactus
To remove your cactus, first ensure the soil is dry. Dry soil makes it easier to get the plant out without damaging the roots. If the cactus plays hard to get, don't be shy—tap the pot's sides or use a tool to loosen the grip. When handling the cactus, protect your hands with gloves or wrap the plant in a thick layer of newspaper.
Step 2: Inspecting and trimming the roots
Once out, take a moment to inspect the roots. Trim any parts that are dead or excessively long, but remember, it's not a haircut—be conservative. Clean, sharp tools are a must to avoid infections.
Step 3: Settling your cactus into its new abode
Plant your cactus at the same depth it was in its previous pot to avoid stem rot. Spread the roots gently to encourage them to explore their new space. Fill in with soil and don't water immediately—give your cactus a chance to settle in and heal any root damage.

Cactus Care Post-Repotting
💧 The First Few Days: Watering and Placement Tips
Hold off on the H2O; your cactus needs to heal. After repotting, resist the urge to water for at least a week. This gives any damaged roots time to recover and reduces the risk of rot. When you do water, go easy—think of it as a light drizzle rather than a downpour.
Shade, not shine. Place your cactus in bright, indirect light. Direct sunlight can be too intense right after repotting. It's like waking up in a glaringly bright room after a deep sleep—nobody likes that.
🌱 Long-term Success: Monitoring Growth and When to Repot Again
Keep an eagle eye on your prickly friend. New growth is a high-five for your care skills, while any signs of wilting or discoloration are red flags.
Roots peeking out? Time to repot. Generally, a 2 to 4-year interval works, but let the cactus call the shots. If it's bursting out of its pot, it's time for a change. Remember, repotting is like a cactus health check-up—it's not just about space; it's about fresh soil and a happy plant.
Avoid the fertilizer frenzy. After repotting, skip the nutrients for a few weeks. Your cactus isn't ready for a feast just yet. Let it settle in and get comfortable in its new digs first.
⚠️ Safety First
This content is for general information and may contain errors, omissions, or outdated details. It is not medical, veterinary advice, or an endorsement of therapeutic claims.
Always consult a qualified healthcare professional before using any plant as food, medicine, or supplement.
Never eat any plant (or feed one to pets) without confirming its identity with at least two trusted sources.
If you suspect poisoning, call Poison Control (800) 222-1222, the Pet Poison Helpline (800) 213-6680, or your local emergency service immediately.
Spotted an error? Please report it here.
Ensure your Balloon Cactus flourishes 🌵 with Greg's timely reminders for the ideal repotting season and personalized care tips!