🌵 When and How to Repot Your Ball Cactus
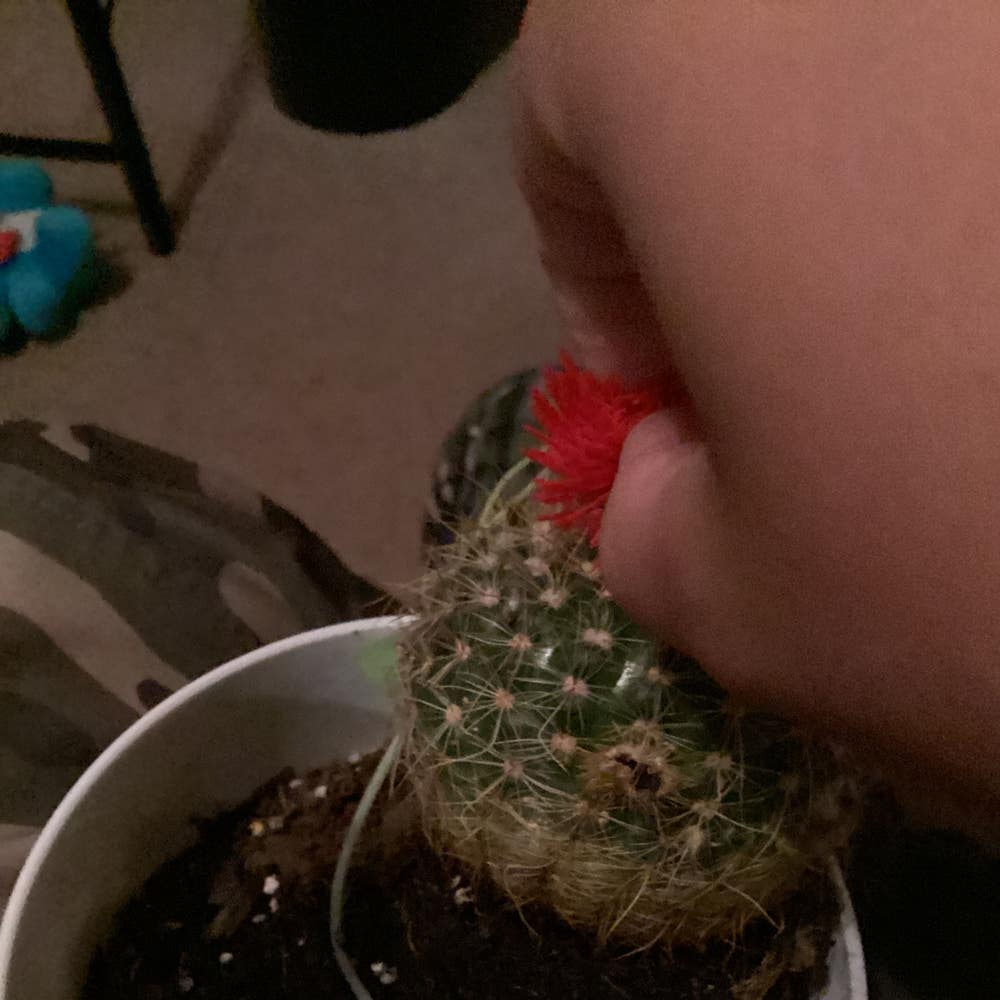
Parodia magnifica
By the Greg Editorial Team
Nov 09, 2024•6 min read
This article was created with the help of AI so we can cover more plants for you. May contain errors. See one? Report it here.
Keep your ball cactus thriving 🌵 by spotting repotting signs early and taking action for its health!
- 🌱 Repot when roots poke through drainage holes or soil is compacted.
- 🌼 Spring is ideal for repotting your ball cactus during its growth phase.
- 🧤 Always wear gloves to safely handle your cactus during repotting.
Signs That Your Ball Cactus Needs Repotting
Cactus Repotting Signs 🌵
Recognizing when your ball cactus needs repotting is crucial for its health. Here are the key signs to watch for:
Root Growth: If you see roots poking through the drainage holes, it’s a clear indication that your cactus has outgrown its pot.
Soil Condition: Over time, soil can degrade or compact, losing its ability to provide adequate nutrients and drainage.
Plant Health: Watch for stress signals like yellowing or wilting. These can indicate that your cactus is struggling in its current environment.
Growth Rate: If your cactus shows stunted growth or fails to produce new growth during the growing season, it may need more space.
Pot Size: A top-heavy cactus or one that leans to one side suggests it’s time for a larger pot.
By keeping an eye on these signs, you can ensure your ball cactus remains healthy and vibrant. If you notice any of these indicators, it’s time to consider repotting.
Next, let’s explore the best time of year to repot your cactus for optimal results.
Best Time of Year to Repot
Ideal Timing 🌱
Spring is the prime time for repotting your ball cactus. This season aligns perfectly with its active growing phase, allowing your cactus to recover and thrive in its new environment.
Avoid repotting during winter dormancy. Doing so can stress your plant, hindering its growth and overall health.
Local Climate Considerations 🌍
Keep in mind that local climate variations can influence the best timing for repotting. If you live in a region with mild winters, you might find that early spring is ideal, while harsher climates may require waiting until late spring.
By choosing the right time to repot, you set your ball cactus up for success. This thoughtful approach ensures your plant has the best chance to flourish in its new pot.
Next, let’s explore the step-by-step guide to repotting your cactus effectively.
Step-by-Step Guide to Repotting
Repotting your ball cactus can seem daunting, but with the right approach, it’s a straightforward process. Follow these steps to ensure your cactus thrives in its new home.
🧰 Preparation
Before diving into repotting, gather all necessary materials. You’ll need a new pot, cactus potting soil, gloves, a trowel, and a small shovel.
Choose a pot that is 1-2 inches larger in diameter than the current one. This extra space allows for healthy root growth.
Ensure the new pot has adequate drainage holes to prevent water accumulation, which can lead to root rot.
🌵 Repotting Process
Now, let’s get to the fun part: repotting your cactus!
Remove the cactus from its current pot:
- Gently loosen the soil around the edges to free the roots.
- Always wear gloves to protect your hands from those sharp spines.
Inspect the root system:
- Look for healthy white roots, which indicate good health.
- Trim away any brown or mushy roots, as these are signs of decay.
Place a layer of cactus potting soil in the new pot. This will provide a stable base for your cactus.
Position the cactus in the center and fill with soil:
- Make sure the top of the root ball is level with the pot rim for proper growth.
- This positioning helps the cactus settle in comfortably.
Firm the soil gently around the base to eliminate air pockets. This step is crucial for ensuring stability and moisture retention.
With these steps, your ball cactus will be ready to flourish in its new environment. Next, let’s explore the best pot materials to enhance your cactus care.
Pot Material Options
Choosing the right pot material for your ball cactus is crucial for its health and growth. Each material has its own set of advantages and disadvantages that can significantly impact your cactus care.
🌱 Advantages of Terracotta Pots
Terracotta pots are a popular choice among cactus enthusiasts.
- Breathability: Their porous nature allows for better air circulation to the roots, promoting healthy growth.
- Moisture Regulation: These pots absorb excess moisture, which helps reduce the risk of overwatering—a common issue with cacti.
🚫 Disadvantages of Plastic Pots
While plastic pots are lightweight and affordable, they come with some drawbacks.
- Retains Moisture: Plastic can hold onto moisture longer than terracotta, leading to potential overwatering if drainage isn't adequate.
- Aesthetic Appeal: Many find plastic pots less visually appealing compared to natural materials, which can detract from your plant's presentation.
🪴 Other Pot Materials to Consider
If you're looking for alternatives, there are a few other materials worth exploring.
- Ceramic Pots: These are attractive and can add a decorative touch to your space. However, they can be heavy, so ensure they have drainage holes to prevent water accumulation.
- Metal Pots: Metal can be great for drainage but be cautious; they can heat up quickly in direct sunlight, which might stress your cactus.
Selecting the right pot material is essential for your ball cactus's well-being. By understanding the pros and cons of each option, you can make an informed decision that supports your plant's growth and health.
Next, let’s dive into troubleshooting common issues that may arise after repotting your cactus.
Troubleshooting Repotting Issues
Signs of Stress After Repotting 🌵
After repotting your ball cactus, watch for signs of stress. Wilting or yellowing leaves often indicate overwatering or transplant shock, while stunted growth may suggest inadequate root space or poor soil conditions.
How to Address Root Rot 🚨
If you suspect root rot, act quickly. Remove the cactus from its pot and inspect the roots; trim away any brown or mushy sections, then repot in fresh, dry soil to encourage recovery.
Solutions for Poor Drainage in Pots 💧
Poor drainage can lead to serious problems for your cactus. To improve drainage, add materials like gravel or perlite at the bottom of the pot, and opt for a potting mix designed to enhance drainage.
By keeping an eye on your cactus and addressing these issues promptly, you can ensure a healthy and thriving plant. Next, let’s explore the various pot material options that can further enhance your cactus care.
⚠️ Safety First
This content is for general information and may contain errors, omissions, or outdated details. It is not medical, veterinary advice, or an endorsement of therapeutic claims.
Always consult a qualified healthcare professional before using any plant as food, medicine, or supplement.
Never eat any plant (or feed one to pets) without confirming its identity with at least two trusted sources.
If you suspect poisoning, call Poison Control (800) 222-1222, the Pet Poison Helpline (800) 213-6680, or your local emergency service immediately.
Spotted an error? Please report it here.
Repot your ball cactus like a pro 🌵 with Greg's tailored reminders and expert guidance to keep your spiky friend thriving in its new home!