How to Plant a Hydrangea
Plant a Hydrangea in early spring or fall, in a hole twice as wide as the root ball but no deeper. The root flare must sit at or just above the soil line, since burying it is the leading cause of slow decline. Choose a spot with morning sun and afternoon shade in slightly acidic, well-drained soil. A mature plant reaches 3 to 6 feet tall and wide within three years.
When and where to plant
Hydrangeas want morning sun and afternoon shade. Four to six hours of dappled or eastern-exposure light is the sweet spot. Full afternoon sun causes the big leaves to wilt every hot day and stresses the plant into smaller flowers and shorter life. Deep shade keeps the plant alive but stops most blooming.
Plant in early spring after the last frost or in early fall once the heat breaks. Both windows give the roots two to three months to settle before being asked to push leaves or weather extreme weather. Avoid summer planting since the heat compounds transplant shock.
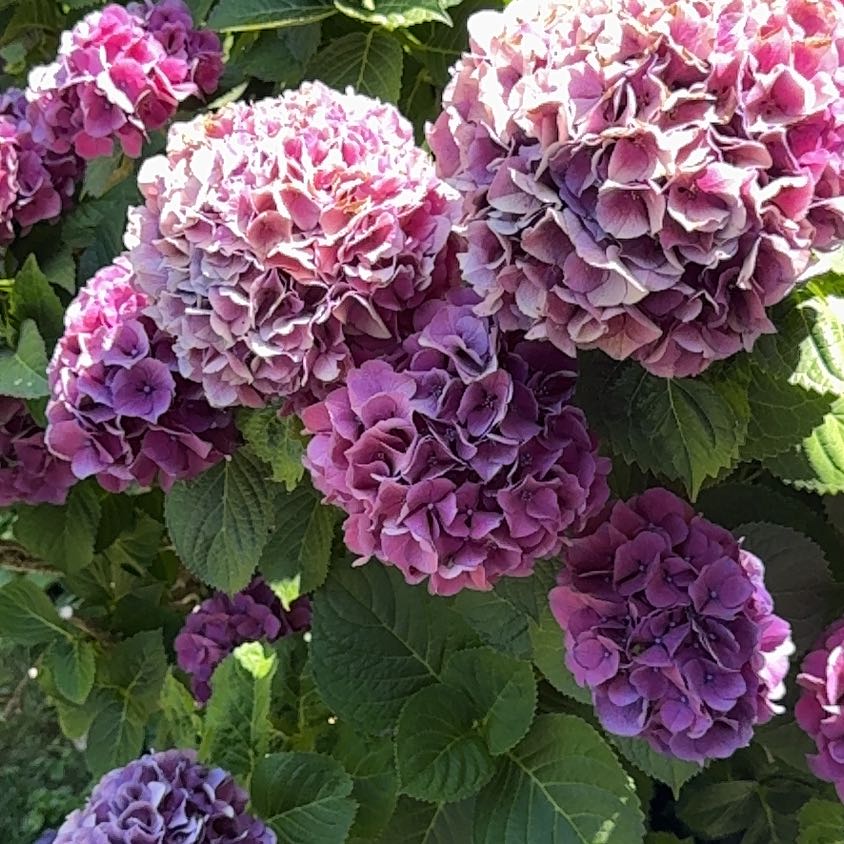
Soil should be slightly acidic to neutral, pH 5.5 to 6.5, and well-drained. Soil pH also changes flower color. Acidic soil around 5.0 to 5.5 turns blooms blue, alkaline soil 6.5 and up turns them pink, in between gives purple. You can shift color over time with amendments, but pick the spot's natural pH as your starting point.
Allow 4 to 6 feet between plants. A mature hydrangea reaches 3 to 6 feet tall and equally wide, so leave room for it to fill out without crowding neighbors.
Planting a container-grown hydrangea
Most hydrangeas come home from the garden center in a one-, three-, or seven-gallon pot. The critical rule when planting is depth. The root flare, where the stems widen into the roots, must sit at or just above the finished soil line. Buried too deep, the crown rots over time and the plant slowly declines without an obvious cause.
-
1Dig wide, not deep Dig a hole twice as wide as the root ball but only as deep as the root ball is tall. A wide saucer-shaped hole encourages lateral roots to spread into the native soil instead of circling. Loosen the sides of the hole so new roots push outward easily.
-
2Find the root flare and set the depth Tip the plant out of the pot and brush soil off the top of the root ball until you see the stems widen into the roots. The flare must end up at or just above the finished soil line. Measure your hole depth against the flare, not the top of the pot's soil, since nurseries often bury the flare an inch or two during potting.
-
3Score the root ball Use a sharp knife or your fingers to make three or four vertical slices down the sides of the root ball, an inch deep. This severs any roots that have begun circling inside the pot and forces them to grow outward into the surrounding soil.
-
4Backfill with native soil Fill in with the soil you dug out, not bagged amendments. Press lightly with your hands as you go to settle air pockets. Build a low rim of soil at the outer edge of the hole to hold water on the root ball for the first season.
-
5Water deeply and mulch in a doughnut Soak the root ball until water pools and slowly drains. Spread a two to three inch layer of bark or shredded leaf mulch in a doughnut shape around the plant. Never pile mulch against the stems, since the moist bark rots and invites disease.
The first year
A newly planted hydrangea spends its first growing season focused on roots, not blooms. You may see fewer or smaller flowers than the plant produced at the nursery. That is normal and means the plant is investing where it should.
Watering is the single thing you control that matters most in year one. Hydrangeas wilt visibly on hot afternoons even when their soil is fine, and the leaves recover overnight. Wait until soil is dry four inches down before watering again. Aim for one inch of water per week from rain or hand-watering, more during summer heat.
Hold off on fertilizer for the entire first year. The fresh root system can be burned by salt, and pushing leaf growth at the expense of roots stunts the plant long-term.
What can go wrong
-
Wilting every hot afternoon
Heat stress, not necessarily dehydration. Hydrangeas with afternoon sun wilt routinely and recover overnight. Don't water just because of wilt. Check soil four inches down. If dry, water deeply. If damp, the plant will recover at sundown. Long-term fix is to move into afternoon shade. -
No blooms after the first year
Two common causes during establishment: too much shade with less than four hours of sun, or a late spring frost that killed the opening flower buds. Verify which applies before adjusting care. A shadier spot may need to be moved before next spring, and frost-damaged buds will not recover but the plant will bloom again the following year. -
Brown leaf edges
Sunburn from too much direct light, or fertilizer salt buildup from over-feeding. Move the plant to a shadier spot, or stop fertilizing. Flush the soil with a deep watering to wash any salt buildup through. New growth comes in cleaner once the cause is removed. -
Yellow leaves with green veins
Iron chlorosis. The soil pH is too high, locking up iron the plant needs to make chlorophyll. Treat with chelated iron as a quick fix and amend soil with sulfur over time to lower pH closer to 5.5 to 6.5. -
Wilting that does not recover overnight
Actual drought stress or root rot. Check soil moisture first. If dry, water deeply and the plant should bounce back within a day. If soggy, the drainage is wrong. Pull mulch back from the stems, check for standing water, and dig down gently to see if roots are healthy white or black and mushy. -
Buds open then turn brown and droop
Late frost damage. Hydrangea buds open earlier than the safe last-frost date in many zones. Cover the plant with frost cloth on nights when temps approach freezing in spring. The plant survives, but that year may bloom less. -
Lots of leaves, few flowers
Too much nitrogen, often from over-fertilizing or runoff from a fertilized lawn nearby. Skip fertilizer for a year and water normally. The plant resumes regular blooming once the excess nitrogen leaches out.
About This Article
