How to Plant a Resurrection Fern
Mount Resurrection Fern in spring on a rough-barked oak branch, a fallen hardwood log, or a porous rock, padding the roots with a generous layer of damp sphagnum moss before tying the plant in place with cotton string or fishing line. The fern is hardy in zones 6 through 11 and prefers dappled shade with steady humidity. Expect the fern to settle in over the first growing season, with a fully attached colony by year two.
When and where to mount it
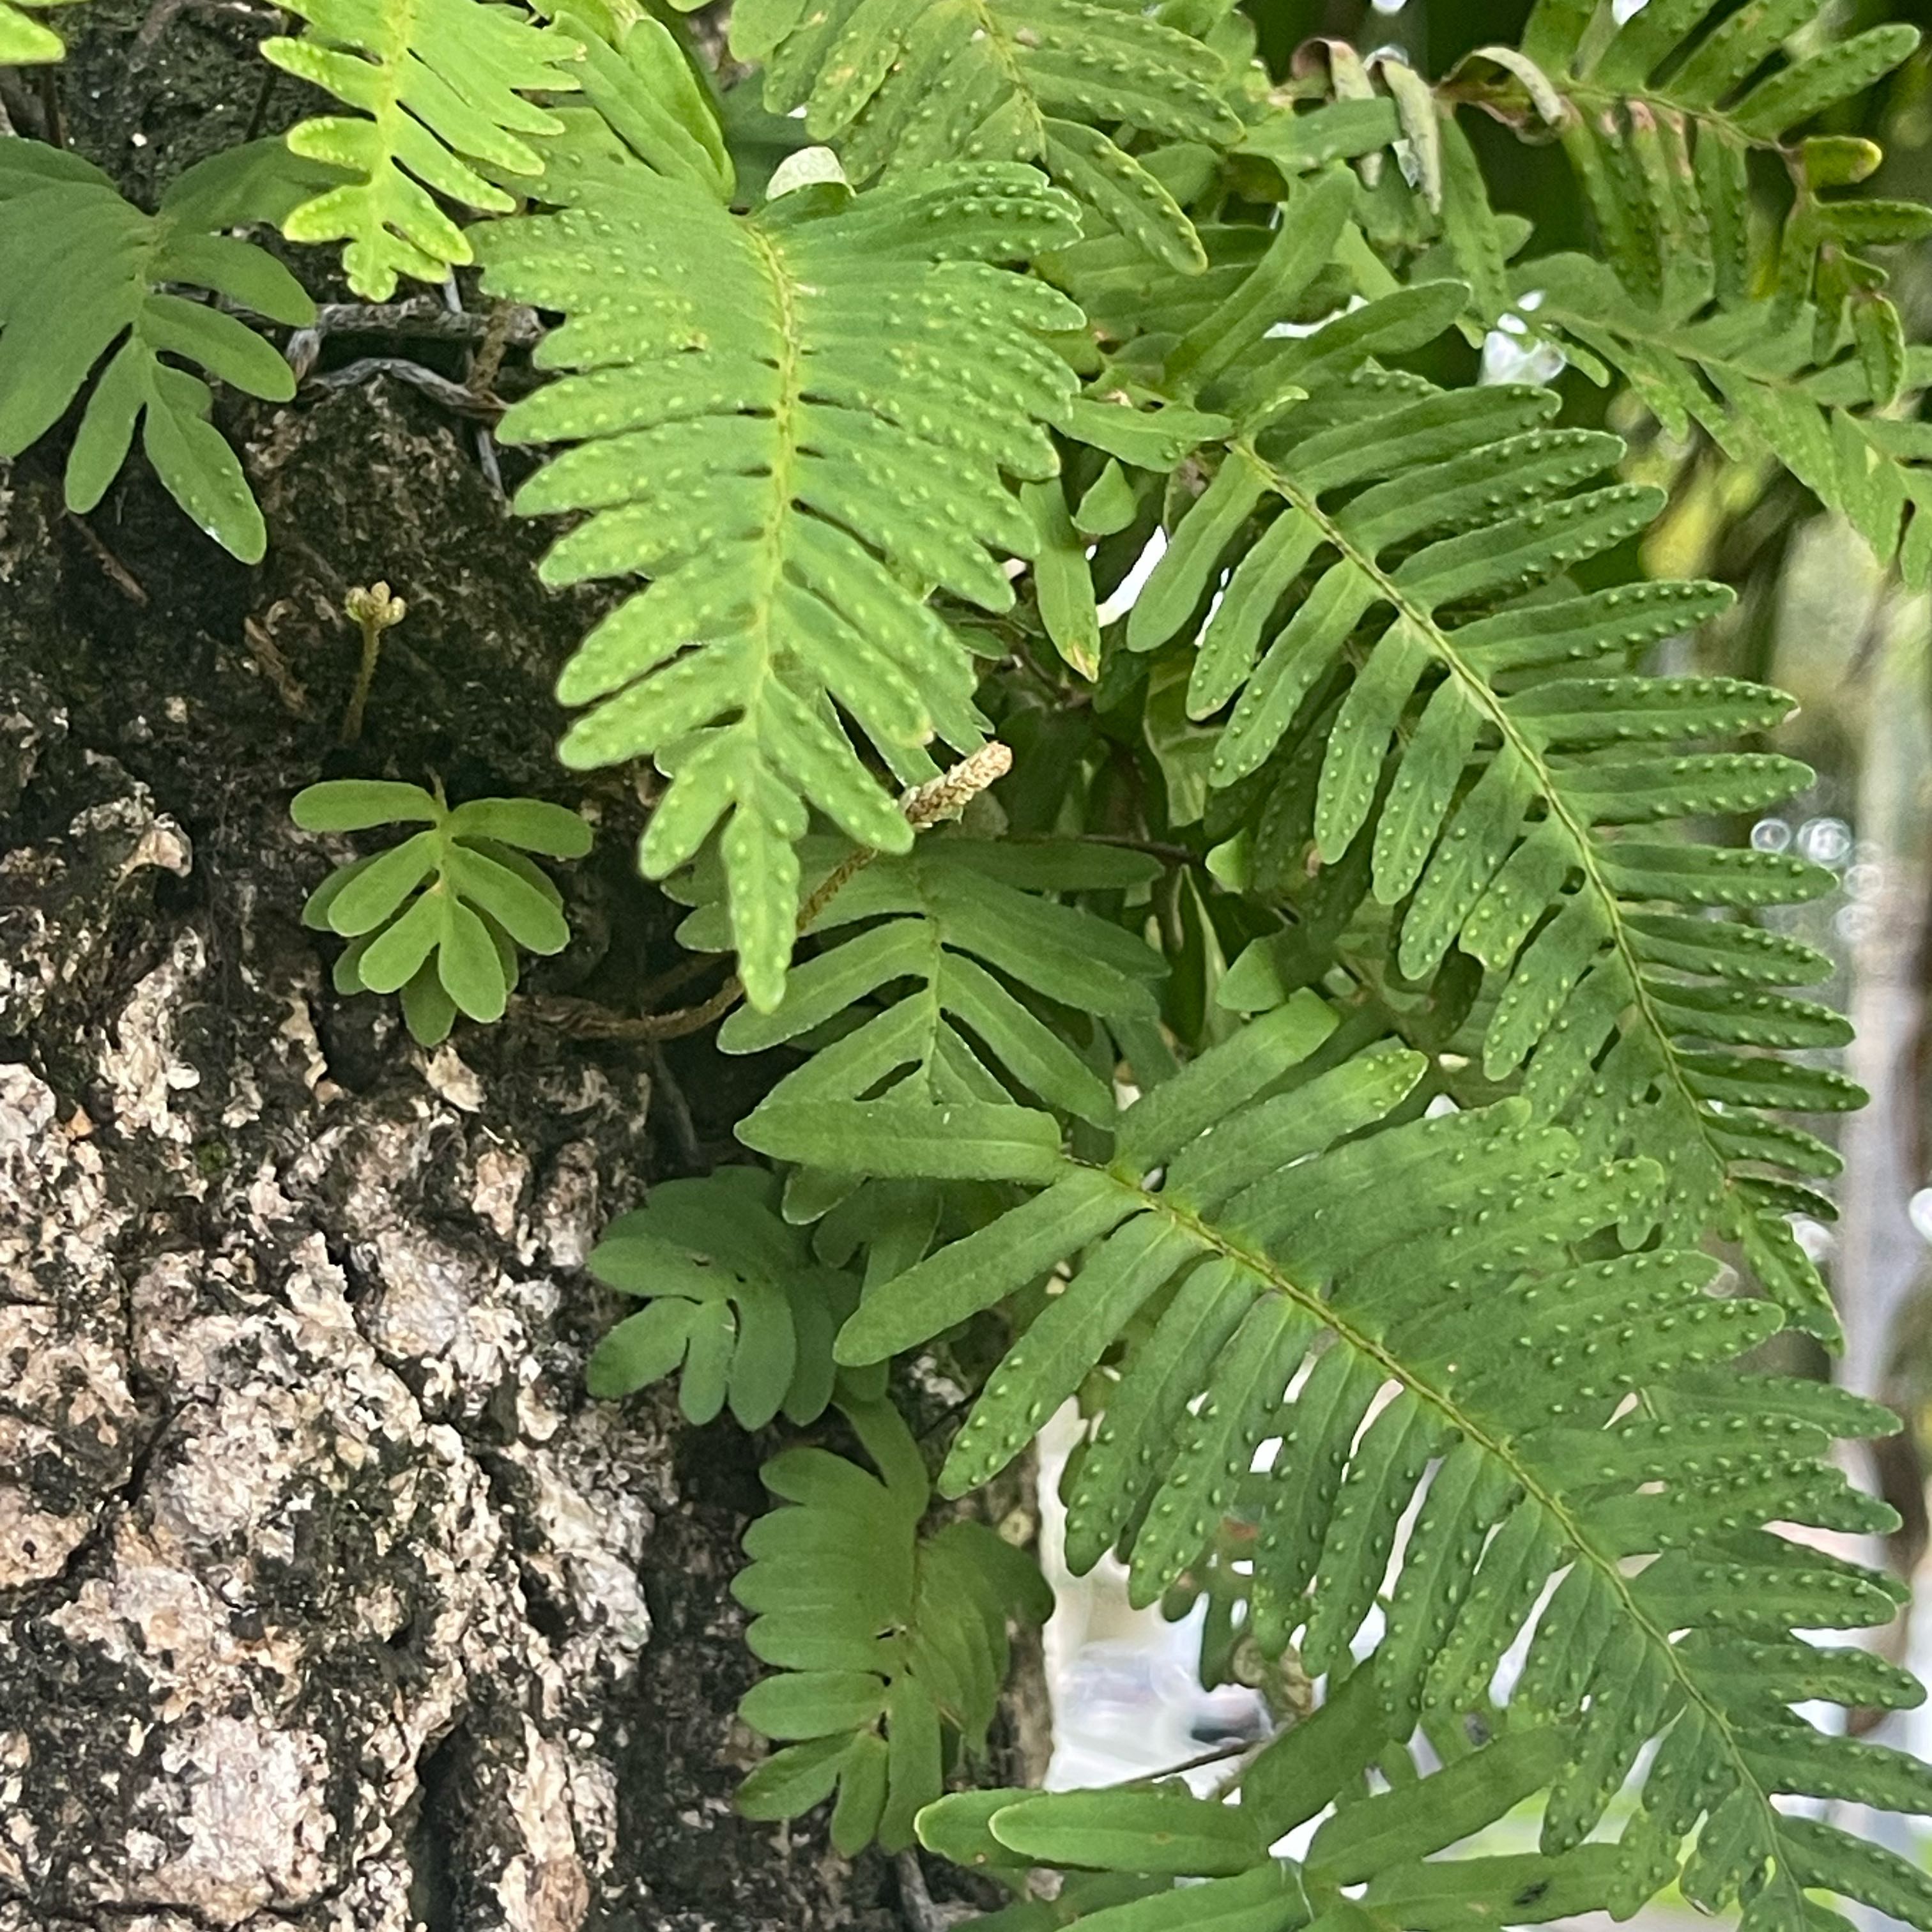
Resurrection Fern grows on bark and rock in nature, anchoring itself to oak limbs, cypress knees, and weathered stone across the southeastern United States. The host does not feed the plant. The fern just uses it as a perch, pulling water and minerals from rain and the air. Pick a host with a rough textured surface that holds moisture in its crevices. Mature live oak bark is the gold standard, but rough cedar, cypress, fallen hardwood logs with intact bark, and porous limestone or sandstone all work well.
The site needs dappled shade, the kind of broken light that filters through a high deciduous canopy. Two to four hours of soft morning sun is fine, but harsh afternoon sun will scorch the fronds and force them into permanent curl. Outdoor mounting works in zones 6 through 11, with steady humidity through the growing season being more important than the exact zone.
Look for a spot where rainwater naturally washes over the host but does not pool against it. A branch that catches a brief shower most days and dries out between storms gives the fern its preferred wet-dry rhythm.
Mounting on a tree, log, or rock
The single most important rule for Resurrection Fern is the moss layer between the roots and the host. The fern does not send roots into the wood or stone. It clings to a damp pad of organic matter that catches rain and holds humidity around the thin thread-like roots. Skip the moss and the plant will dry out faster than it can recover, even on a humid site.
-
1Pick a healthy starter clump Source a small mat of Resurrection Fern from a native plant nursery, a salvage permit on a downed branch, or a friend with an established colony. Look for green fronds with no black or mushy spots, and a thin web of brown thread-like roots holding the clump together. Avoid clumps pulled from living healthy trees in the wild, since removal damages both the fern and the host.
-
2Soak the moss until saturated Take a handful of long-fiber sphagnum moss, the loose unmilled kind sold at orchid suppliers and garden centers, and soak it in rainwater or distilled water for at least 15 minutes. Squeeze out the excess so the moss is damp but not dripping. Tap water with high mineral content can leave deposits on the fronds over time, so rainwater or distilled is worth the small extra effort.
-
3Pad the host and press the fern in place Spread a one to two inch thick mat of the damp moss across a rough patch of bark, log, or rock, sized just larger than the fern clump. Press the fern firmly into the moss, root side down, so the plant makes good contact with the damp surface. The moss does the work of bridging the gap between the fern's thin anchor threads and the uneven host surface.
-
4Tie the fern in place Wrap cotton string, jute twine, or monofilament fishing line around the fern and moss pad several times, snug enough to hold everything firmly against the host but not so tight you crush the fronds. Cotton and jute will rot away naturally as the fern attaches over the coming season. Fishing line stays in place forever and is the safer choice on a windy site or smooth rock.
-
5Water in and check daily for two weeks Mist the freshly mounted fern with rainwater until the moss is fully wet, and repeat daily for the first two weeks while the plant settles in. During this window the fern has no real anchor yet and depends entirely on the wet moss pad for moisture. After two weeks, mist whenever the moss feels dry to the touch, usually two or three times a week in warm weather.
The first year
The first year for a newly mounted Resurrection Fern is mostly about the fern locking itself onto the moss pad and then onto the host beneath it. The visible change above is slow, with maybe one or two new fronds pushing through and the rest of the action happening at the contact surface where the thin root threads are working their way into bark crevices and moss fibers.
The most common new-grower mistake is mistaking the plant's drought curl for death and pulling the mount apart to check on it. When the moss dries out, the fronds roll up tight and turn brown, looking exactly like a dead plant. Within a few hours of the next rain or thorough misting, the fronds unfurl green again. This is normal behavior and the source of the common name.
Healthy first-year growth looks like steady green color when the moss is damp, full drought curl and reopening cycles between watering or rain, and the appearance of a few small new fronds emerging through the moss pad by late summer.
What can go wrong
-
Fronds curl brown and look dead
This is the famous resurrection behavior, not a problem. When the moss pad dries out, the fern rolls up and goes dormant to protect itself from further water loss. Mist the moss with rainwater or wait for the next rain shower. The fronds unfurl and turn green again within a few hours, often within the same afternoon. -
Plant slips off the mount in the first weeks
The ties were not snug enough or the moss pad has shifted as it settled. Re-mount the fern with fresh damp moss and tighter wraps of cotton string or fishing line, making sure the root side of the clump is pressed firmly into the moss. Resist the urge to drive any kind of staple or nail through the fern itself, since damaging the root layer sets recovery back by months. -
Black or mushy patches on the fronds
Too much standing water against the fern, usually from a mount tucked into a spot where rainwater pools instead of draining through. Move the fern to a more open position on the host where water washes past and the moss can dry between rains. Trim the affected fronds back to clean tissue with sterile scissors so the rot does not spread into the root layer. -
Bleached or sunburned fronds
Direct afternoon sun is the cause. Resurrection Fern in the wild lives under a high canopy that filters the harsh midday light. Move the mount to a spot where the host blocks afternoon sun, or pick a different host branch on the shaded side of a tree. Damaged fronds will not green back up, but new growth will come in healthy once the light is right. -
Moss pad dries out within an hour of misting
The mount is in too much wind or too much sun, or the moss layer is too thin. Add a second damp layer of sphagnum on top of the existing pad and re-tie the bundle so the moisture reservoir is larger. If the site is genuinely too dry and exposed, the most reliable fix is to move the fern to a shadier and more sheltered position on the host. -
Fern stays curled even after rain
Heat stress or an unusually long dry spell may have pushed the plant past the point where a single rain can rehydrate it. Mist the moss thoroughly with rainwater morning and evening for three to five days in a row and watch for green tissue to return at the base of the fronds. If new growth is pushing through the moss, the plant is alive and just recovering on a slower timeline. -
Algae or green slime building up on the mount
The host site stays wet too long between dry cycles, which favors algae over the fern. Algae outcompete the root layer for moisture and surface contact. Move the mount to a spot with better airflow, and wipe the slimy patches off the bark or rock with a damp cloth before they spread under the moss pad. Going forward, mist less often and let the moss fully dry between waterings. -
Squirrels or birds pulling the moss apart
Loose sphagnum is prime nesting material in spring, and a freshly mounted fern looks like an easy haul. Wrap a layer of plastic netting or fine mesh around the moss pad and tie it down at the same time as the cotton string, keeping the mesh loose enough that the fronds can grow through. After the fern has anchored itself by the end of year one, the mesh can usually come off.
About This Article
