How to Plant a Monstera
Plant your Monstera in a pot 1 to 2 inches wider than its current container, in a chunky, well-draining aroid mix. Set the root ball at the same depth it sat in the nursery pot, place it in bright indirect light, and water deeply once the top inch of soil dries.
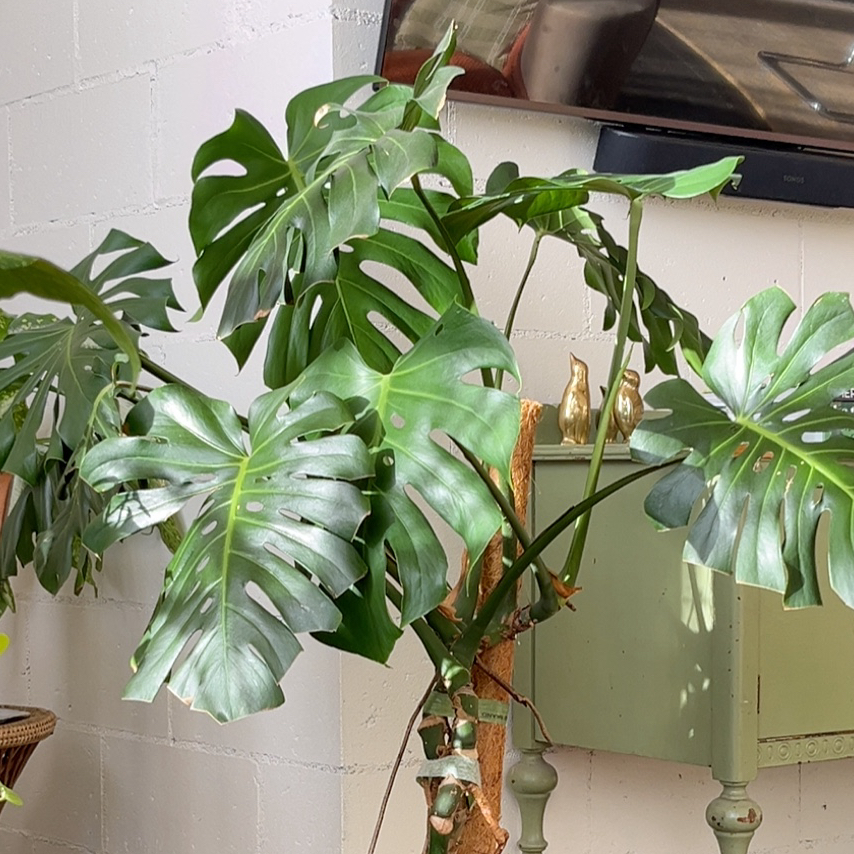
Where to put it
Monsteras want bright, indirect light all year. A spot three to six feet from an east or south-facing window is the sweet spot. Direct afternoon sun scorches the leaves within hours, and a dim corner stalls growth indefinitely.
Keep the plant in a room that stays between 65 and 85 degrees Fahrenheit. Cold drafts, AC vents, and heating registers all dry the leaves and stress the roots, so place the plant a few feet from those airflow sources. Humidity above 50 percent helps but is not required for healthy growth indoors.
Planting from a nursery transplant
Give your Monstera two to three weeks in its nursery pot before repotting. Moving it the day it comes home stacks transplant shock on top of the change from greenhouse to your home. Once the plant has settled into its new light, temperature, and watering rhythm, repot whenever you are ready.
-
1Pick the right pot One to two inches wider than the current container, with at least one drainage hole. Going much bigger holds too much water around the roots and invites rot.
-
2Fill the bottom third with mix Use a chunky aroid blend with bark, perlite, and a bit of peat or coco coir. Avoid pure potting soil. It compacts and suffocates roots within months.
-
3Slide the plant out and inspect Tip the nursery pot sideways and squeeze the sides to release the root ball. Loosen the bottom third with your fingers. Trim any black, mushy roots since they are dead and will only spread rot.
-
4Set at the same depth and water Place the root ball in the new pot at the same depth it sat in the nursery pot. Fill around it with mix, press gently, and water until it drains out the bottom.
Planting from a rooted cutting
A Monstera cutting needs roots at least two to three inches long before it can survive in soil. If your cutting is still rooting in water, give it more time. Going to soil too early is the most common reason cuttings fail.
-
1Wait for strong roots The cutting should have at least one cluster of roots two to three inches long. Hair-thin water roots will need to adjust to soil and may shrivel, which is normal. The plant will grow new soil roots from the same node.
-
2Use a small starter pot A 4 to 6 inch pot with drainage. A bigger pot stays wet too long around the small root mass and invites rot. You will move the cutting up to a larger pot in three to six months.
-
3Set the cutting upright Hold the cutting in the center of the pot with the node just below the soil surface. Fill chunky aroid mix around the roots, pressing lightly so it stays standing on its own.
-
4Water lightly and wait Moisten the mix without soaking it. Place in bright indirect light away from drafts. For the first two weeks, mist the leaves every couple of days while the roots adjust to soil.
The first month and a half
A freshly potted Monstera spends weeks one through three settling its roots into the new soil. You may see a leaf yellow or droop slightly during this stretch. That is transplant adjustment, not disease. Give the plant time before reacting.
Hold off on fertilizer for the first six weeks. The fresh mix has enough nutrients to carry the plant through establishment, and feeding stressed roots burns them. Resume monthly diluted fertilizer once you see a new leaf push.
Watering frequency depends on light, pot size, and your home's humidity. Stick a finger an inch deep. If the soil is dry, water deeply. If it is still damp, wait two or three more days.
What can go wrong
-
Root rot from soggy mix
Leaves turn yellow and limp, and the soil smells sour. Pot has no drainage, mix is too dense, or you watered before the soil dried. Tip the plant out, cut off any black mushy roots, repot in chunky aroid mix, and let it dry between waterings going forward. -
Yellow leaves in the first two weeks
One or two lower leaves yellowing is normal transplant adjustment. The plant is shedding energy load while roots adapt. If most leaves yellow at once or yellow leaves appear week three or later, suspect overwatering and check the roots. -
No new growth after eight weeks
Light is too low. Move closer to the window, but not into direct afternoon sun. Monsteras need to see a clear view of the sky for steady growth. If light is bright indirect already, check for cold drafts and verify the pot is not waterlogged. -
Crispy brown leaf edges
Either the mix dried out too far between waterings, or humidity is below 40 percent. Run a humidifier nearby or group the plant with others to raise local humidity. Trim damaged edges back to healthy tissue if the look bothers you. -
Pale or bleached patches on leaves
Sunburn from too much direct light, often right after repotting when the plant was moved closer to a window. Pull the plant back two to three feet from direct sun exposure. The bleached spots will not recolor but new growth will be healthy. -
Plant tilts and falls over
Either the root ball settled below the rim during watering, or the plant outgrew its stability without a support. Top up with chunky mix to bring soil level back to half-inch below the rim. Add a moss pole or stake if the plant is over two feet tall.
About This Article
